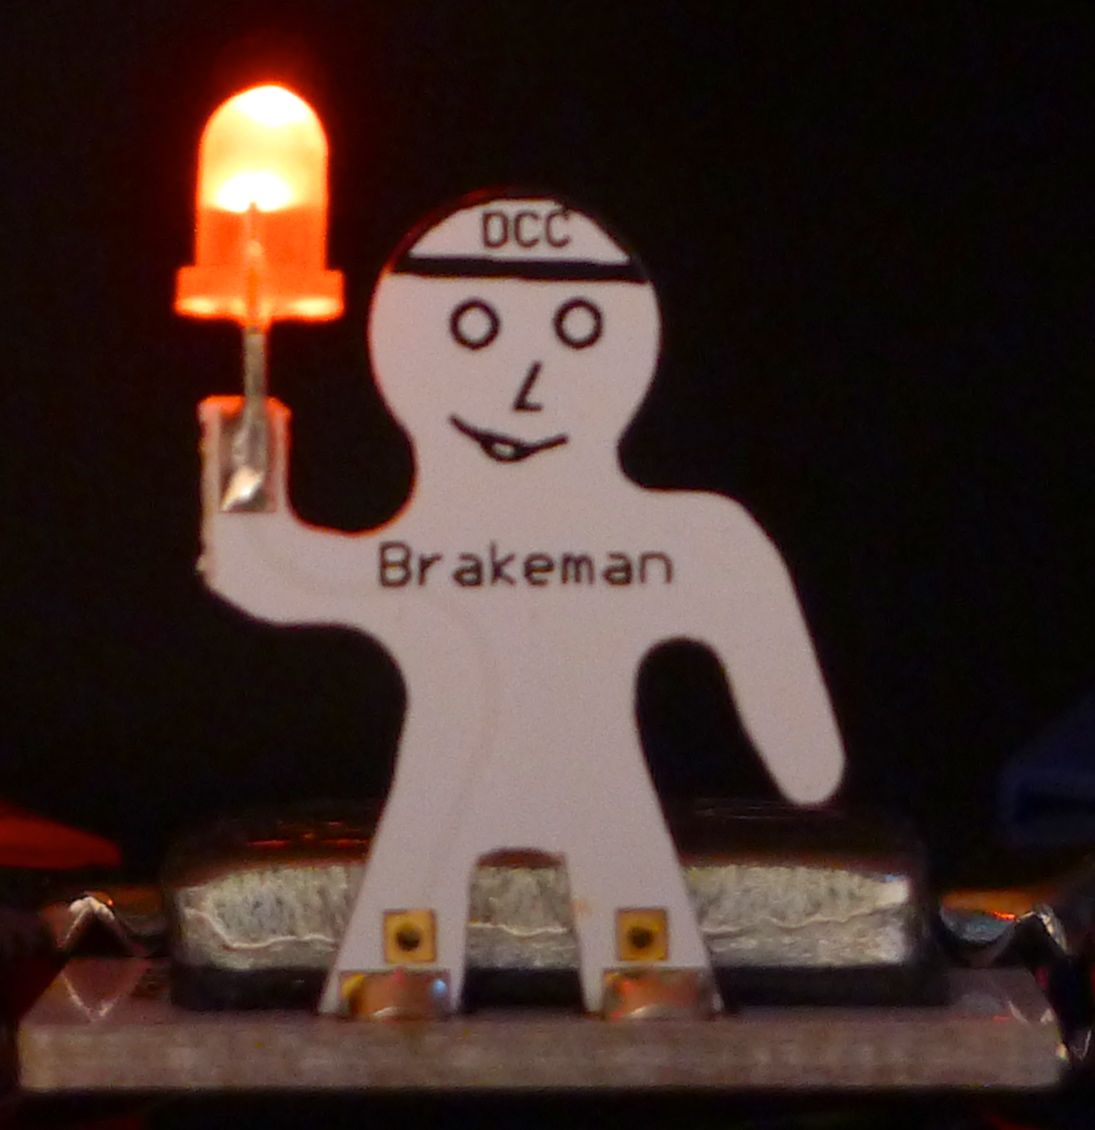
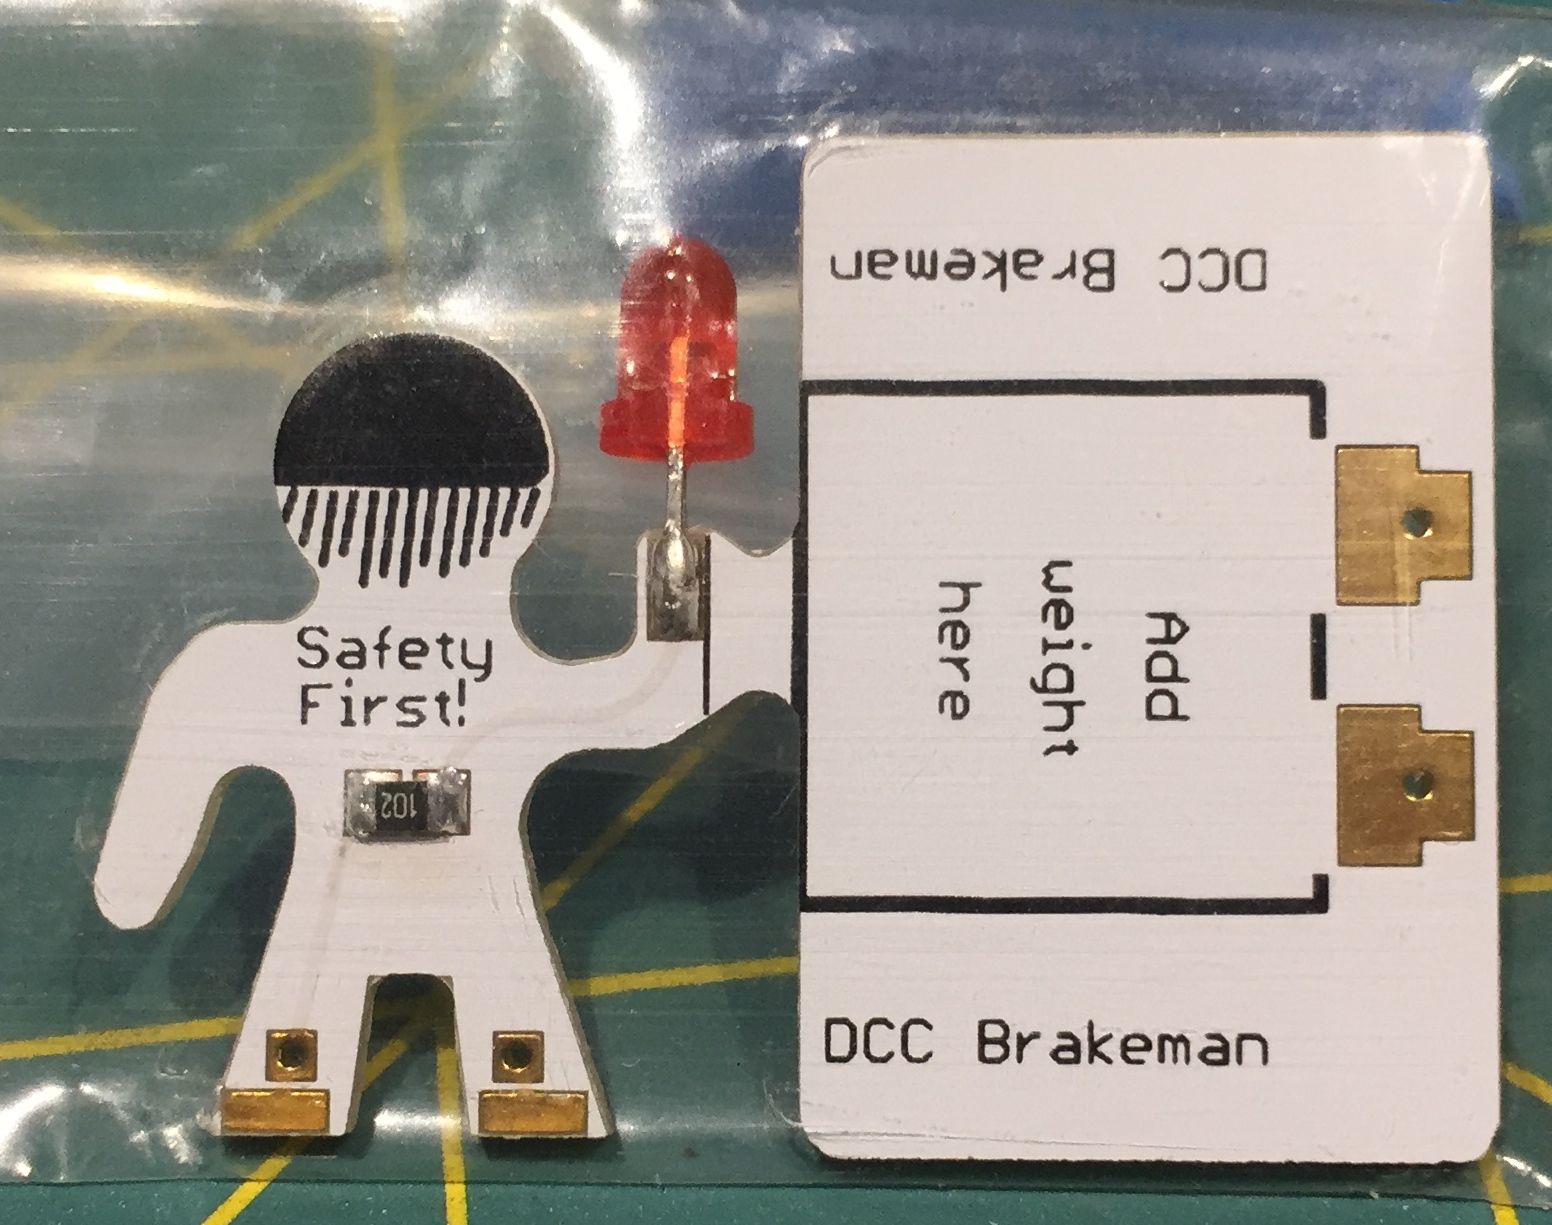
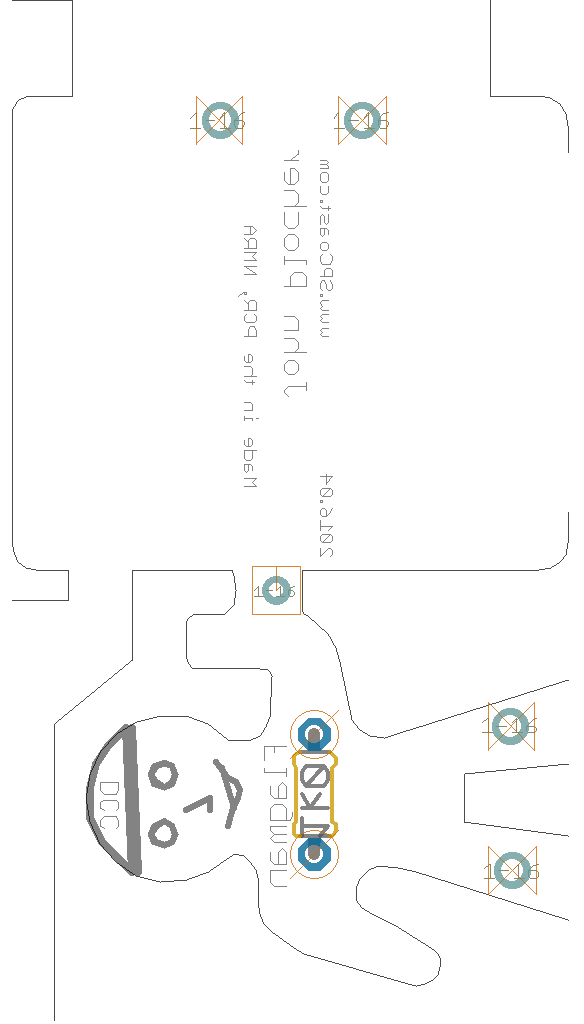
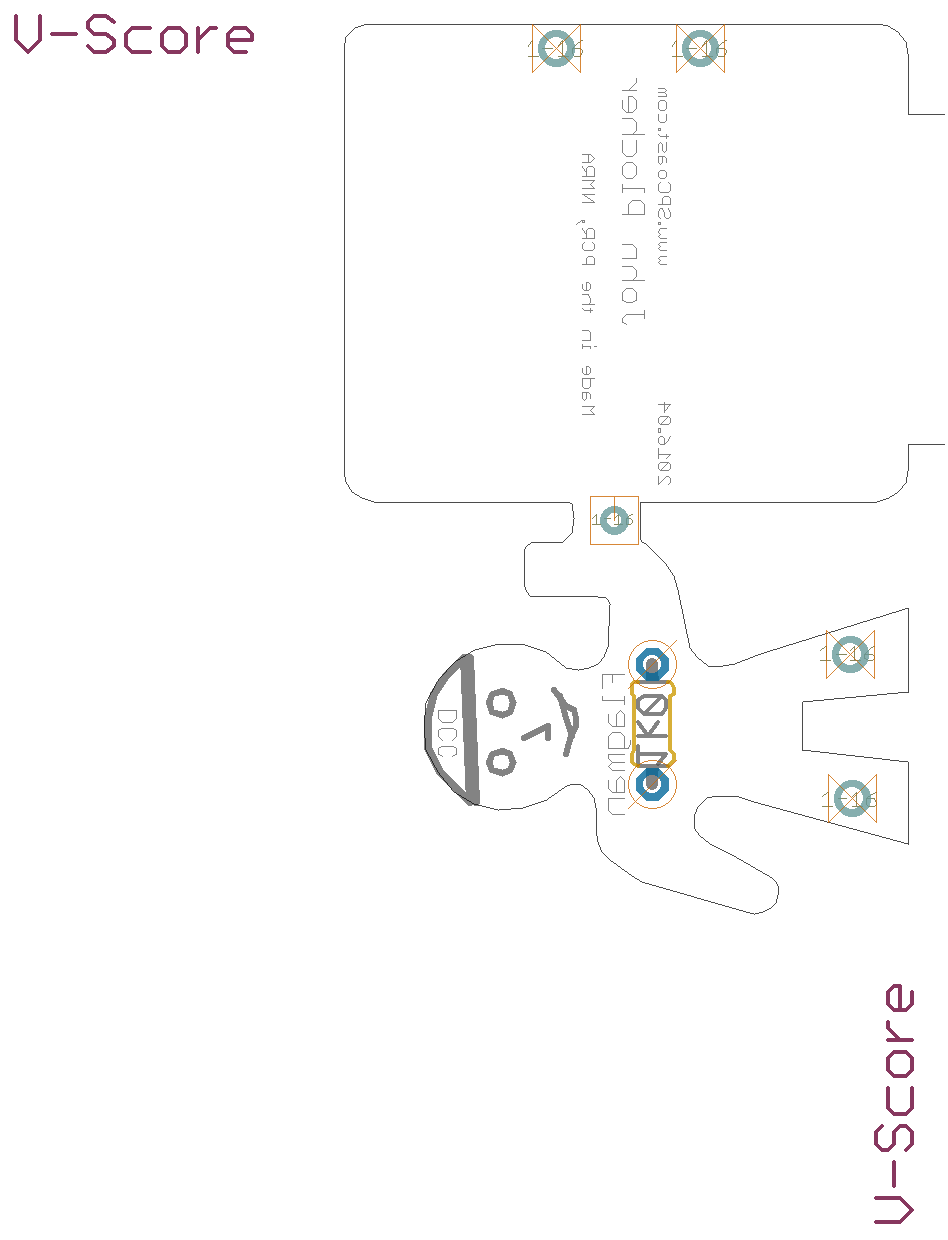
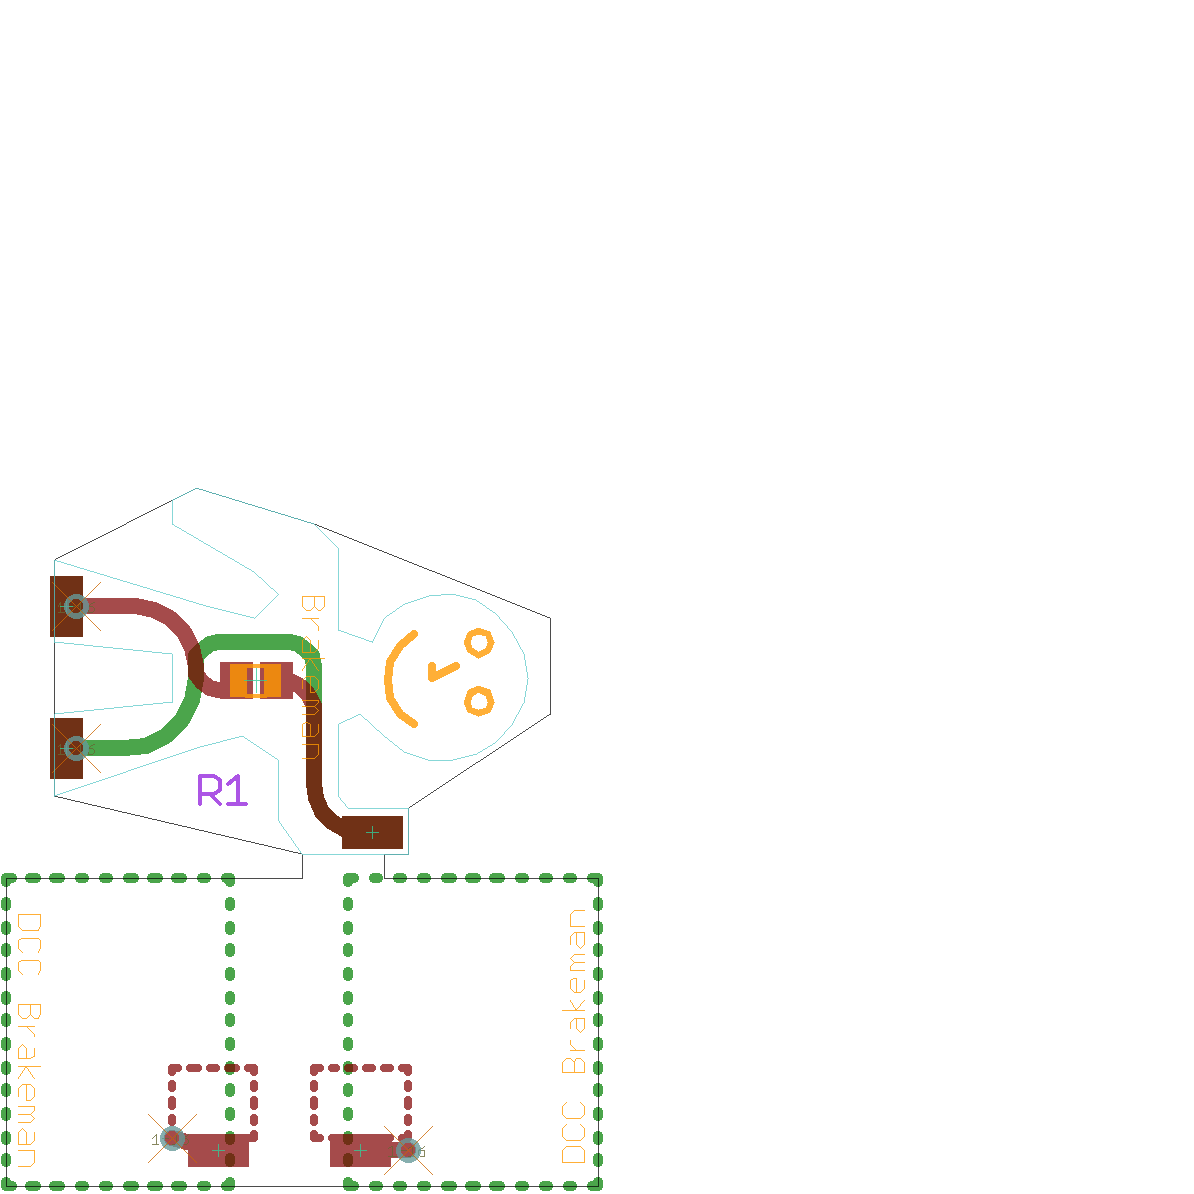
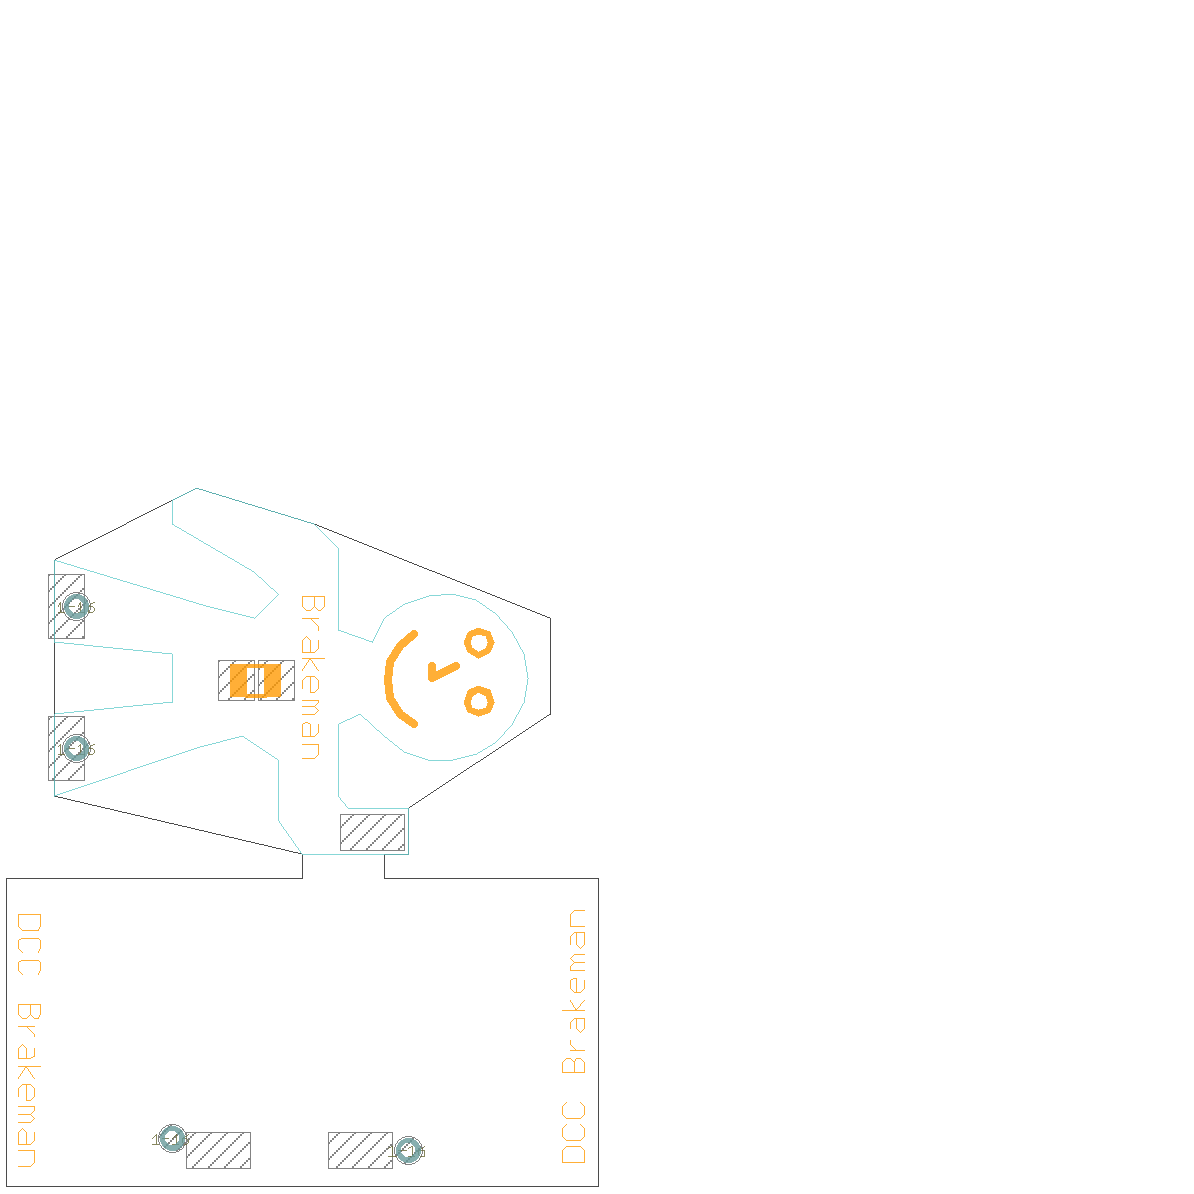
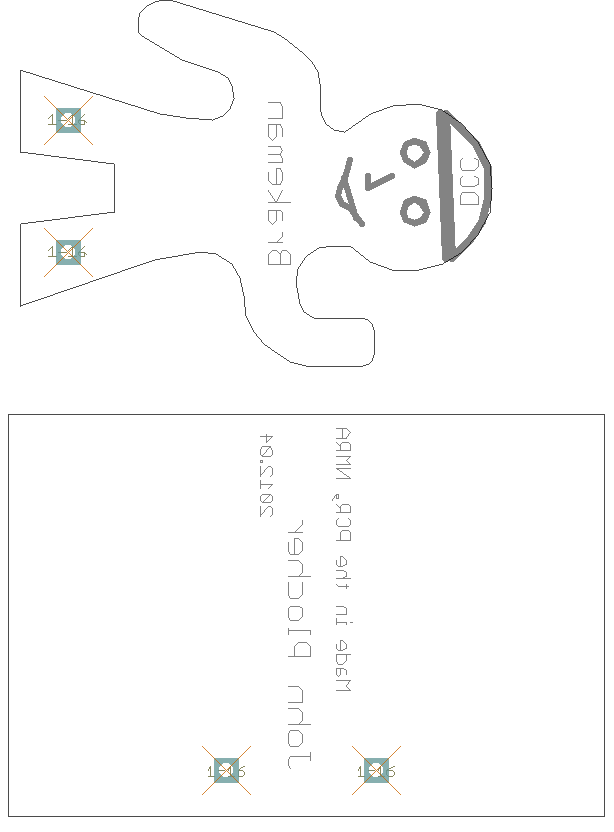
Brakeman
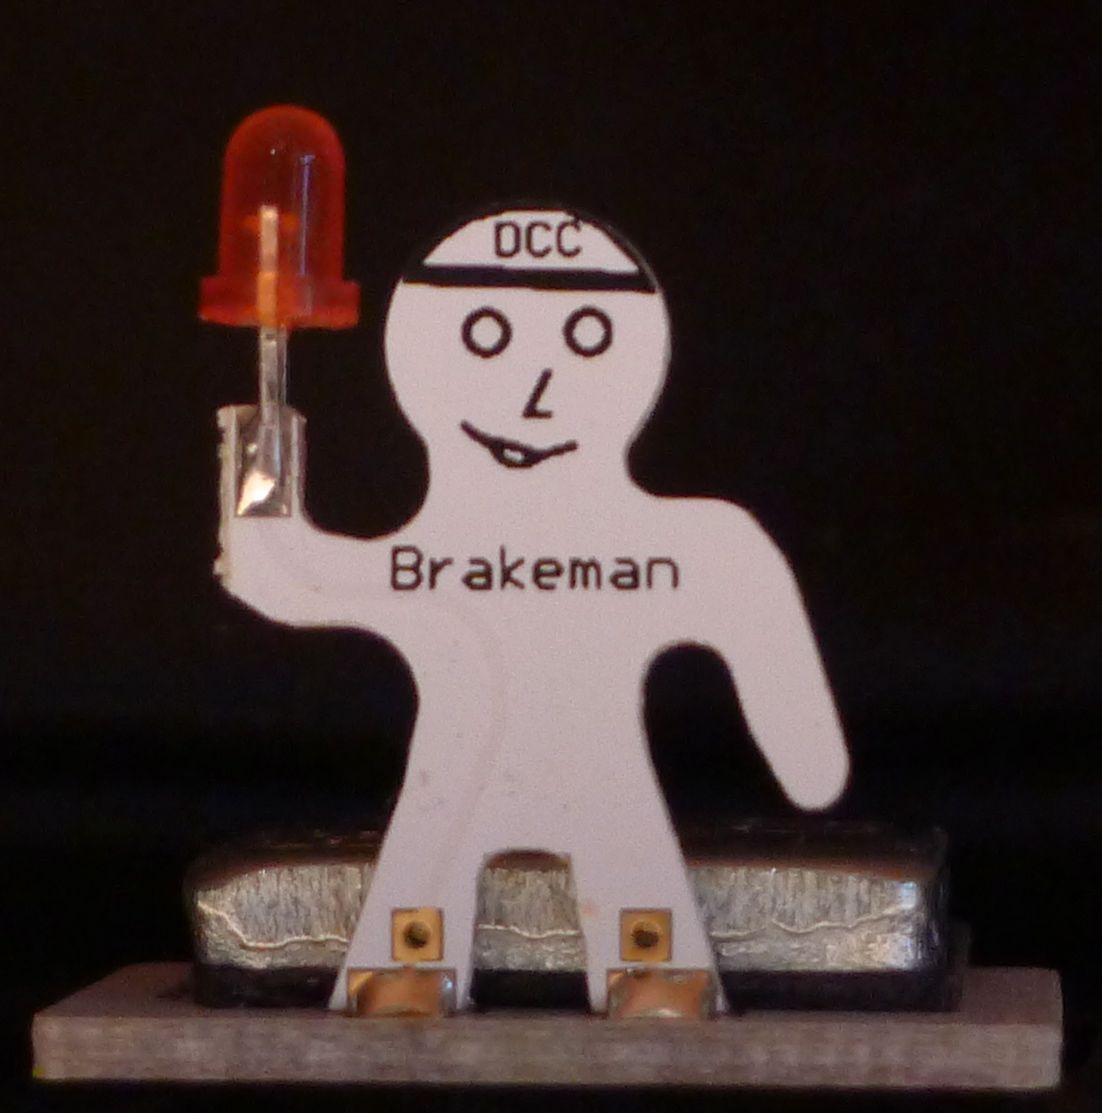
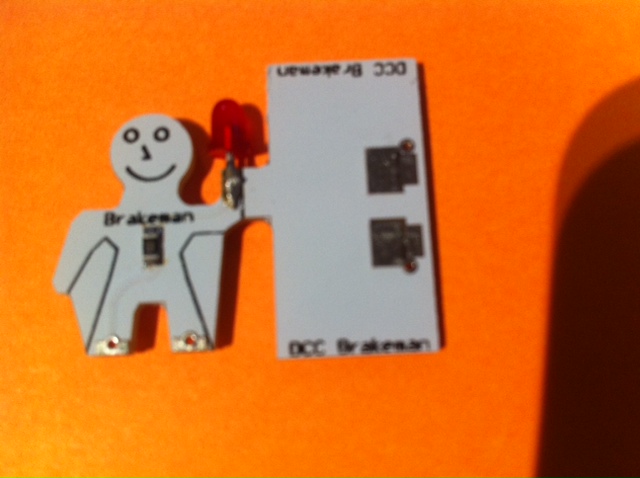
An electronic DCC-track-driven figurine with a red or blue LED
v2.5 supports full SMT fabrication, with a single color on both arms. Previous versions alloed hand assembly and used leaded-LEDs, which let the user choose between blue or red and hand location. For best results when fabing, choose
- ENIG (gold) rather than a Hot Air Solder Layer (HASL) for the pads (gold doesn’t tarnish like tinned pads)
- White or Blue soldermask, Black silkscreen
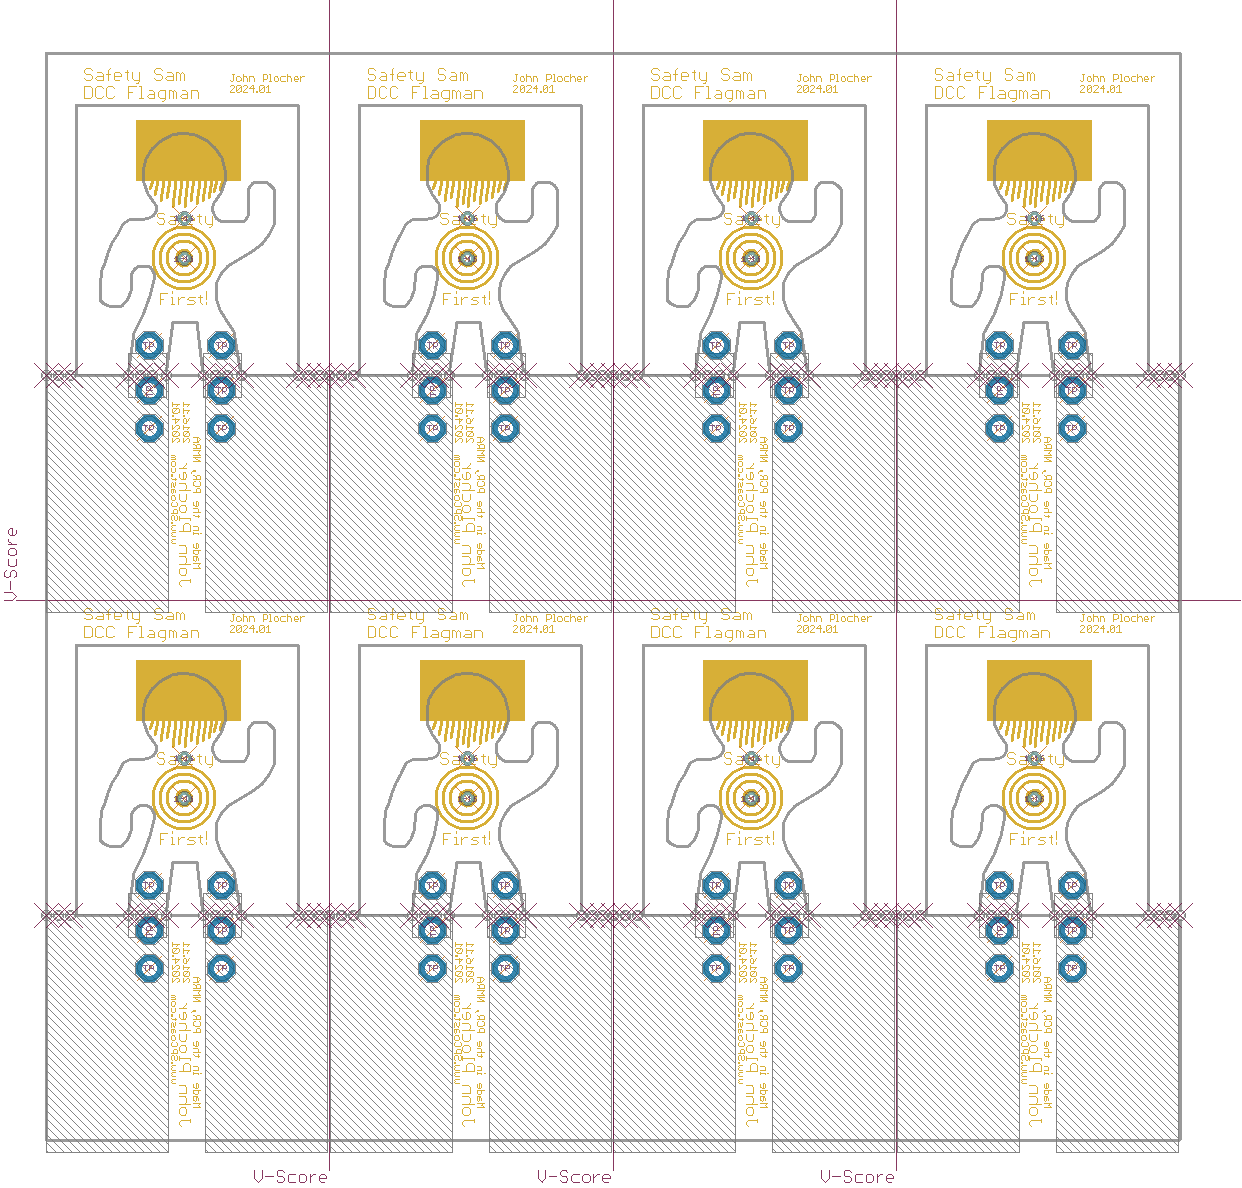
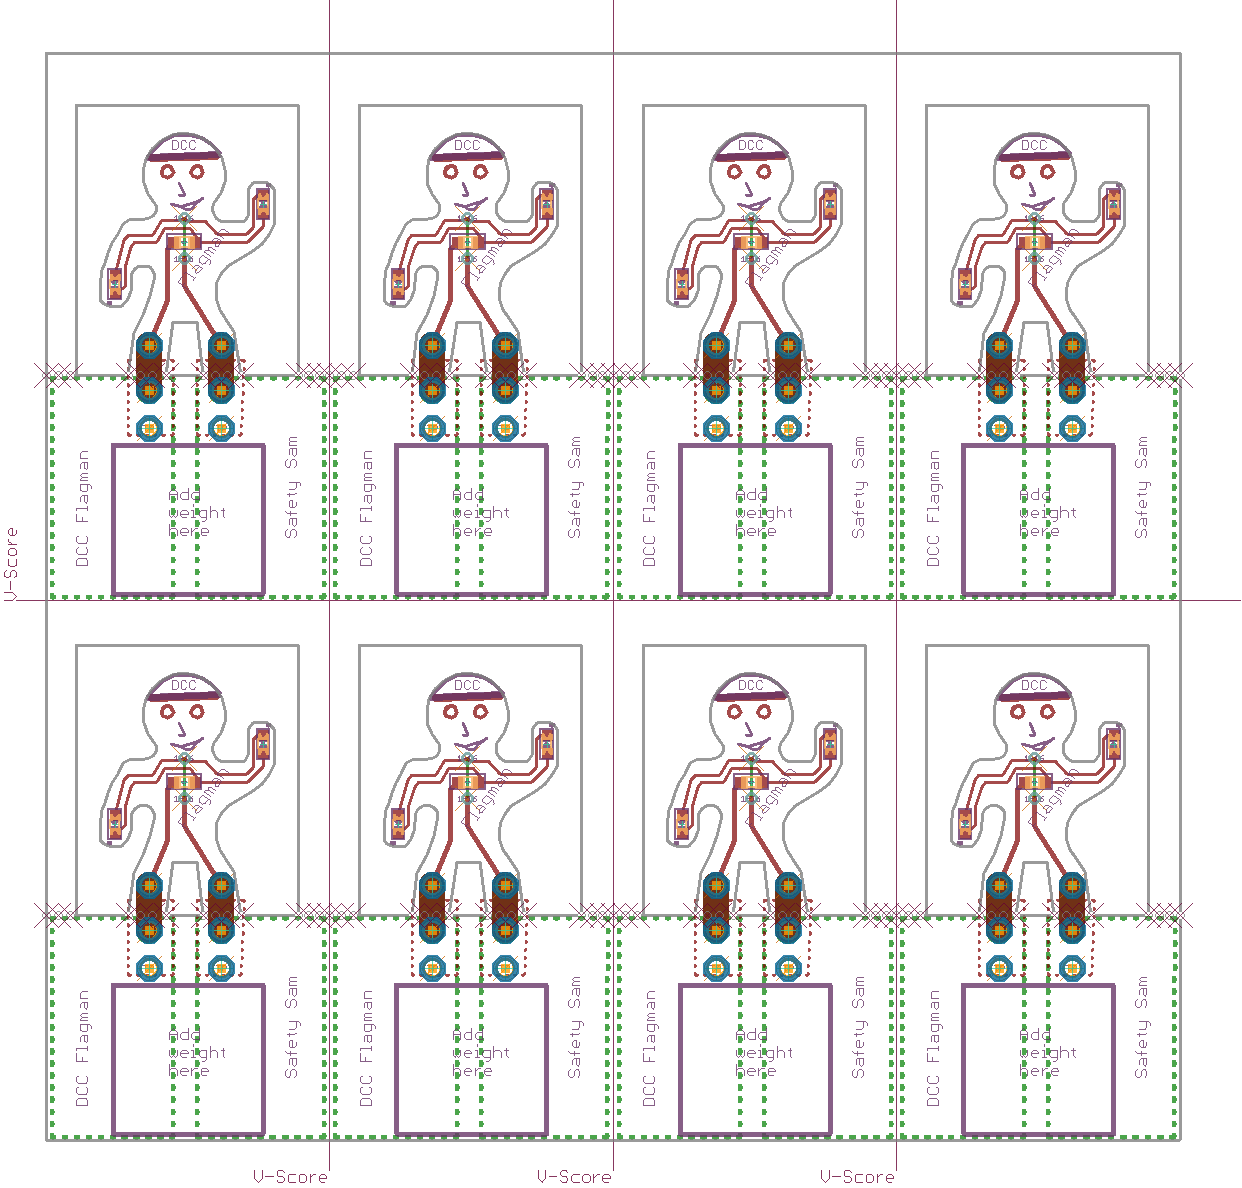
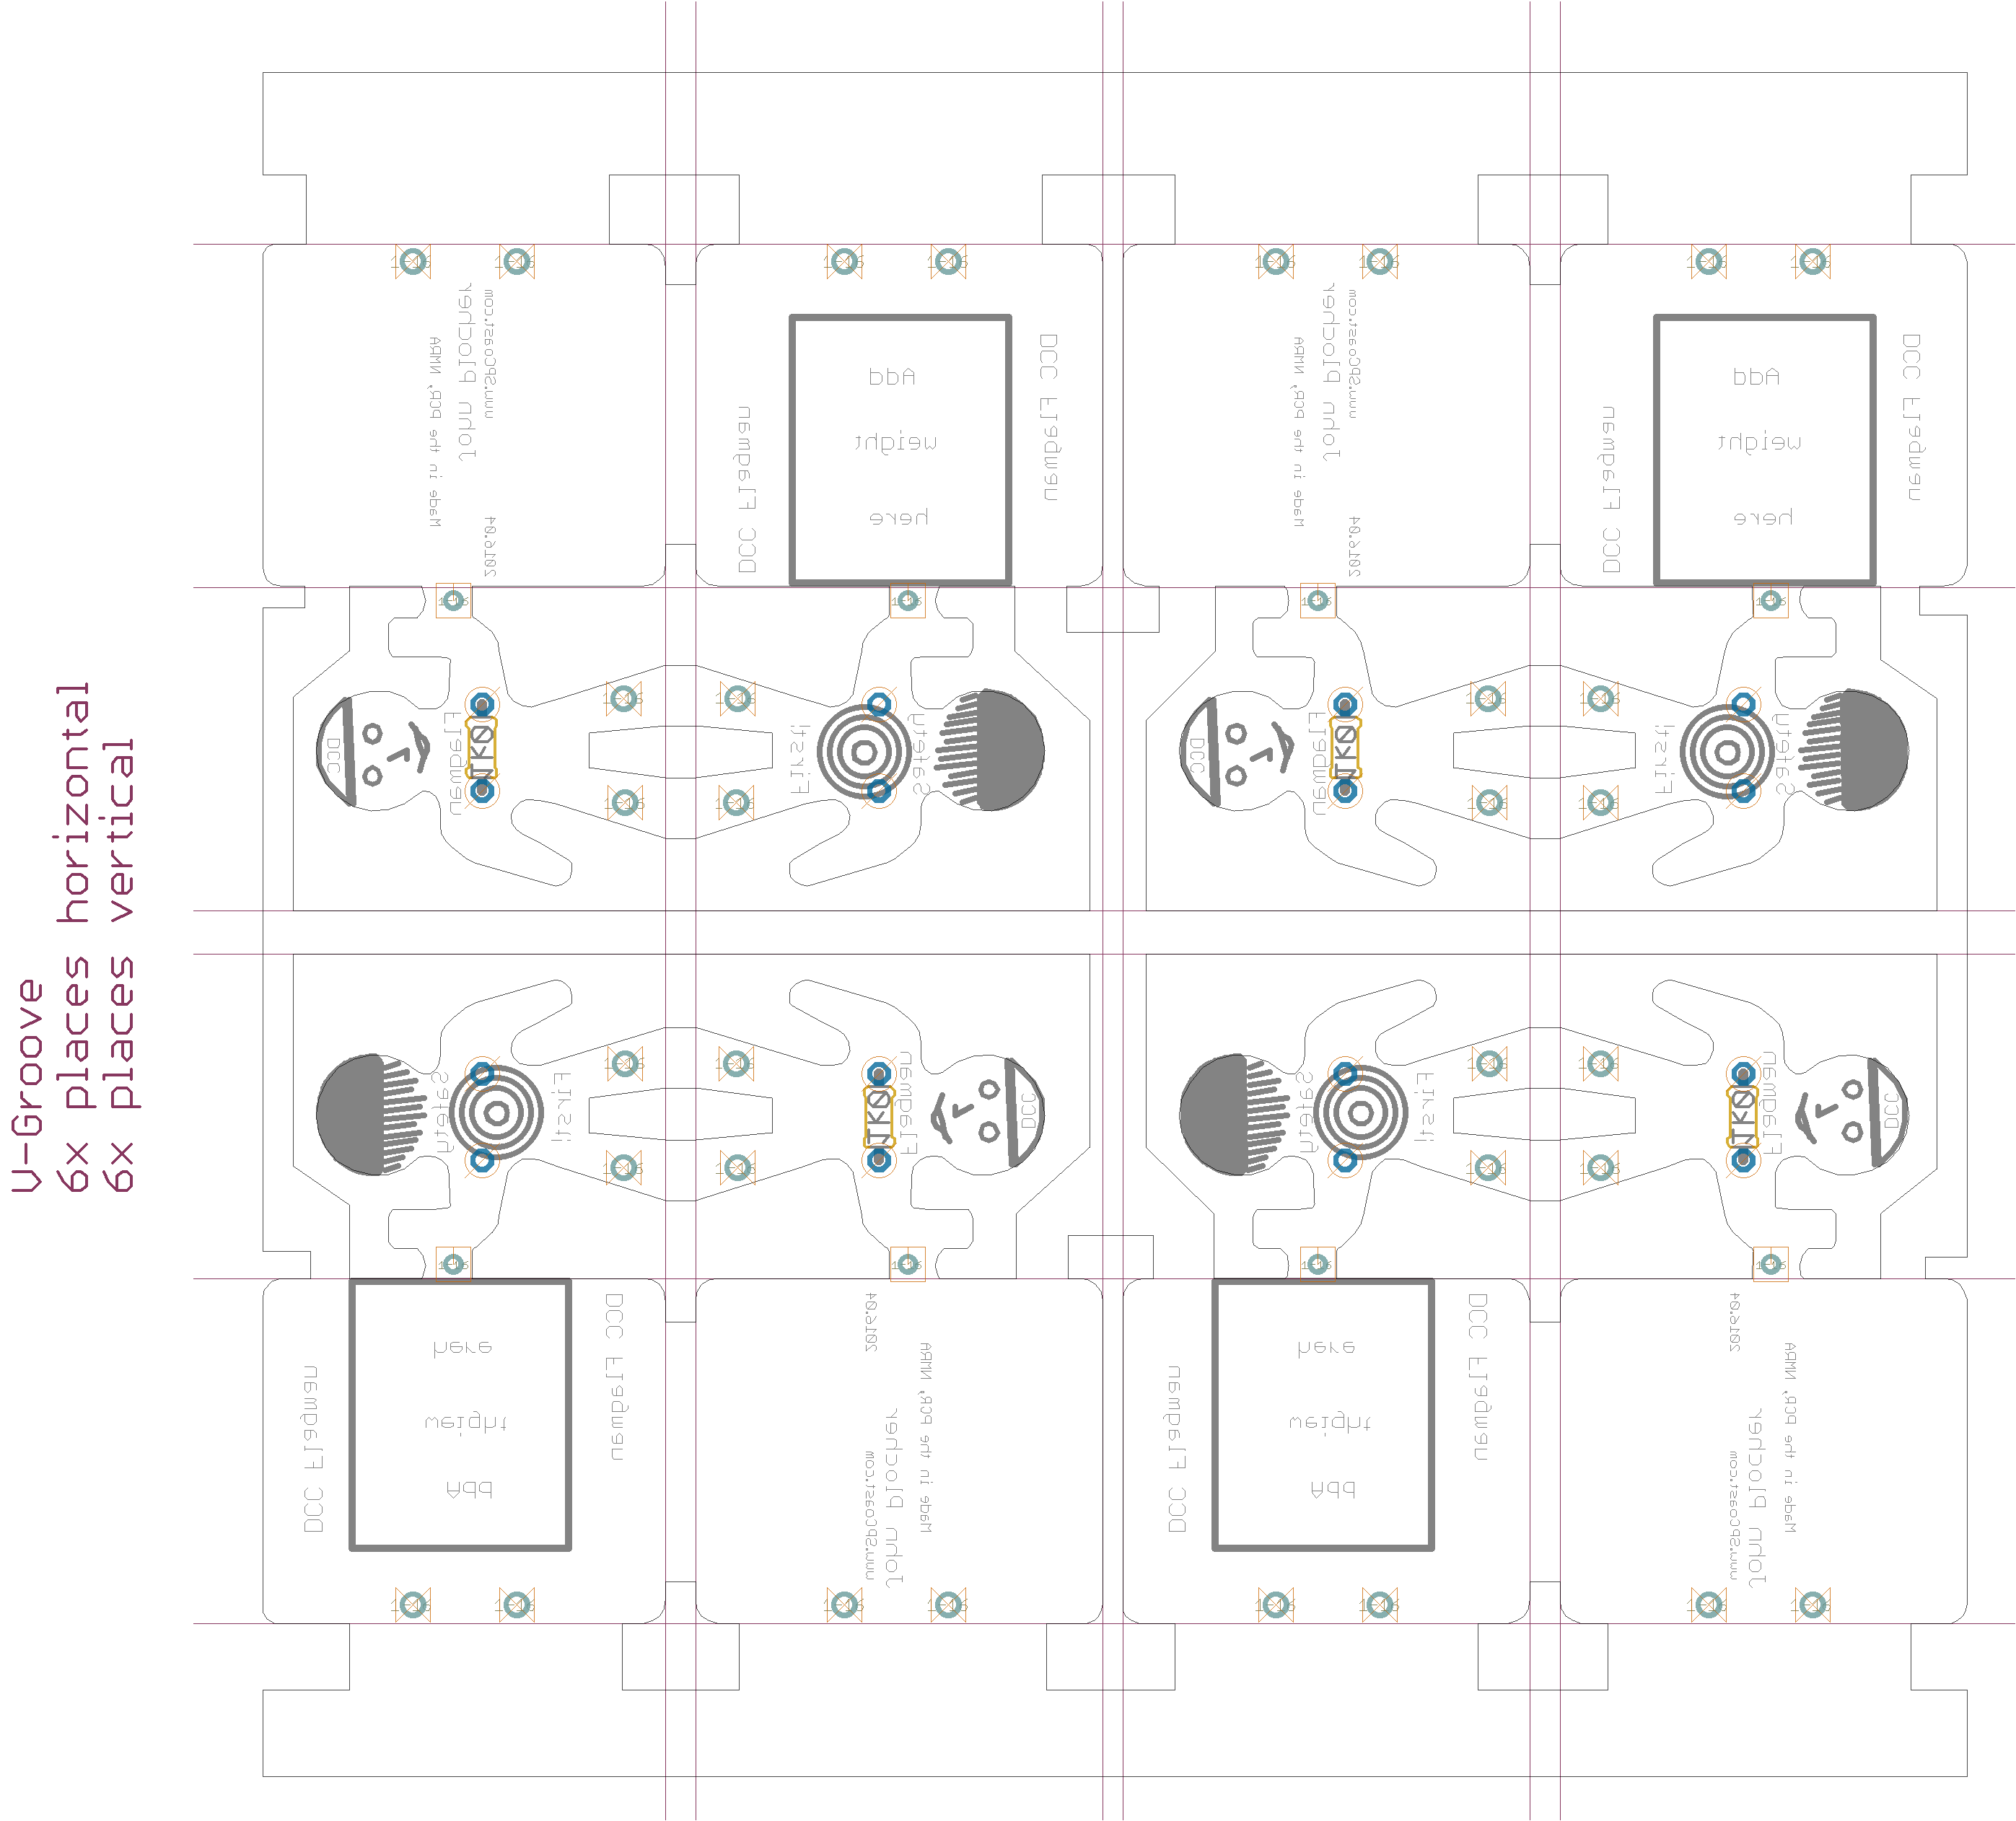
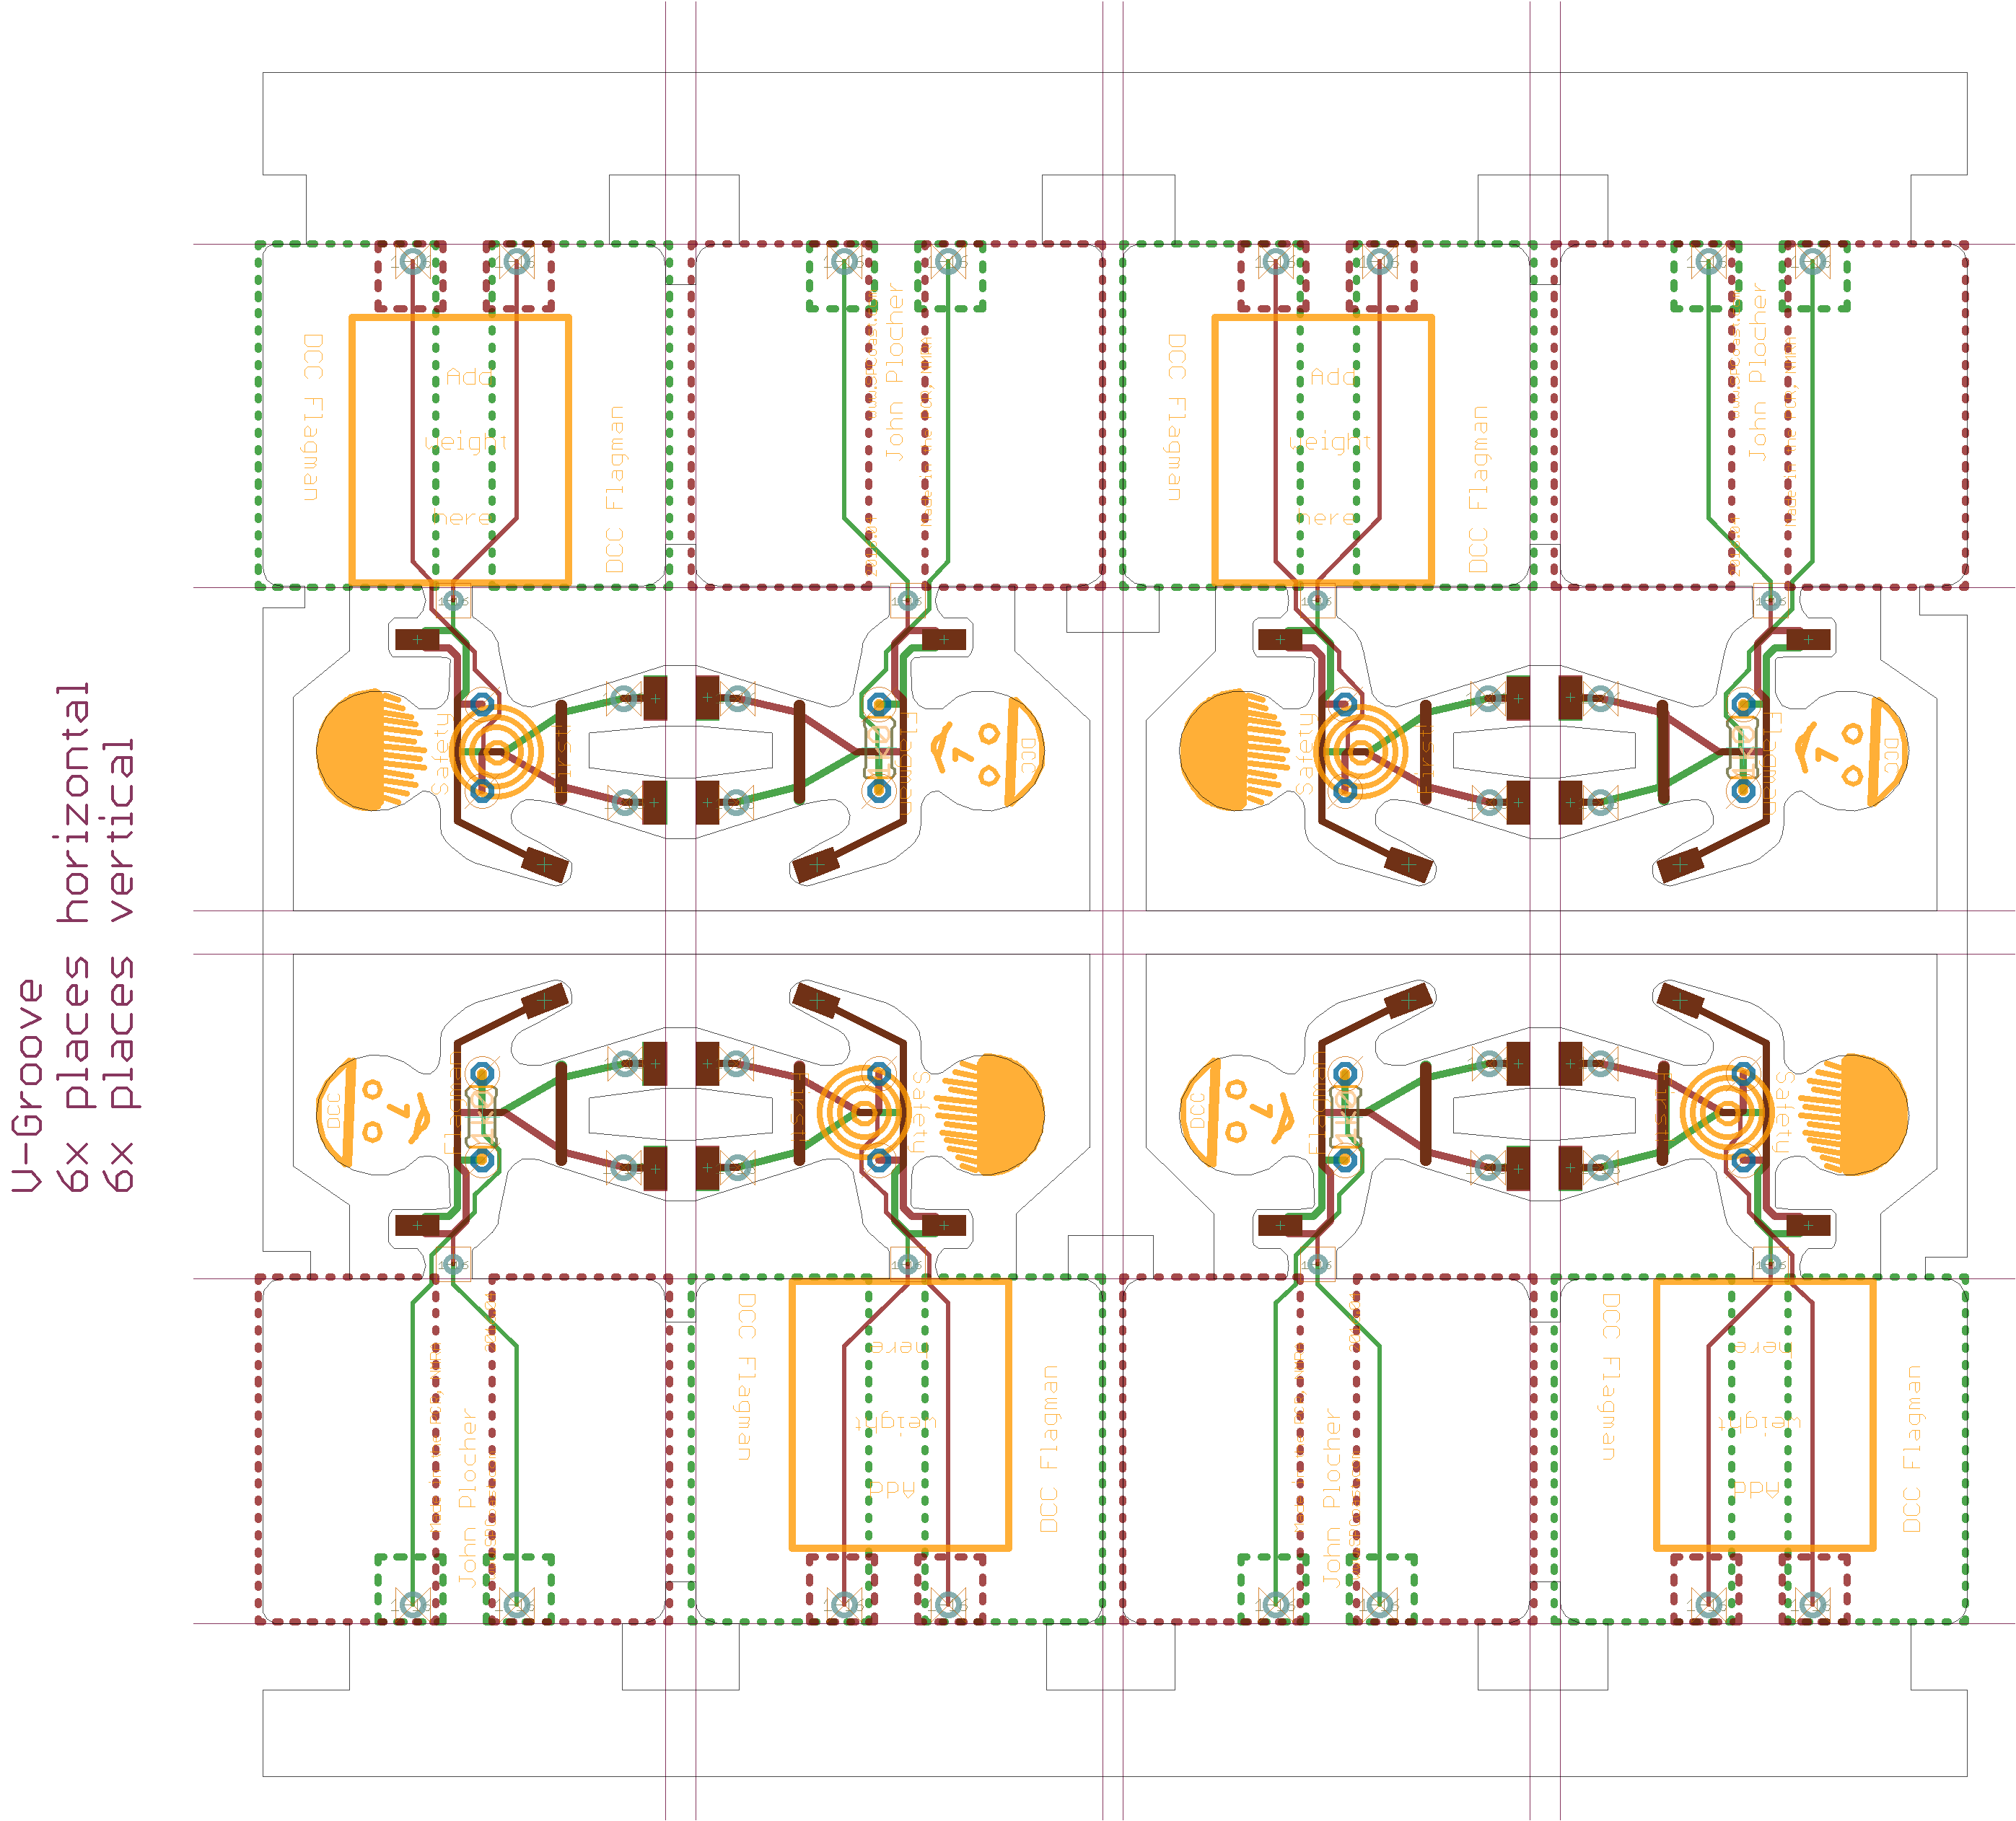
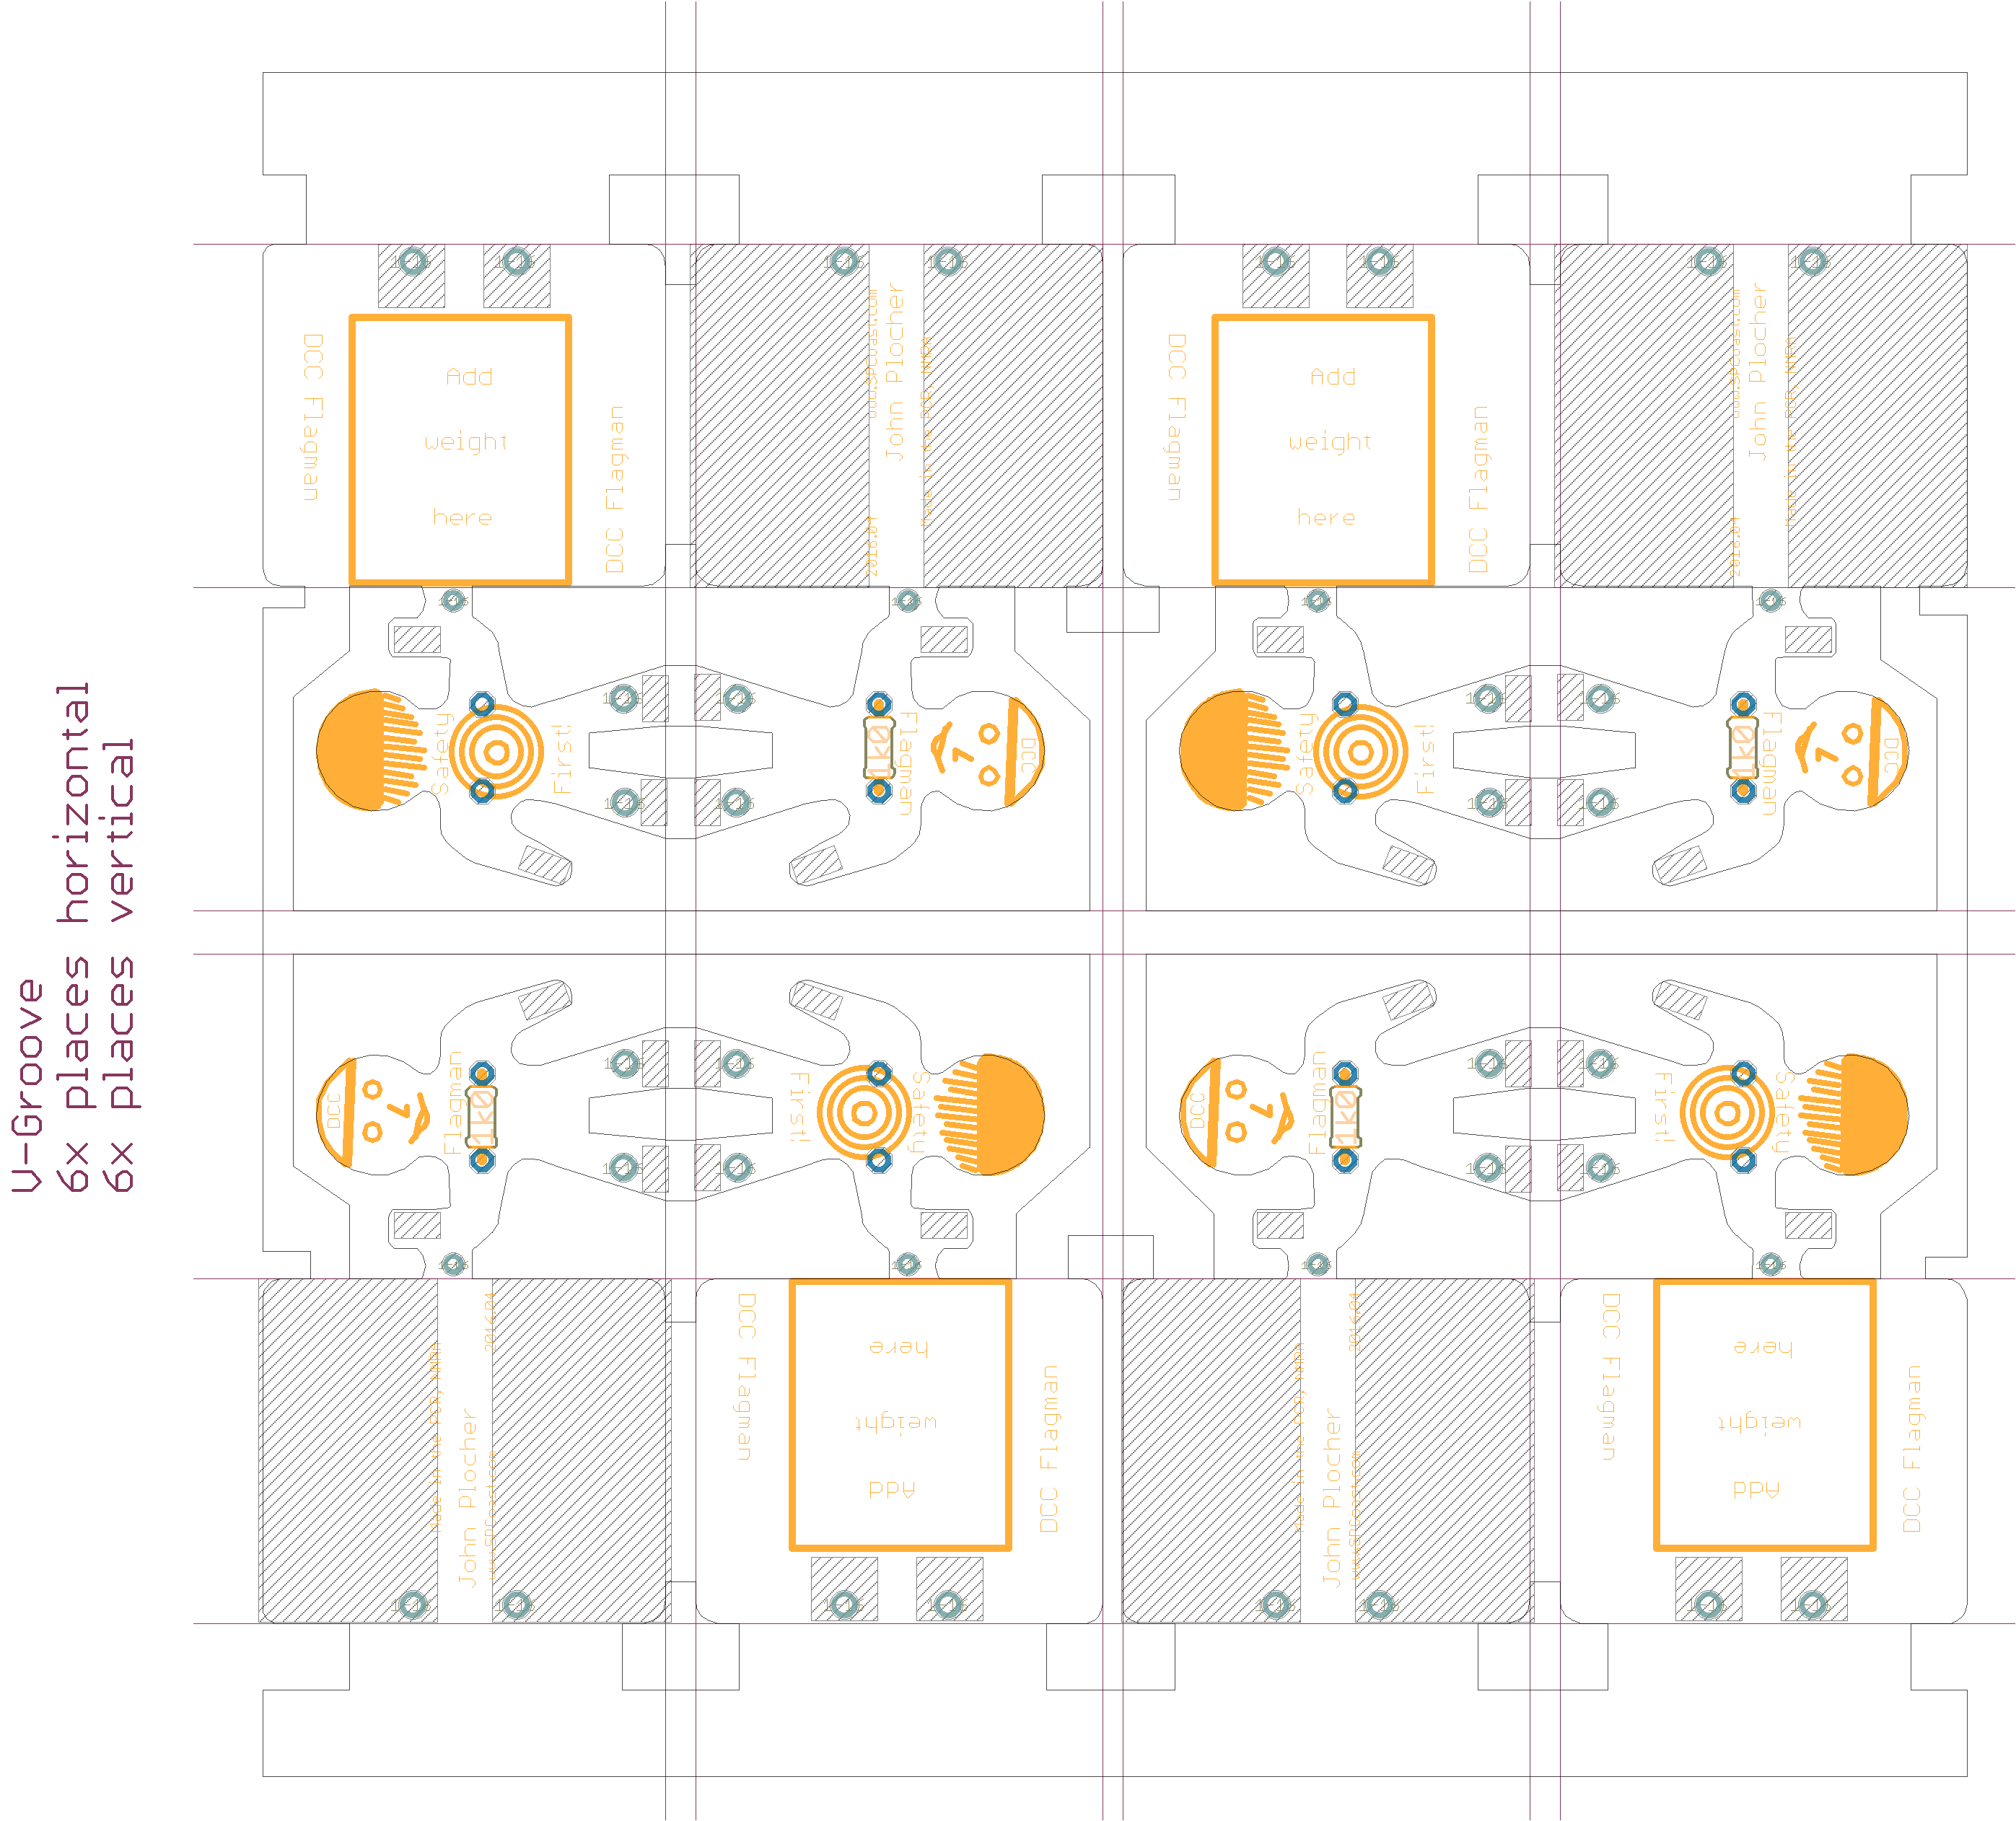
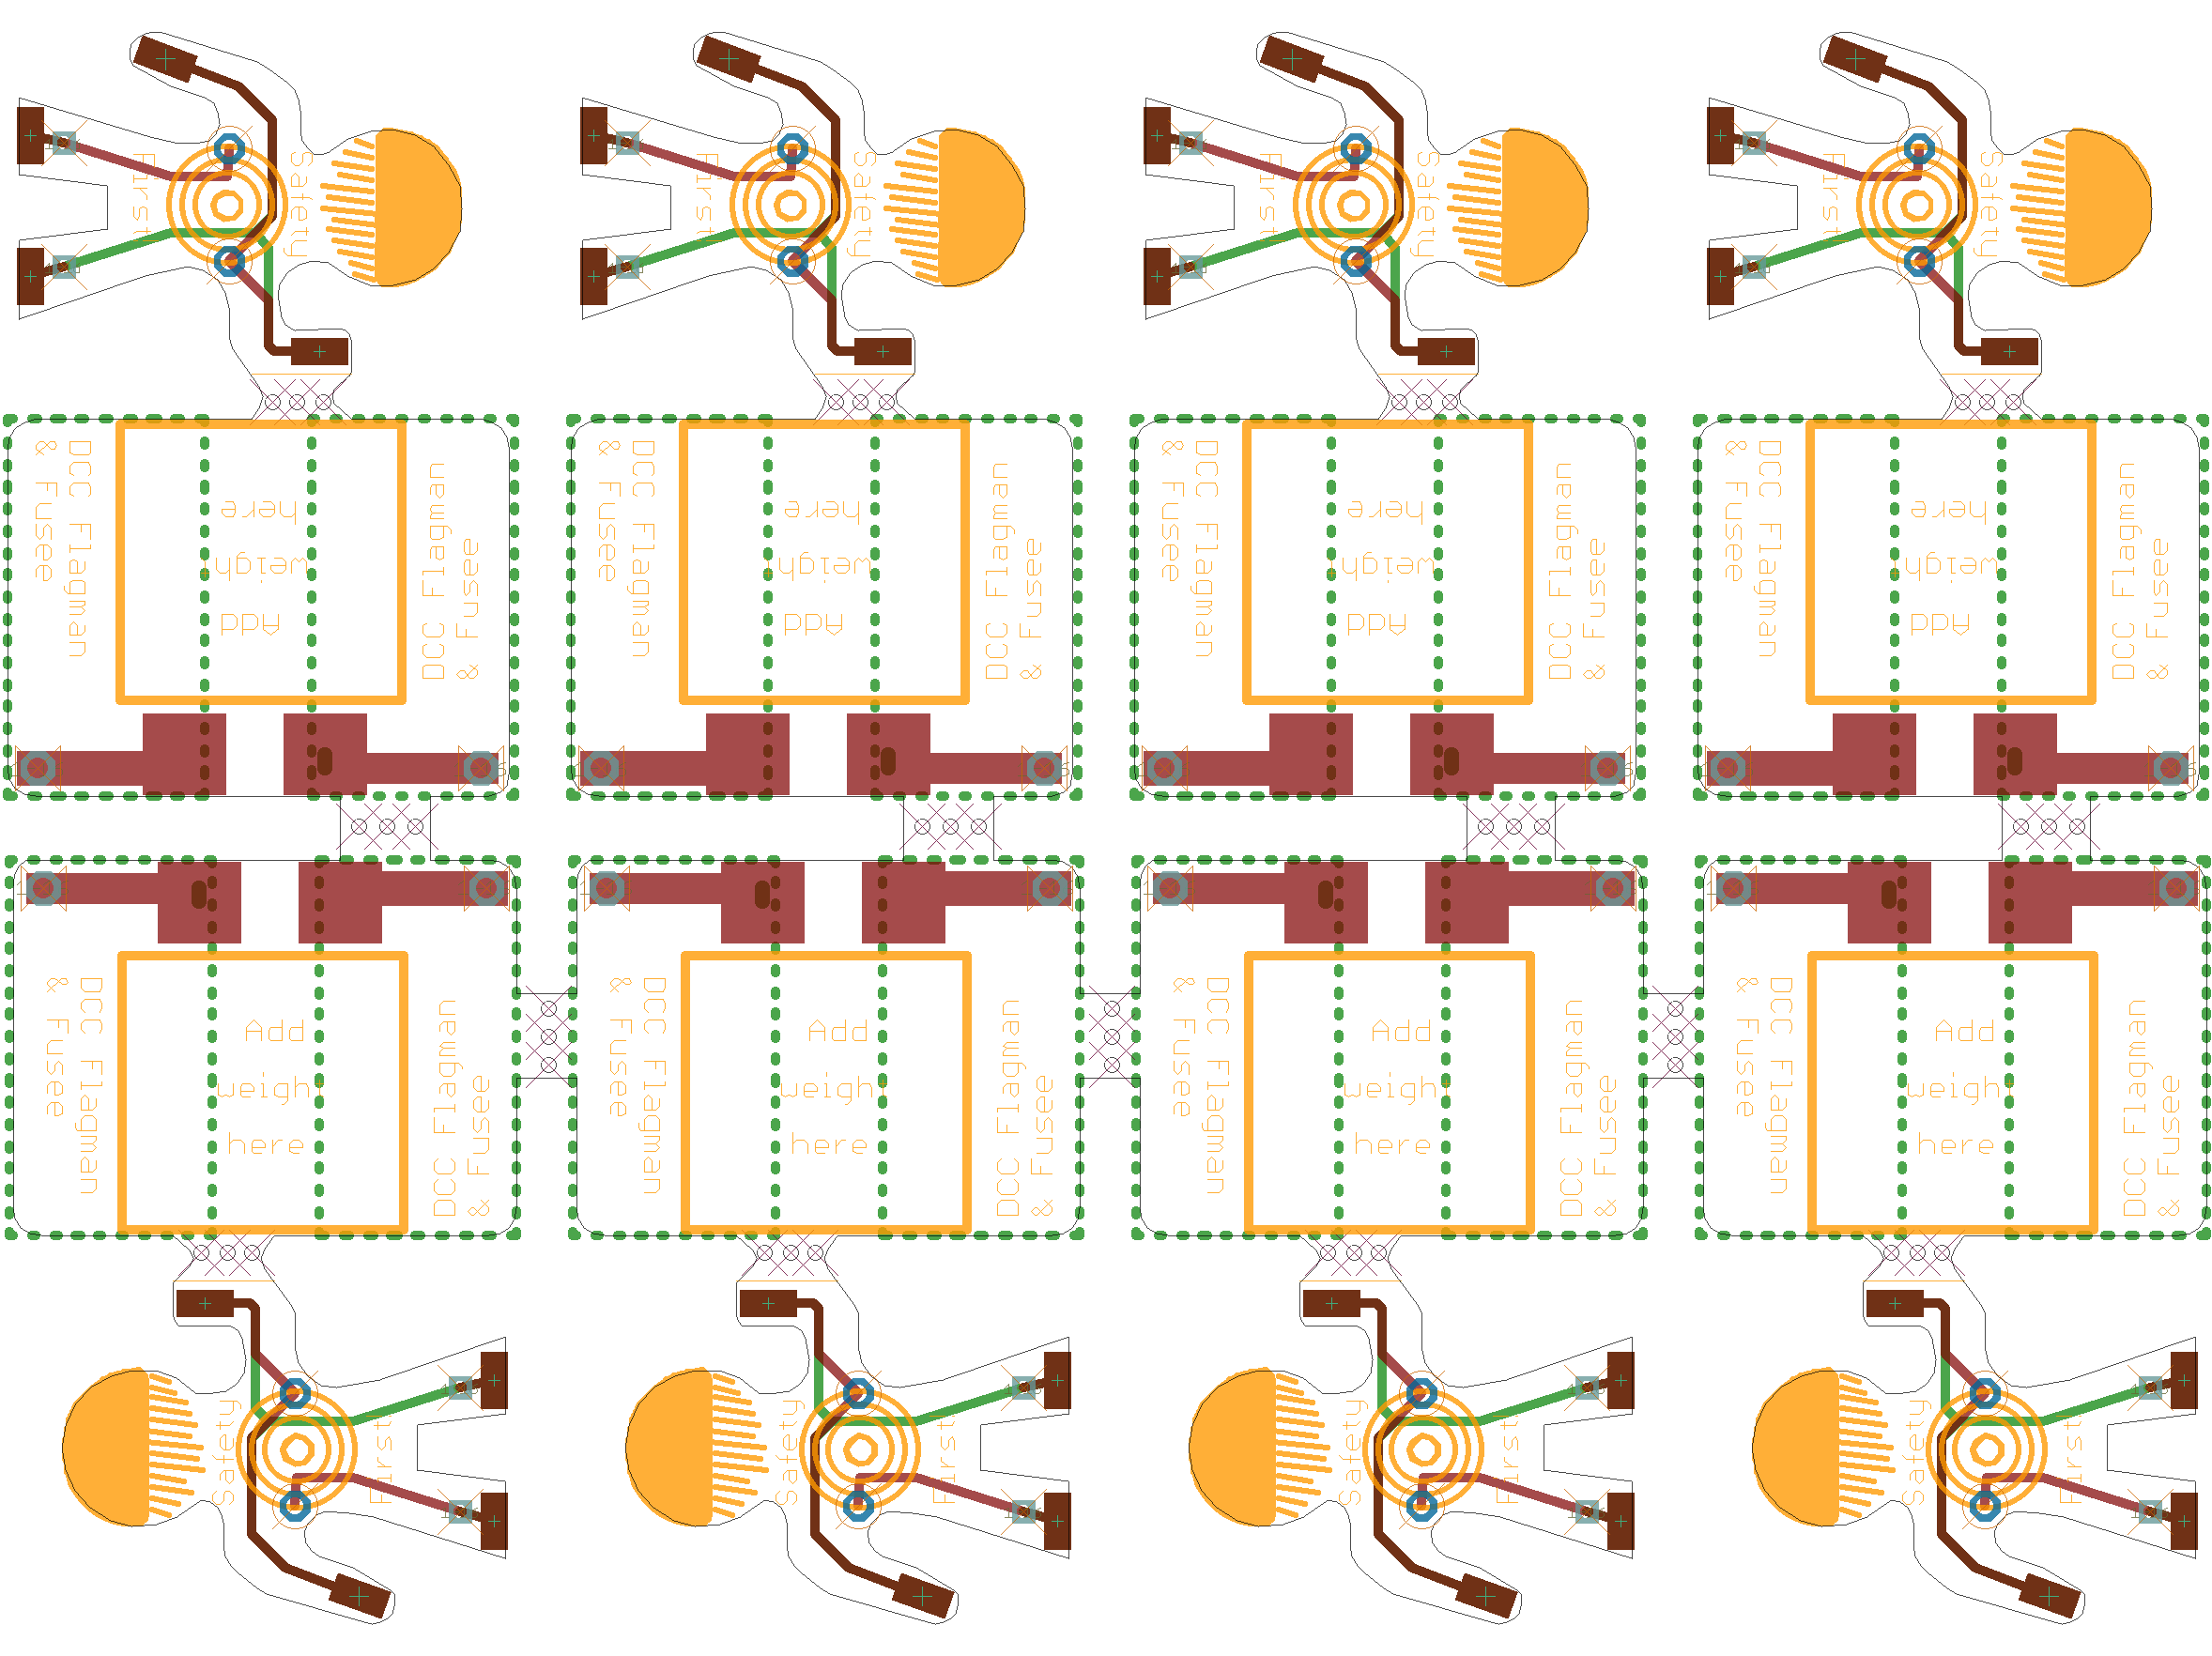
- Panalize = user defined, one design (v2.5), 2 designs (prior versions)
- FR4, 2-layer, 1.6, the other defaults are all OK
|

|
|
|
|
|
|
Download Brakeman_array-old.brd - Eagle PCB board file
Download Brakeman_array.PCBWay.BOM -
Download Brakeman_array.PCBWay.BOM -
Download Brakeman_array.PCBWay.Centroid -
Download Brakeman_array.PCBWay.Centroid -
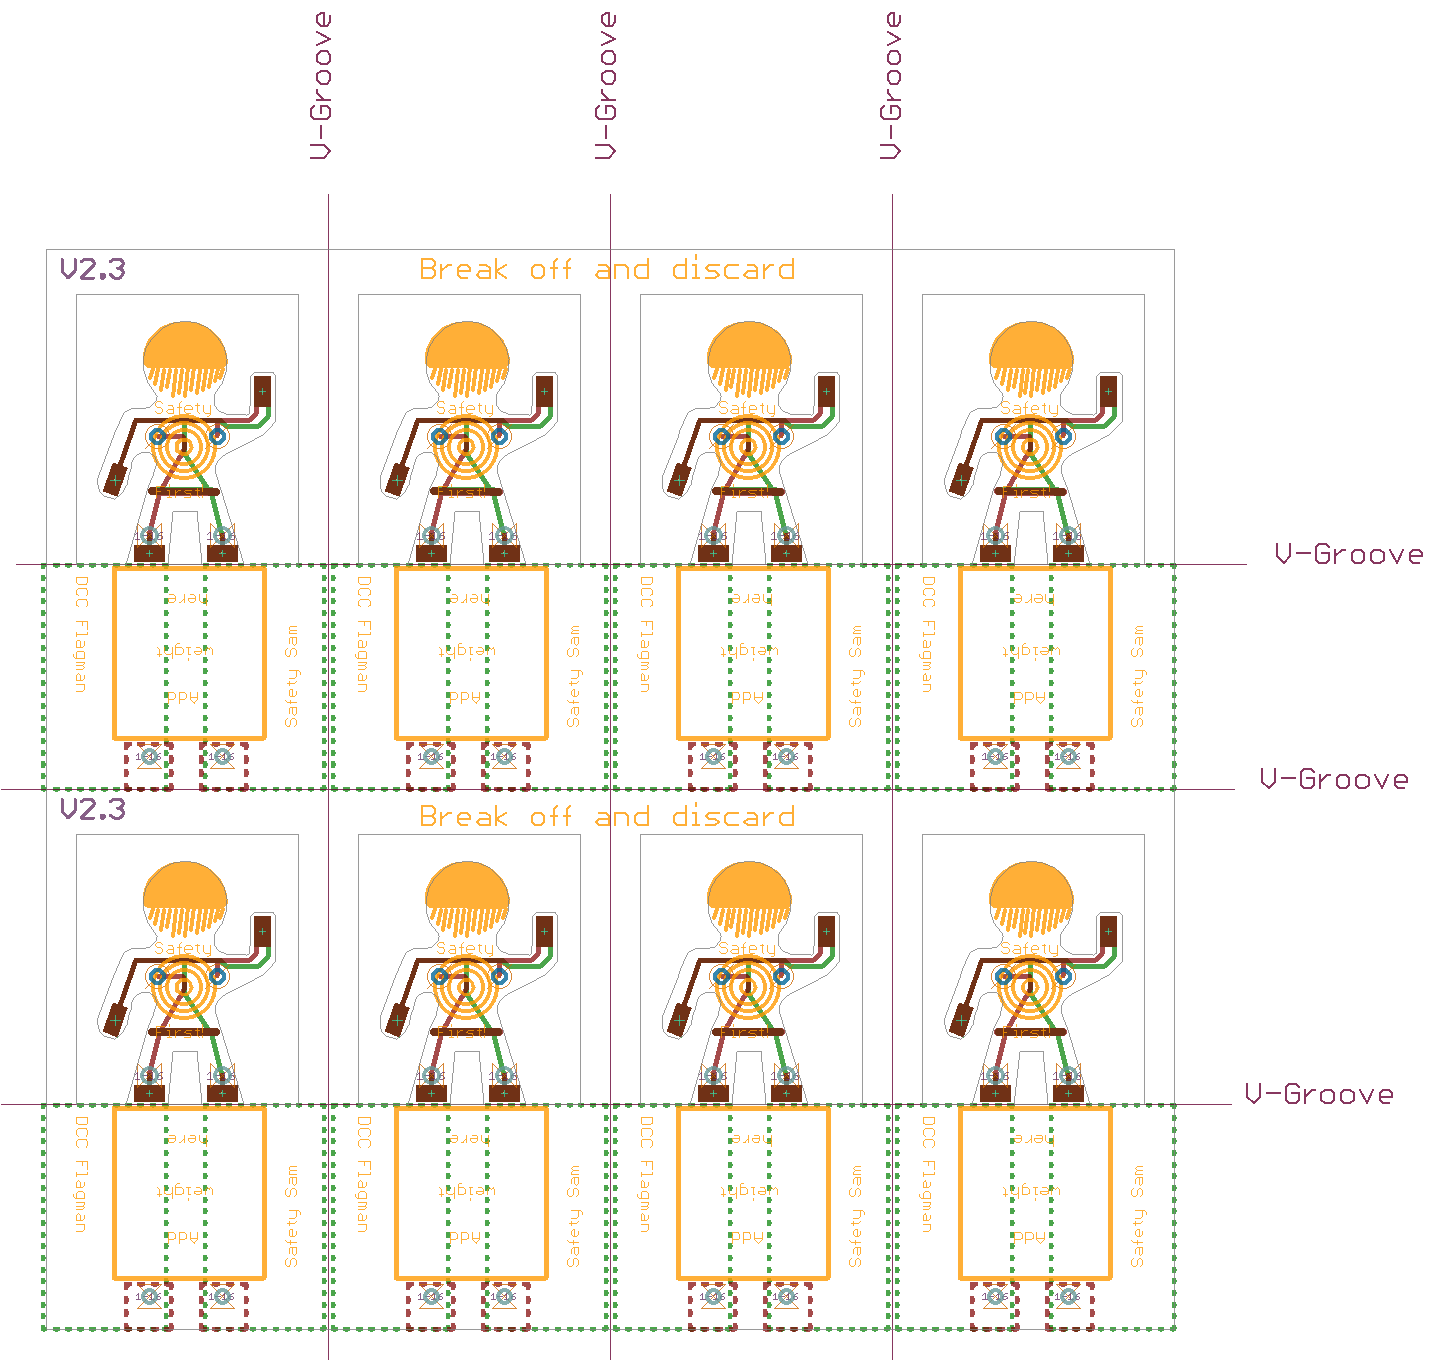
Brakeman Version 2.5
First built: 2024-01
|
|
|
|||
|
|
|
UNPUBLISHED
Brakeman Version 2.4
First built: 2016-11

|
|
|
|||
|
|
|


UNPUBLISHED
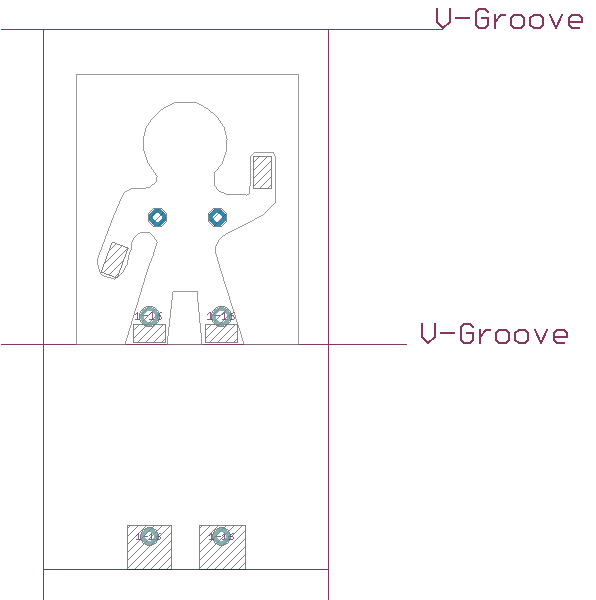
Brakeman Version 2.3
First built: 2016.11
- 0.0 - Initial conceptual version
- 1.0 - simplistic con-joined conceptual version
- 1.1 - more realistic conceptual version
- 1.2 - First production run with SEEED Fusion
- 1.3 - Panelized v1.2
- 2.0 - Singleton - better documentation in the gerber files
adds a couple of traces between the base and the figure to allow full panel prebuilds and easy testing
adds back the vias on the feet to allow for adding support wires to reinforce the solder joint
the figure is now wearing a belt :-) - 2.1 - Panelized 2.0
- 2.2 - More robust panel
- 2.3 - Design for fabrication and assembly </ul

|
|
|
|||
|
|
|


Download Brakeman.parts - Parts List (spreadsheet data)
Download Brakeman_array.gerbers.zip - Gerber Fabrication files
Download Brakeman_array.parts - Parts List (spreadsheet data)
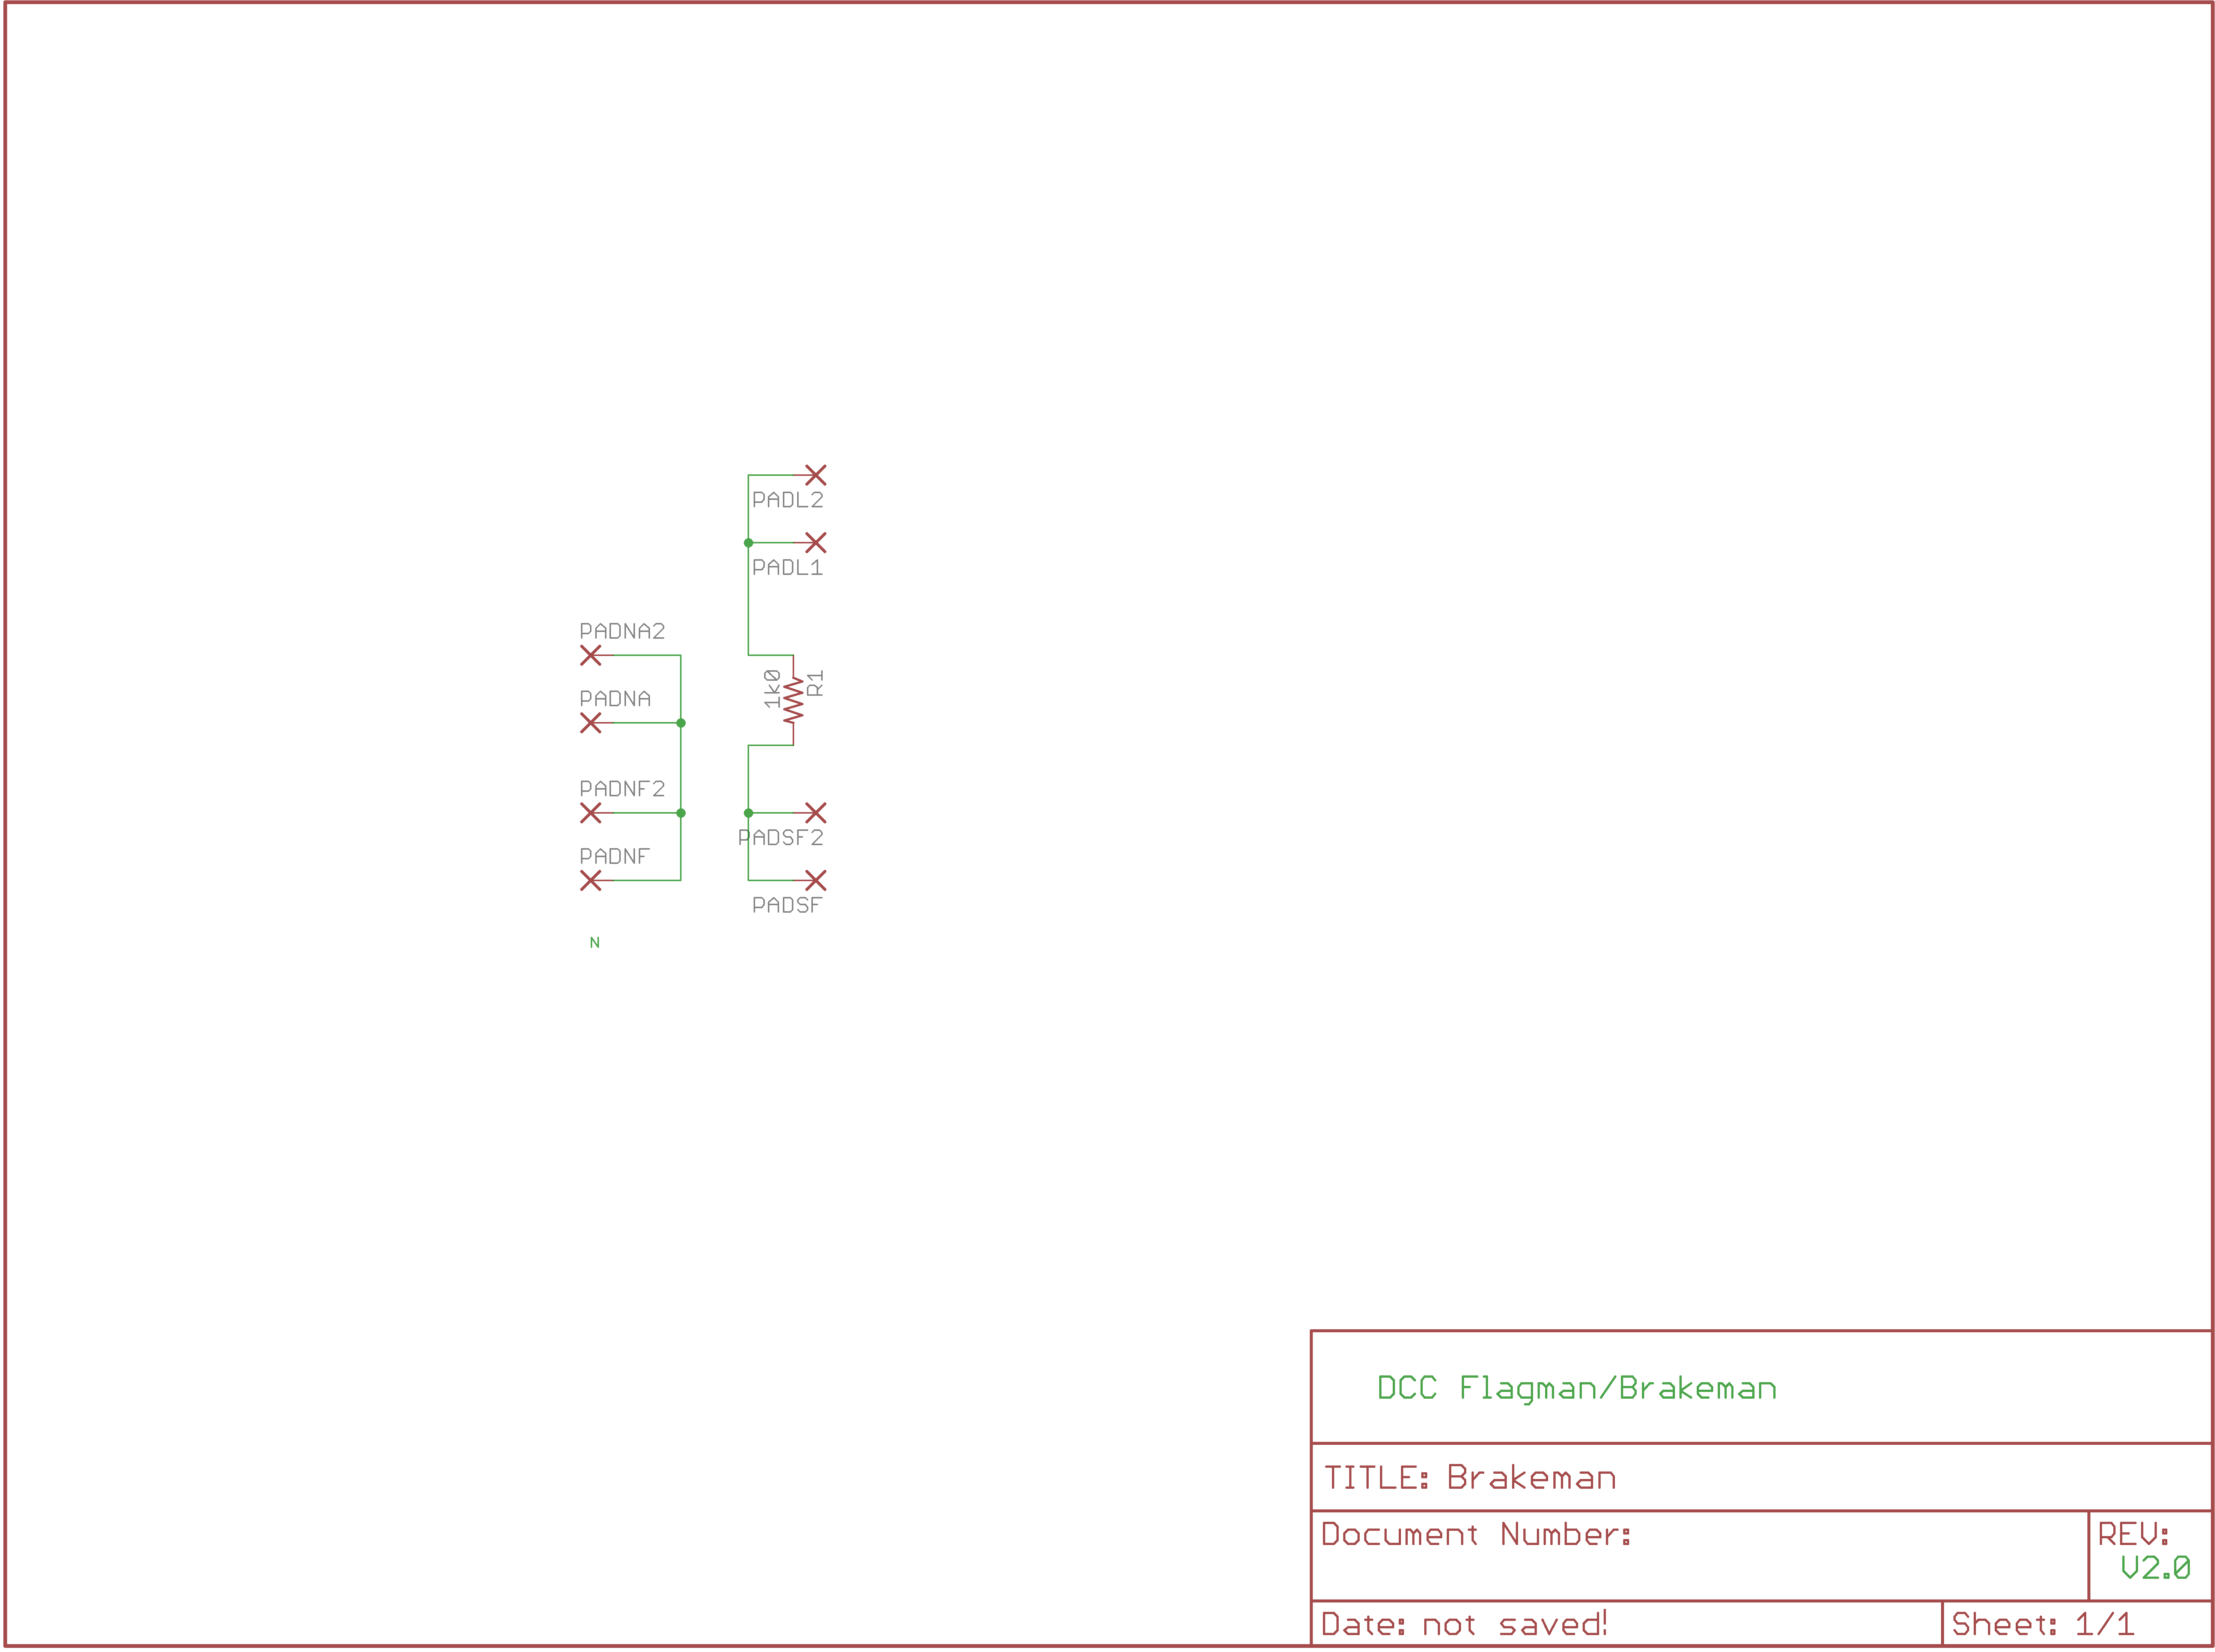
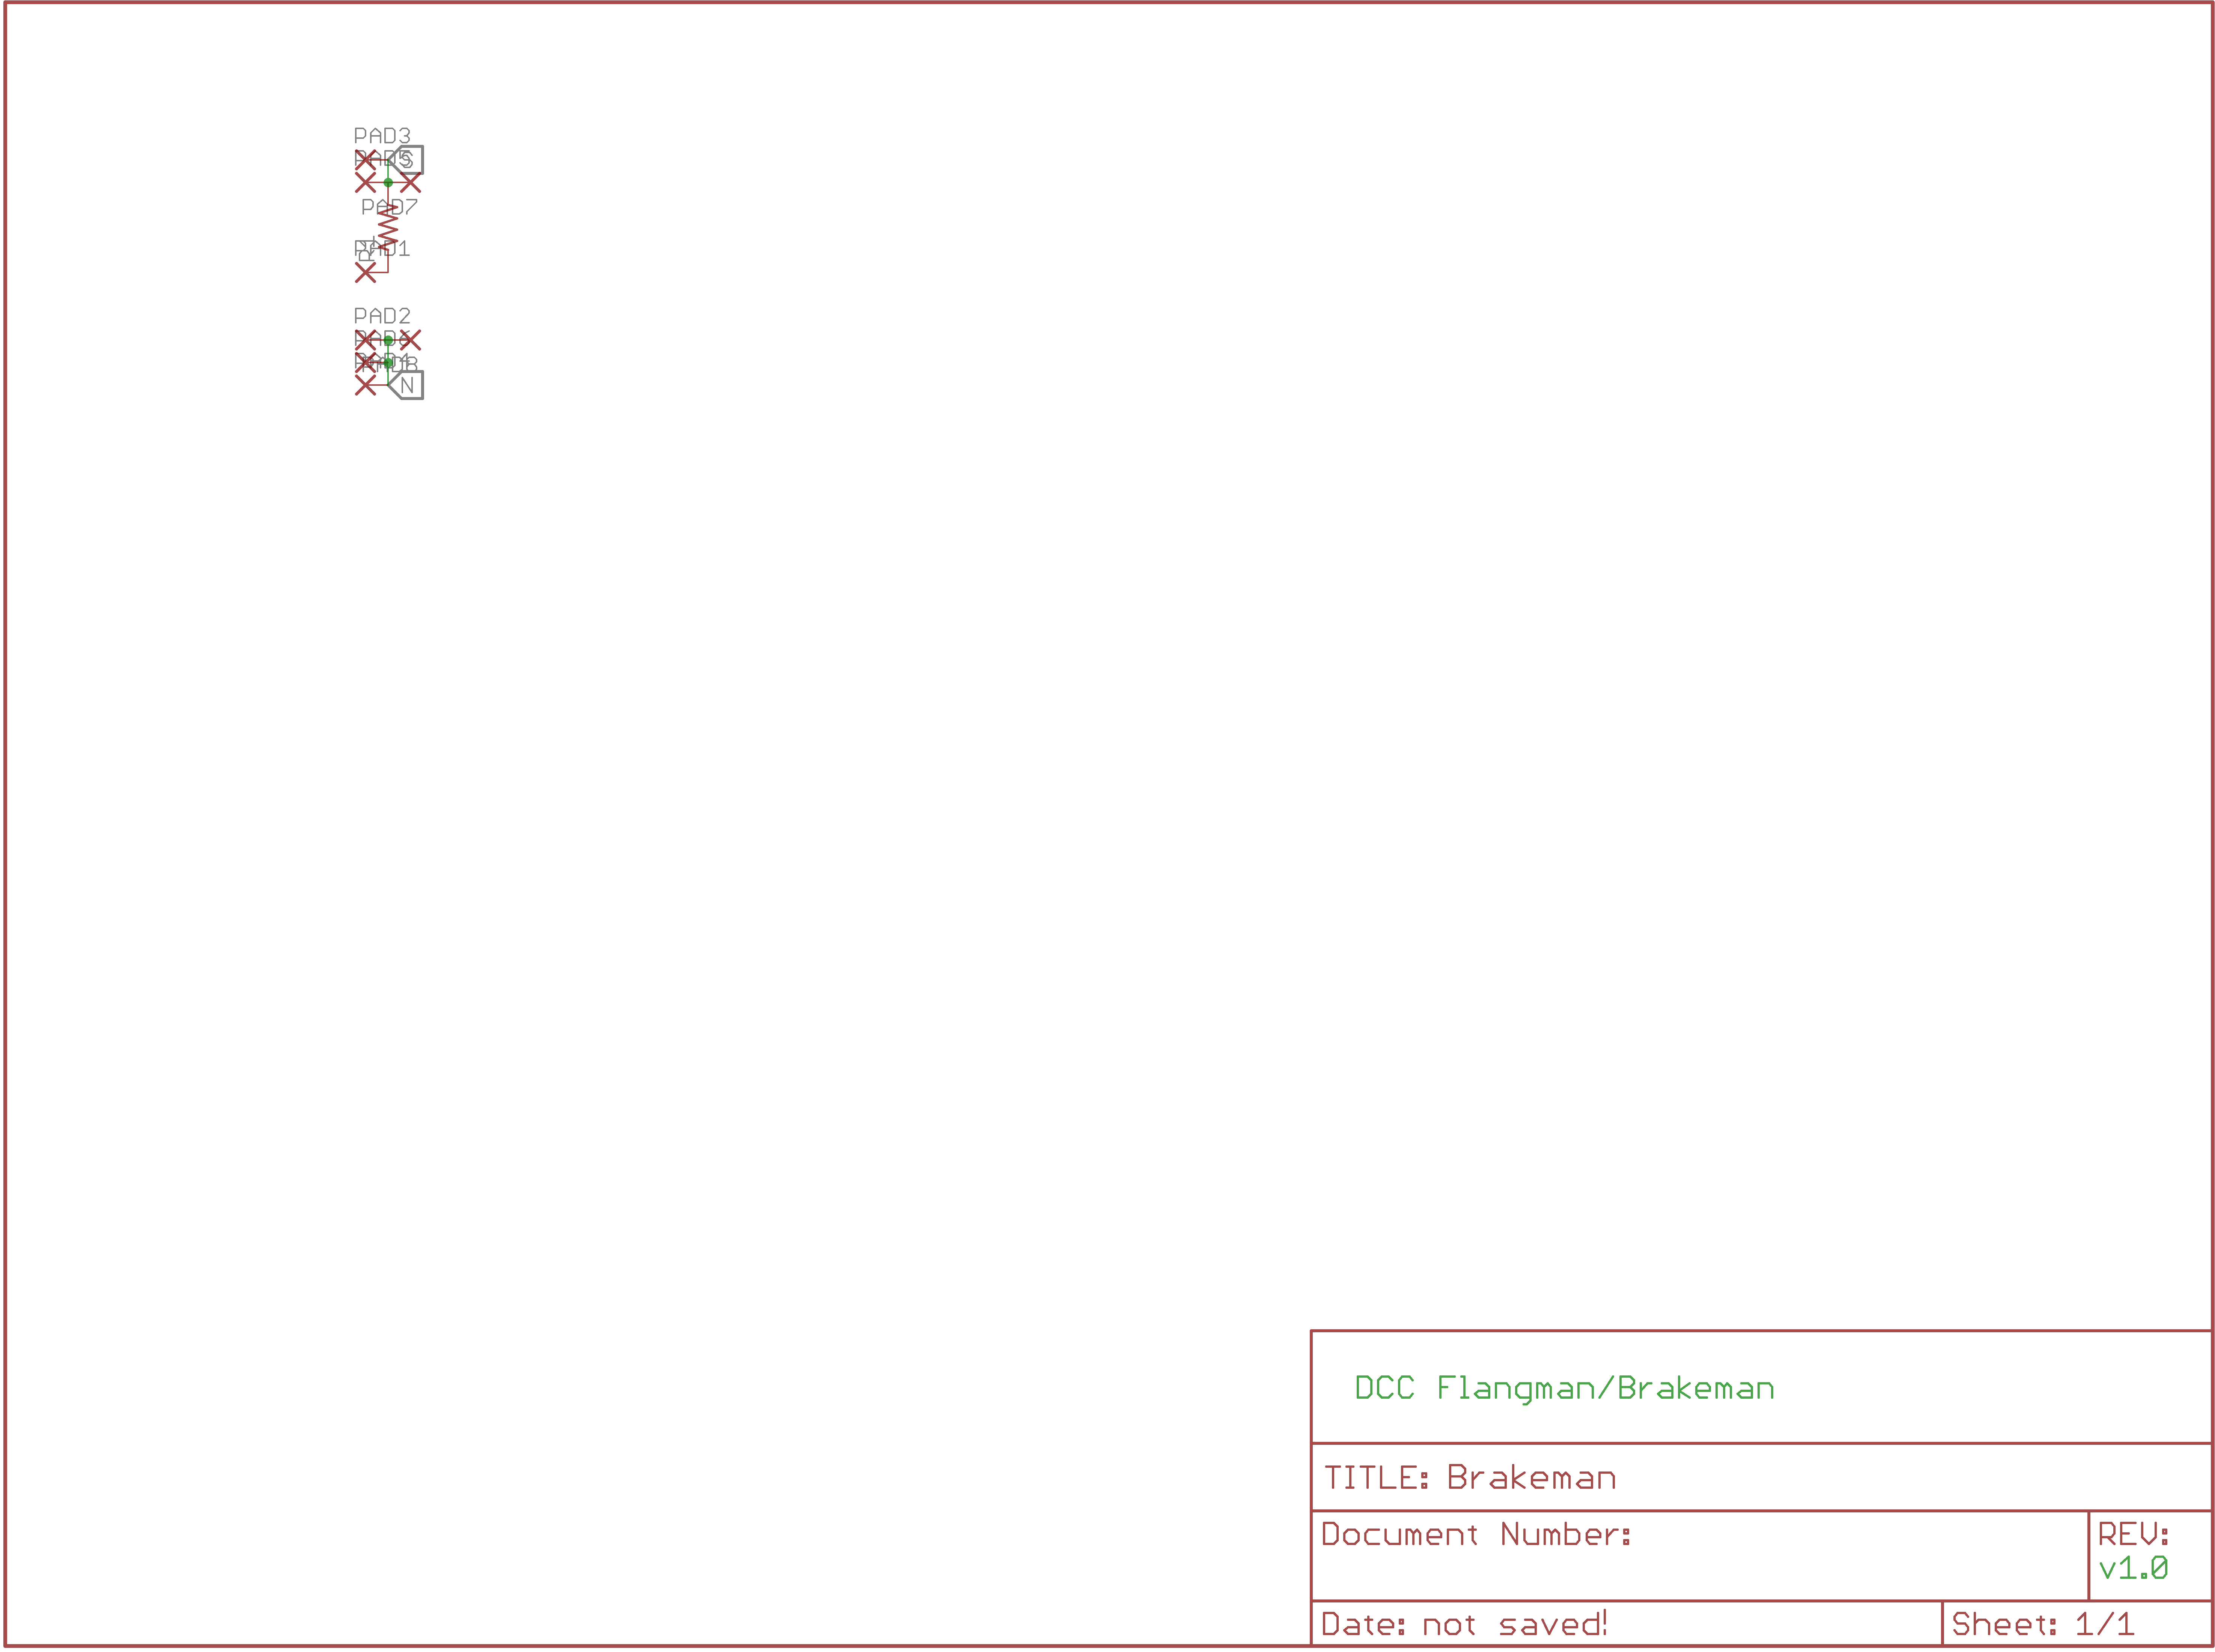
Brakeman.bom
| Parts | Value | Package | Quantity | Library | Type/Feeder |
|---|---|---|---|---|---|
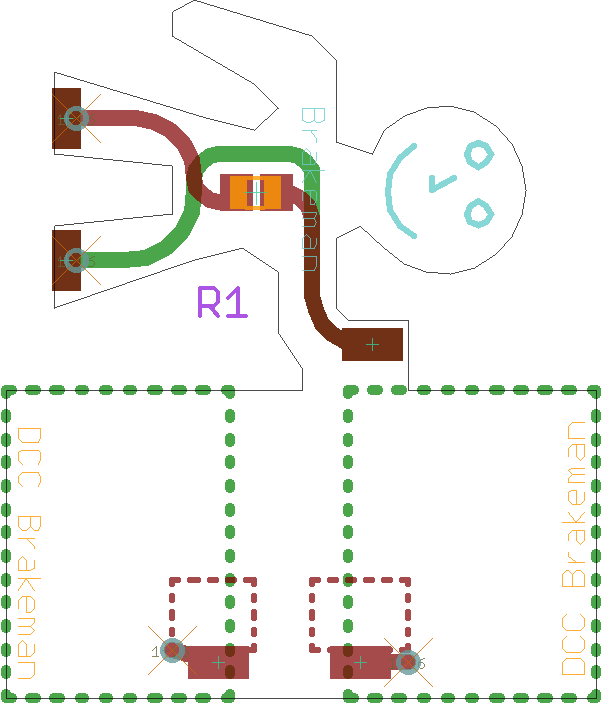
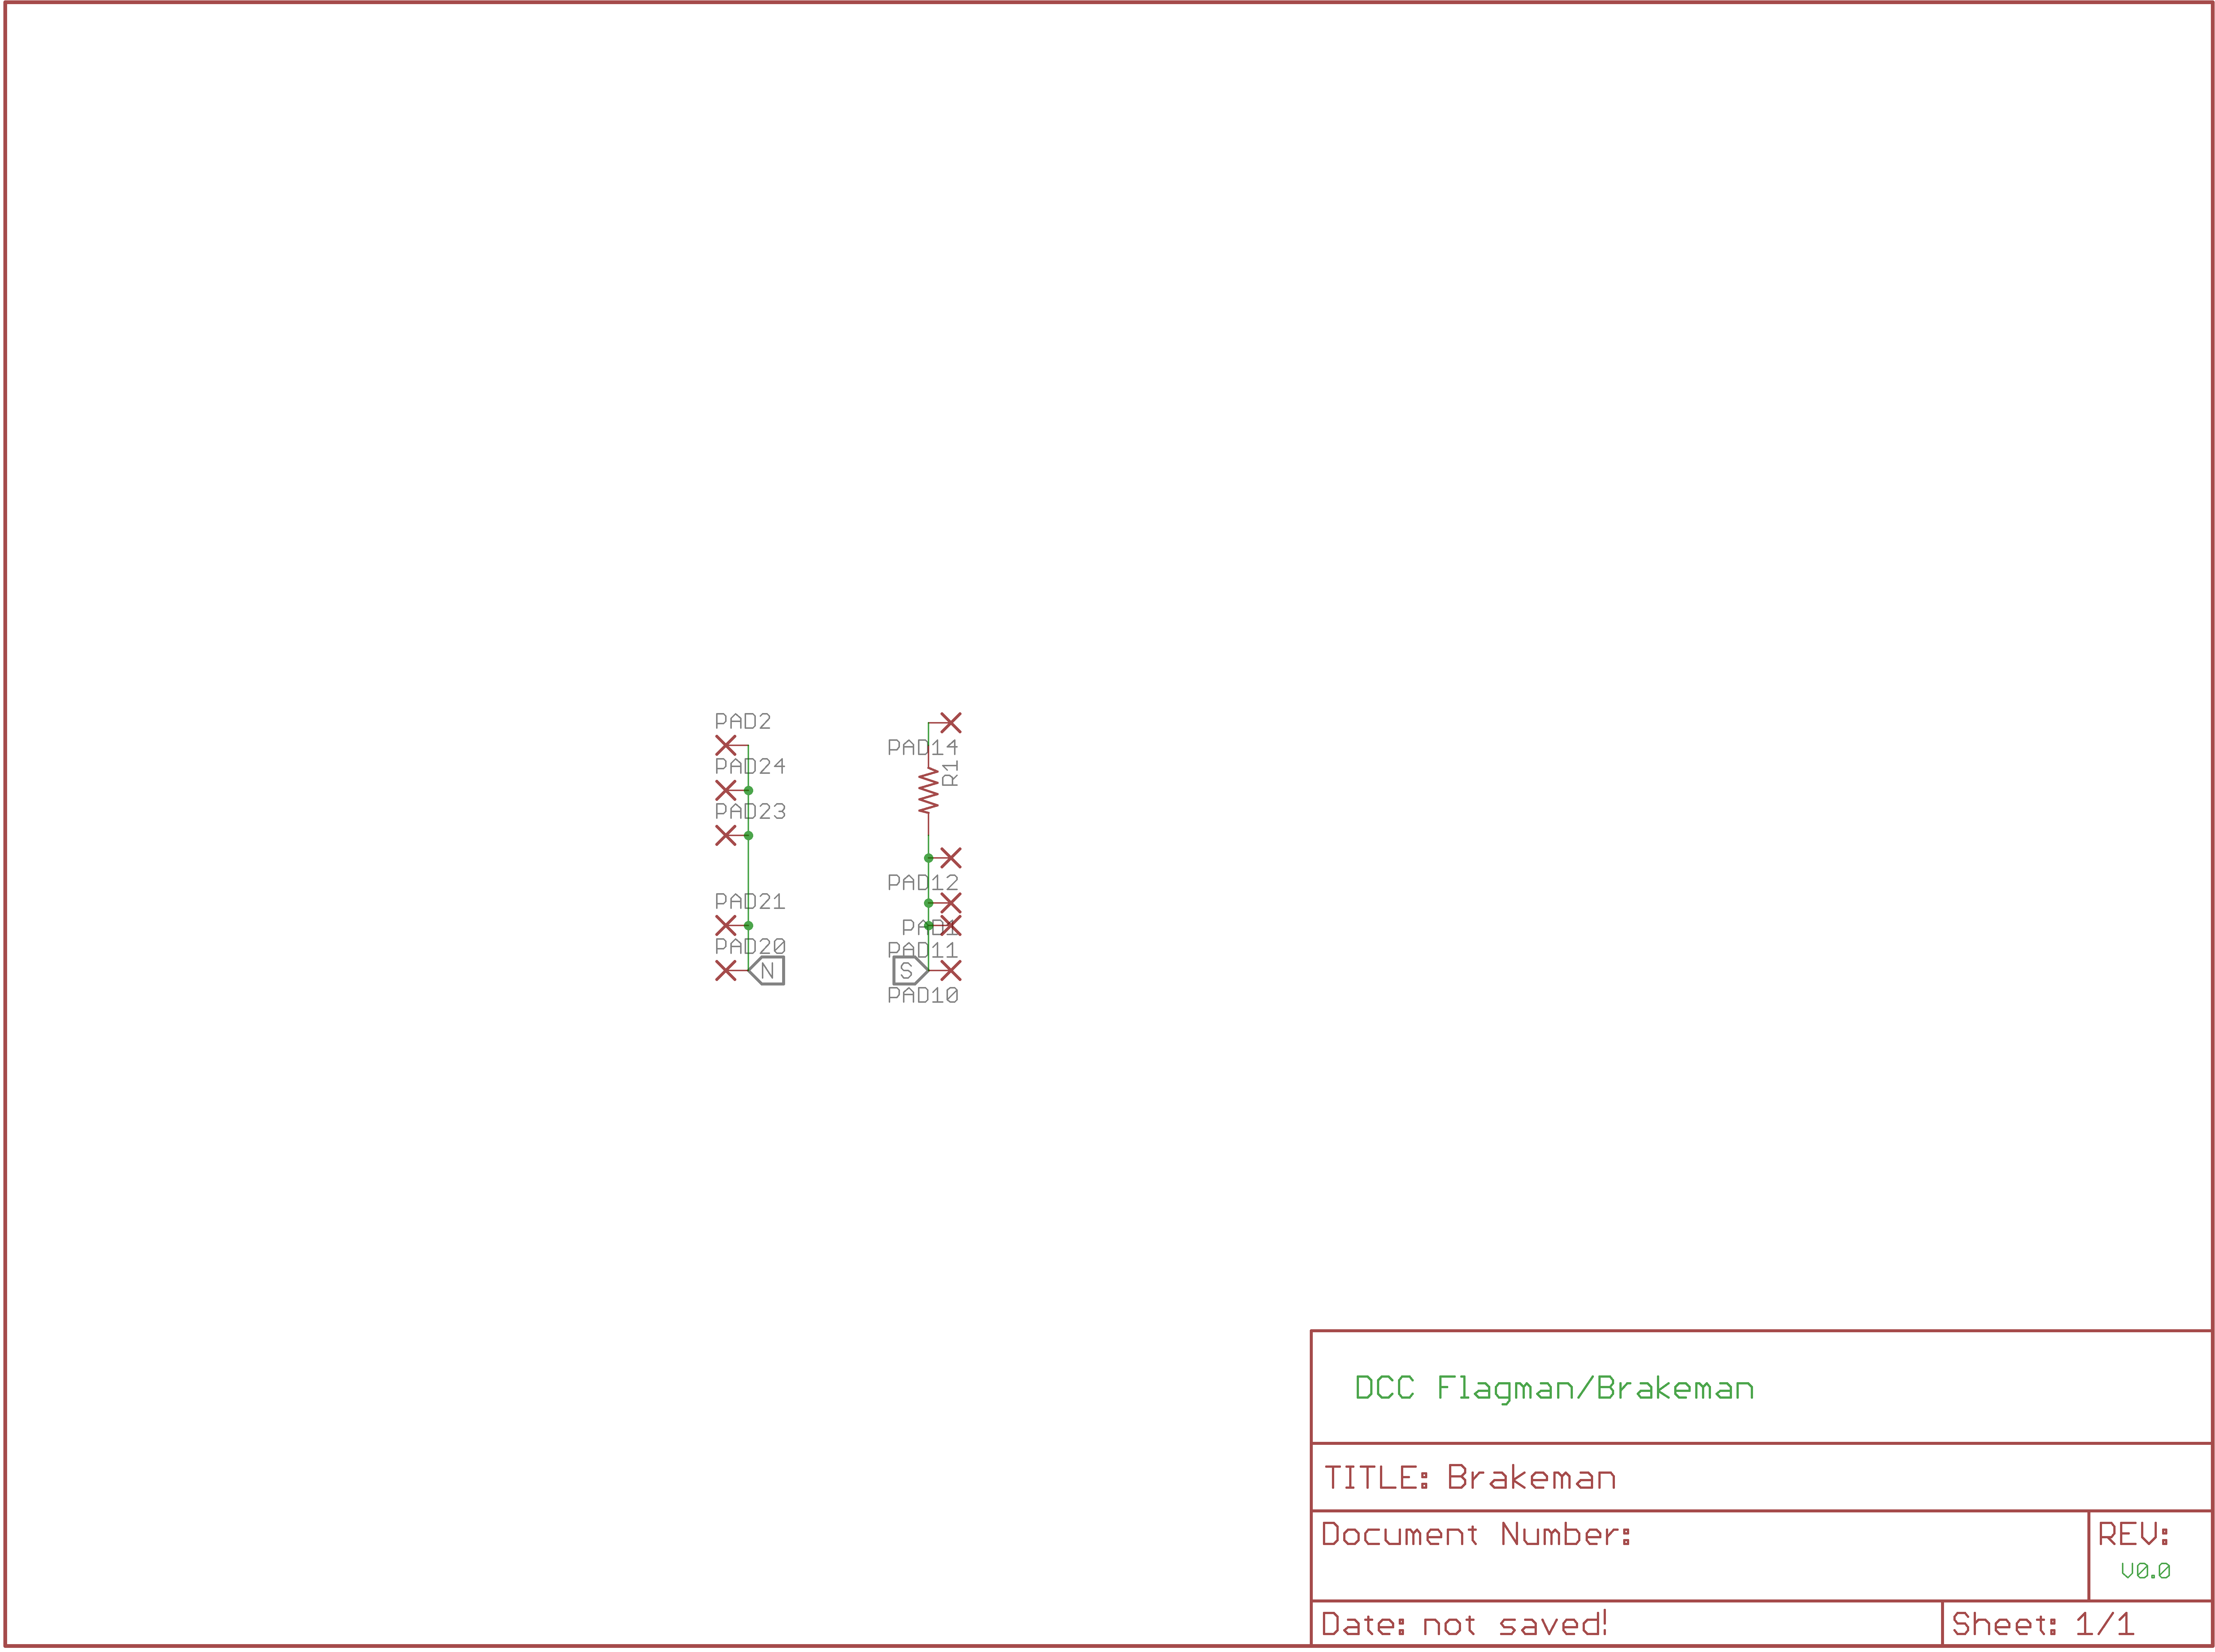
| R1 | 1k0 | 0204/5 | 1x | resistor | PTH |
| PADL1, PADL2, PADNA, PADNA2, PADNF, PADNF2, PADSF, PADSF2 | pad | SMD1.27-2.54 | 8x | wirepad | NONE |
Brakeman Version 2.2
First built: 2016-10
The 2.1 panel was fragile - this attempts to improve things

|
|
|
|||
|
|
|

UNPUBLISHED
Brakeman Version 2.1
First built: 2016-10
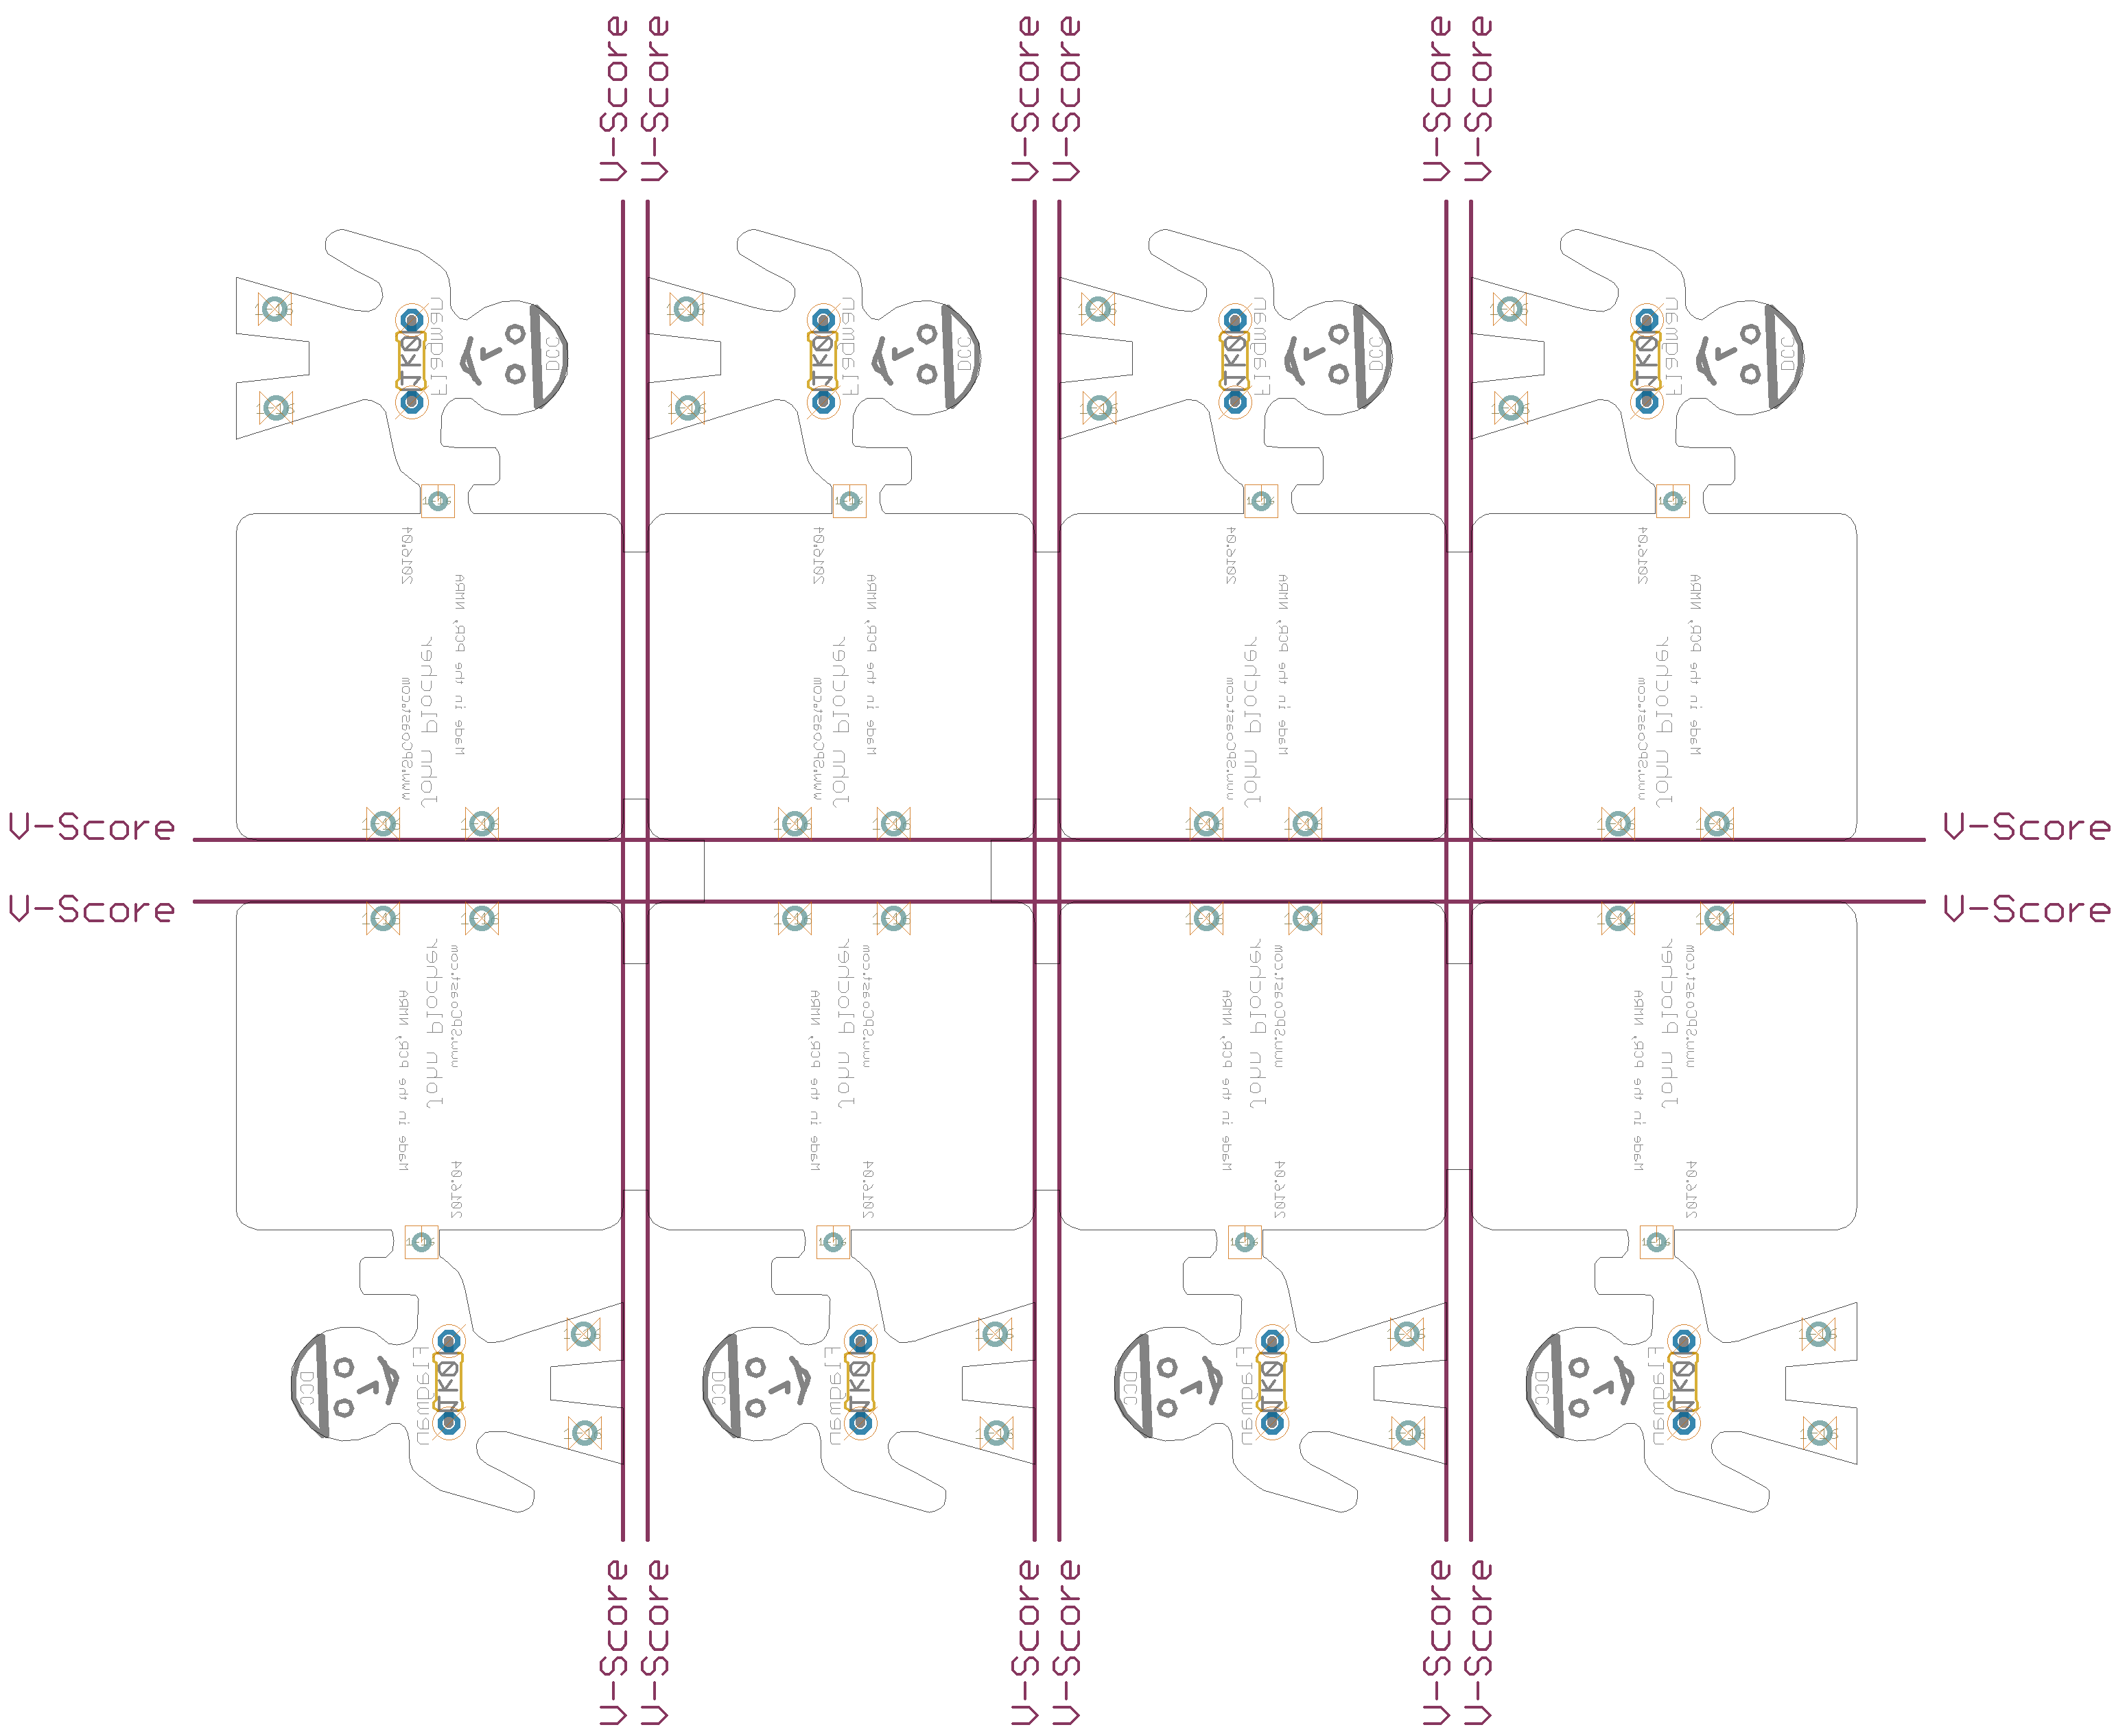
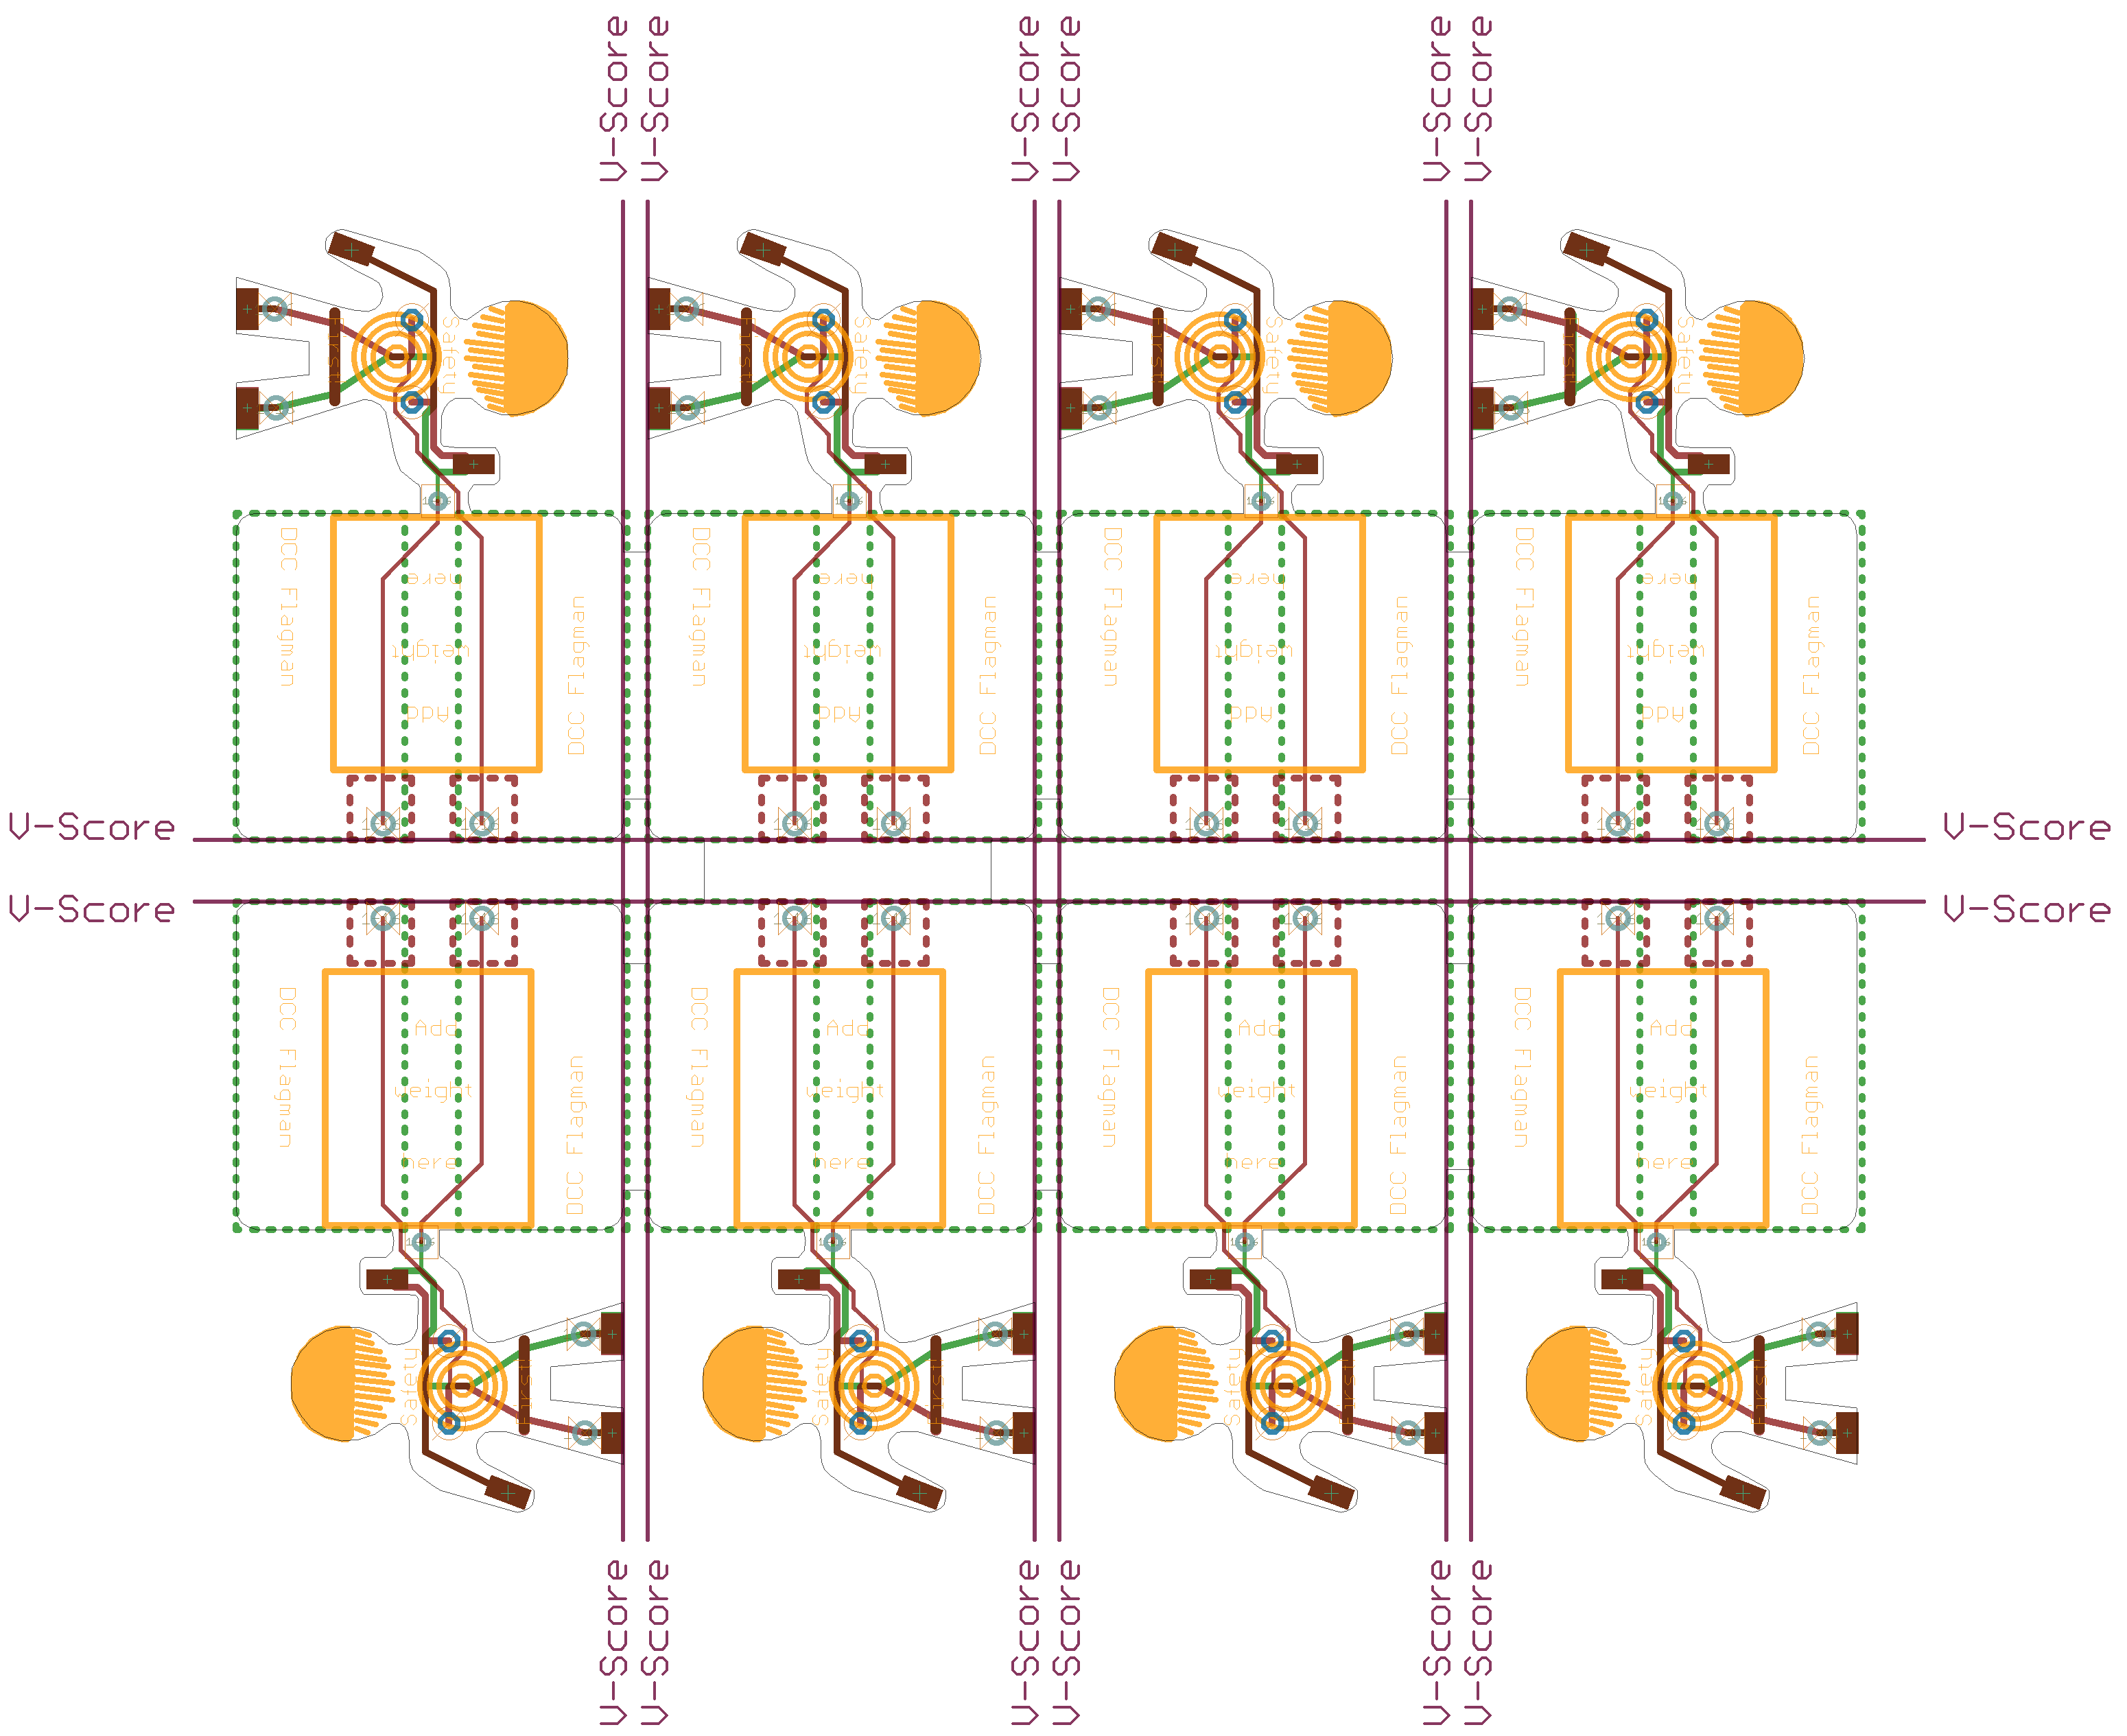
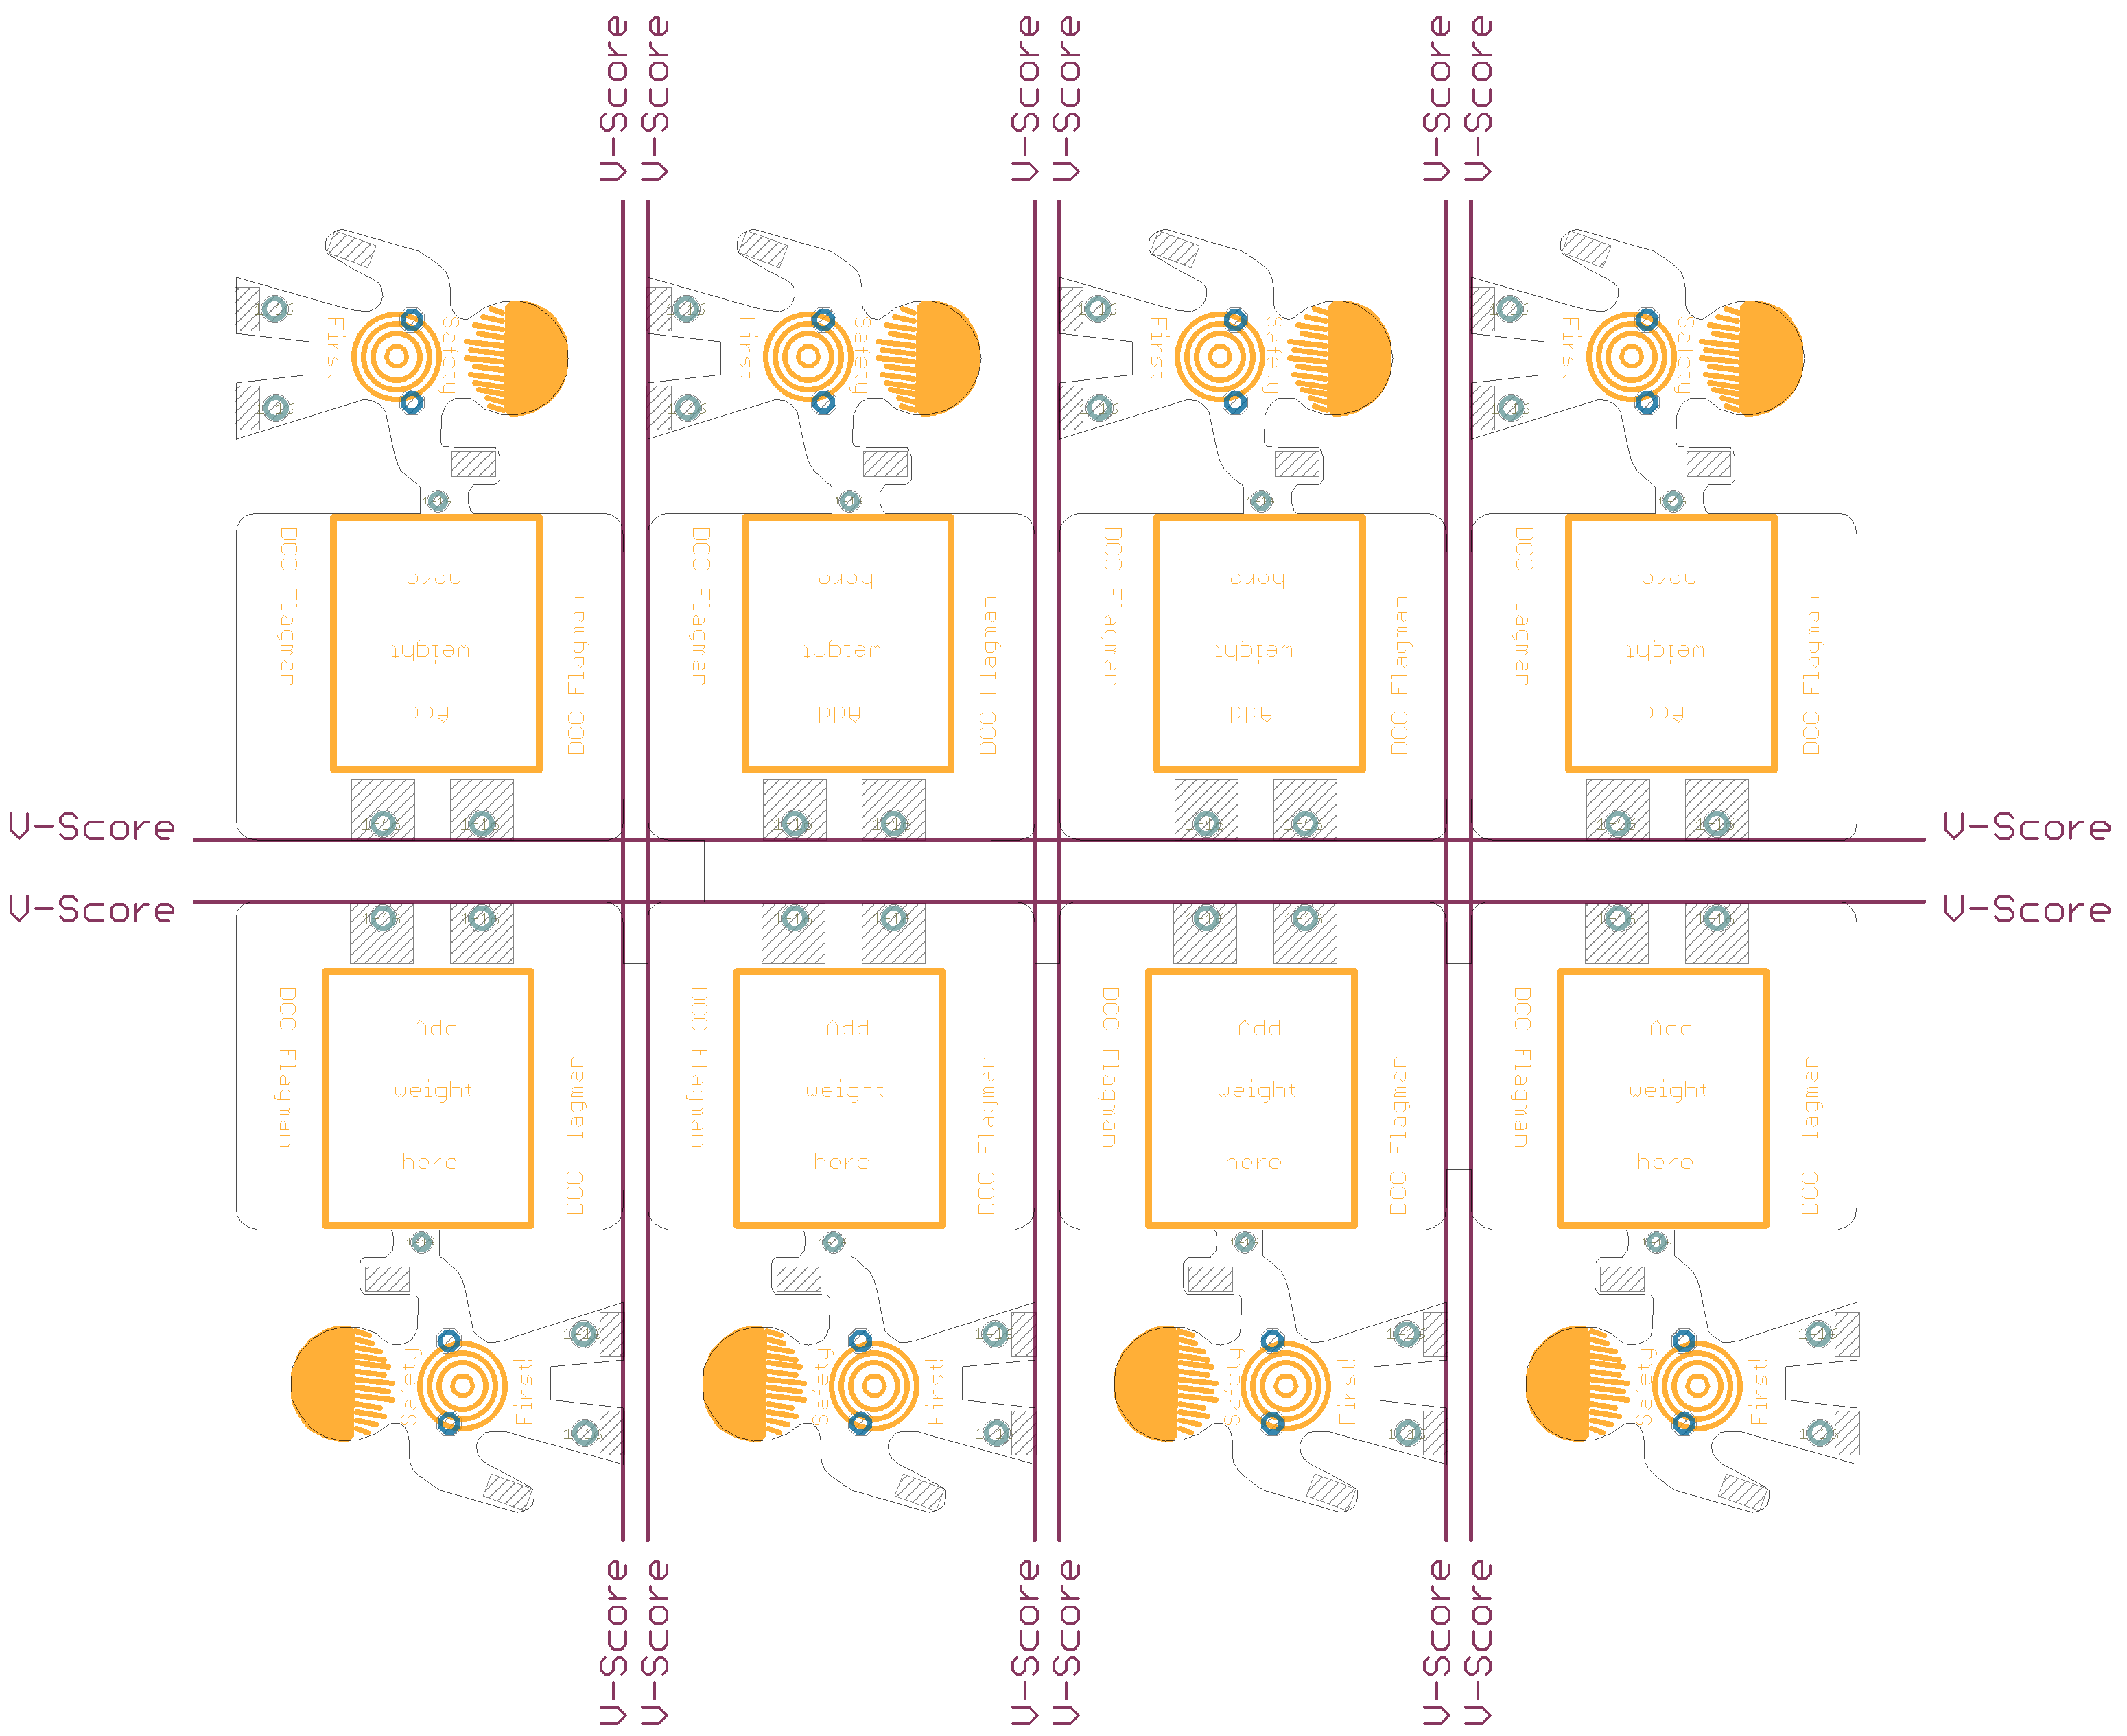
The circuit / layout from 2.0, manually panelized into an 8x 10cmx10cm size.

|
|
|
|||
|
|
|

UNPUBLISHED
Brakeman Version 2.0
First built: 2016-06
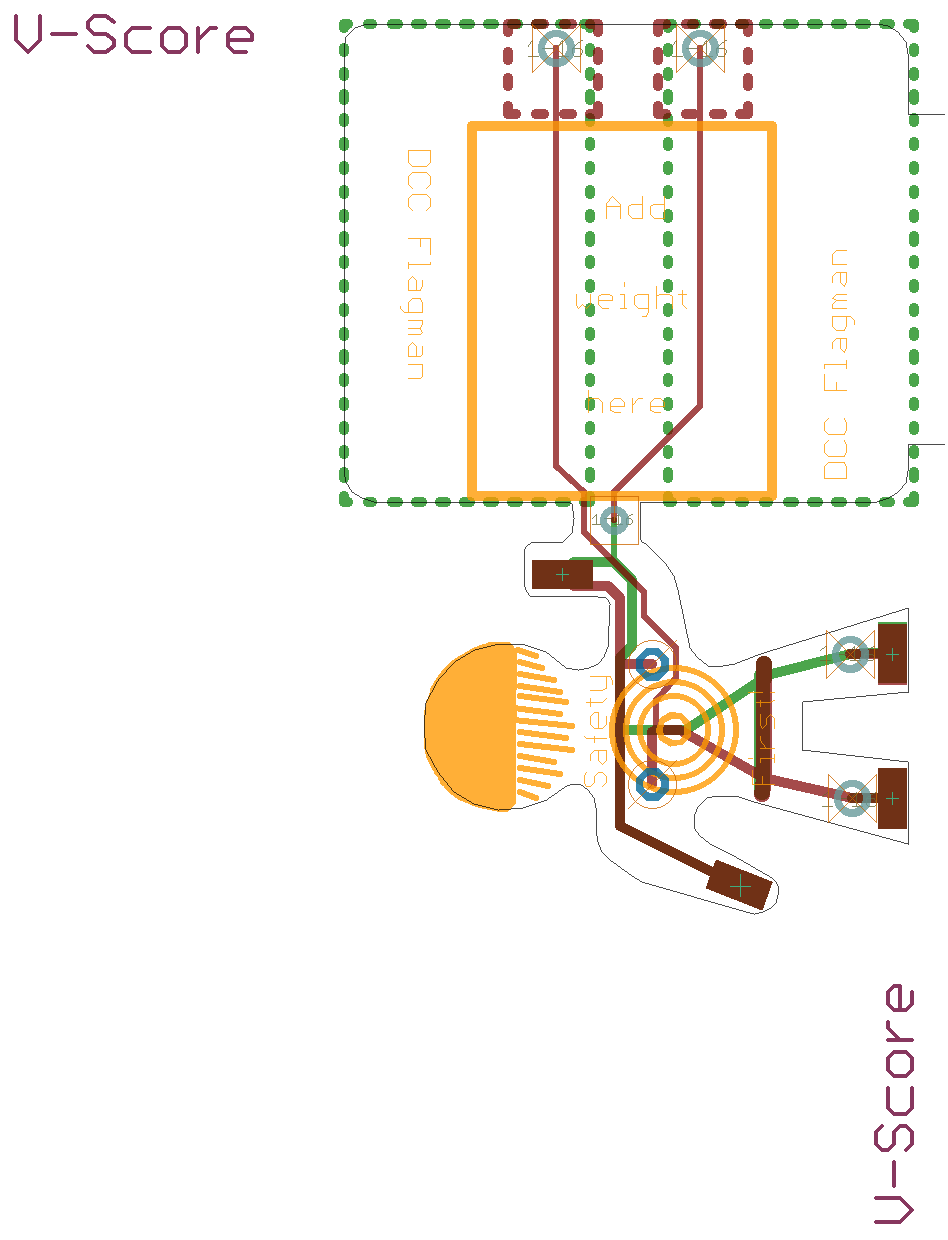
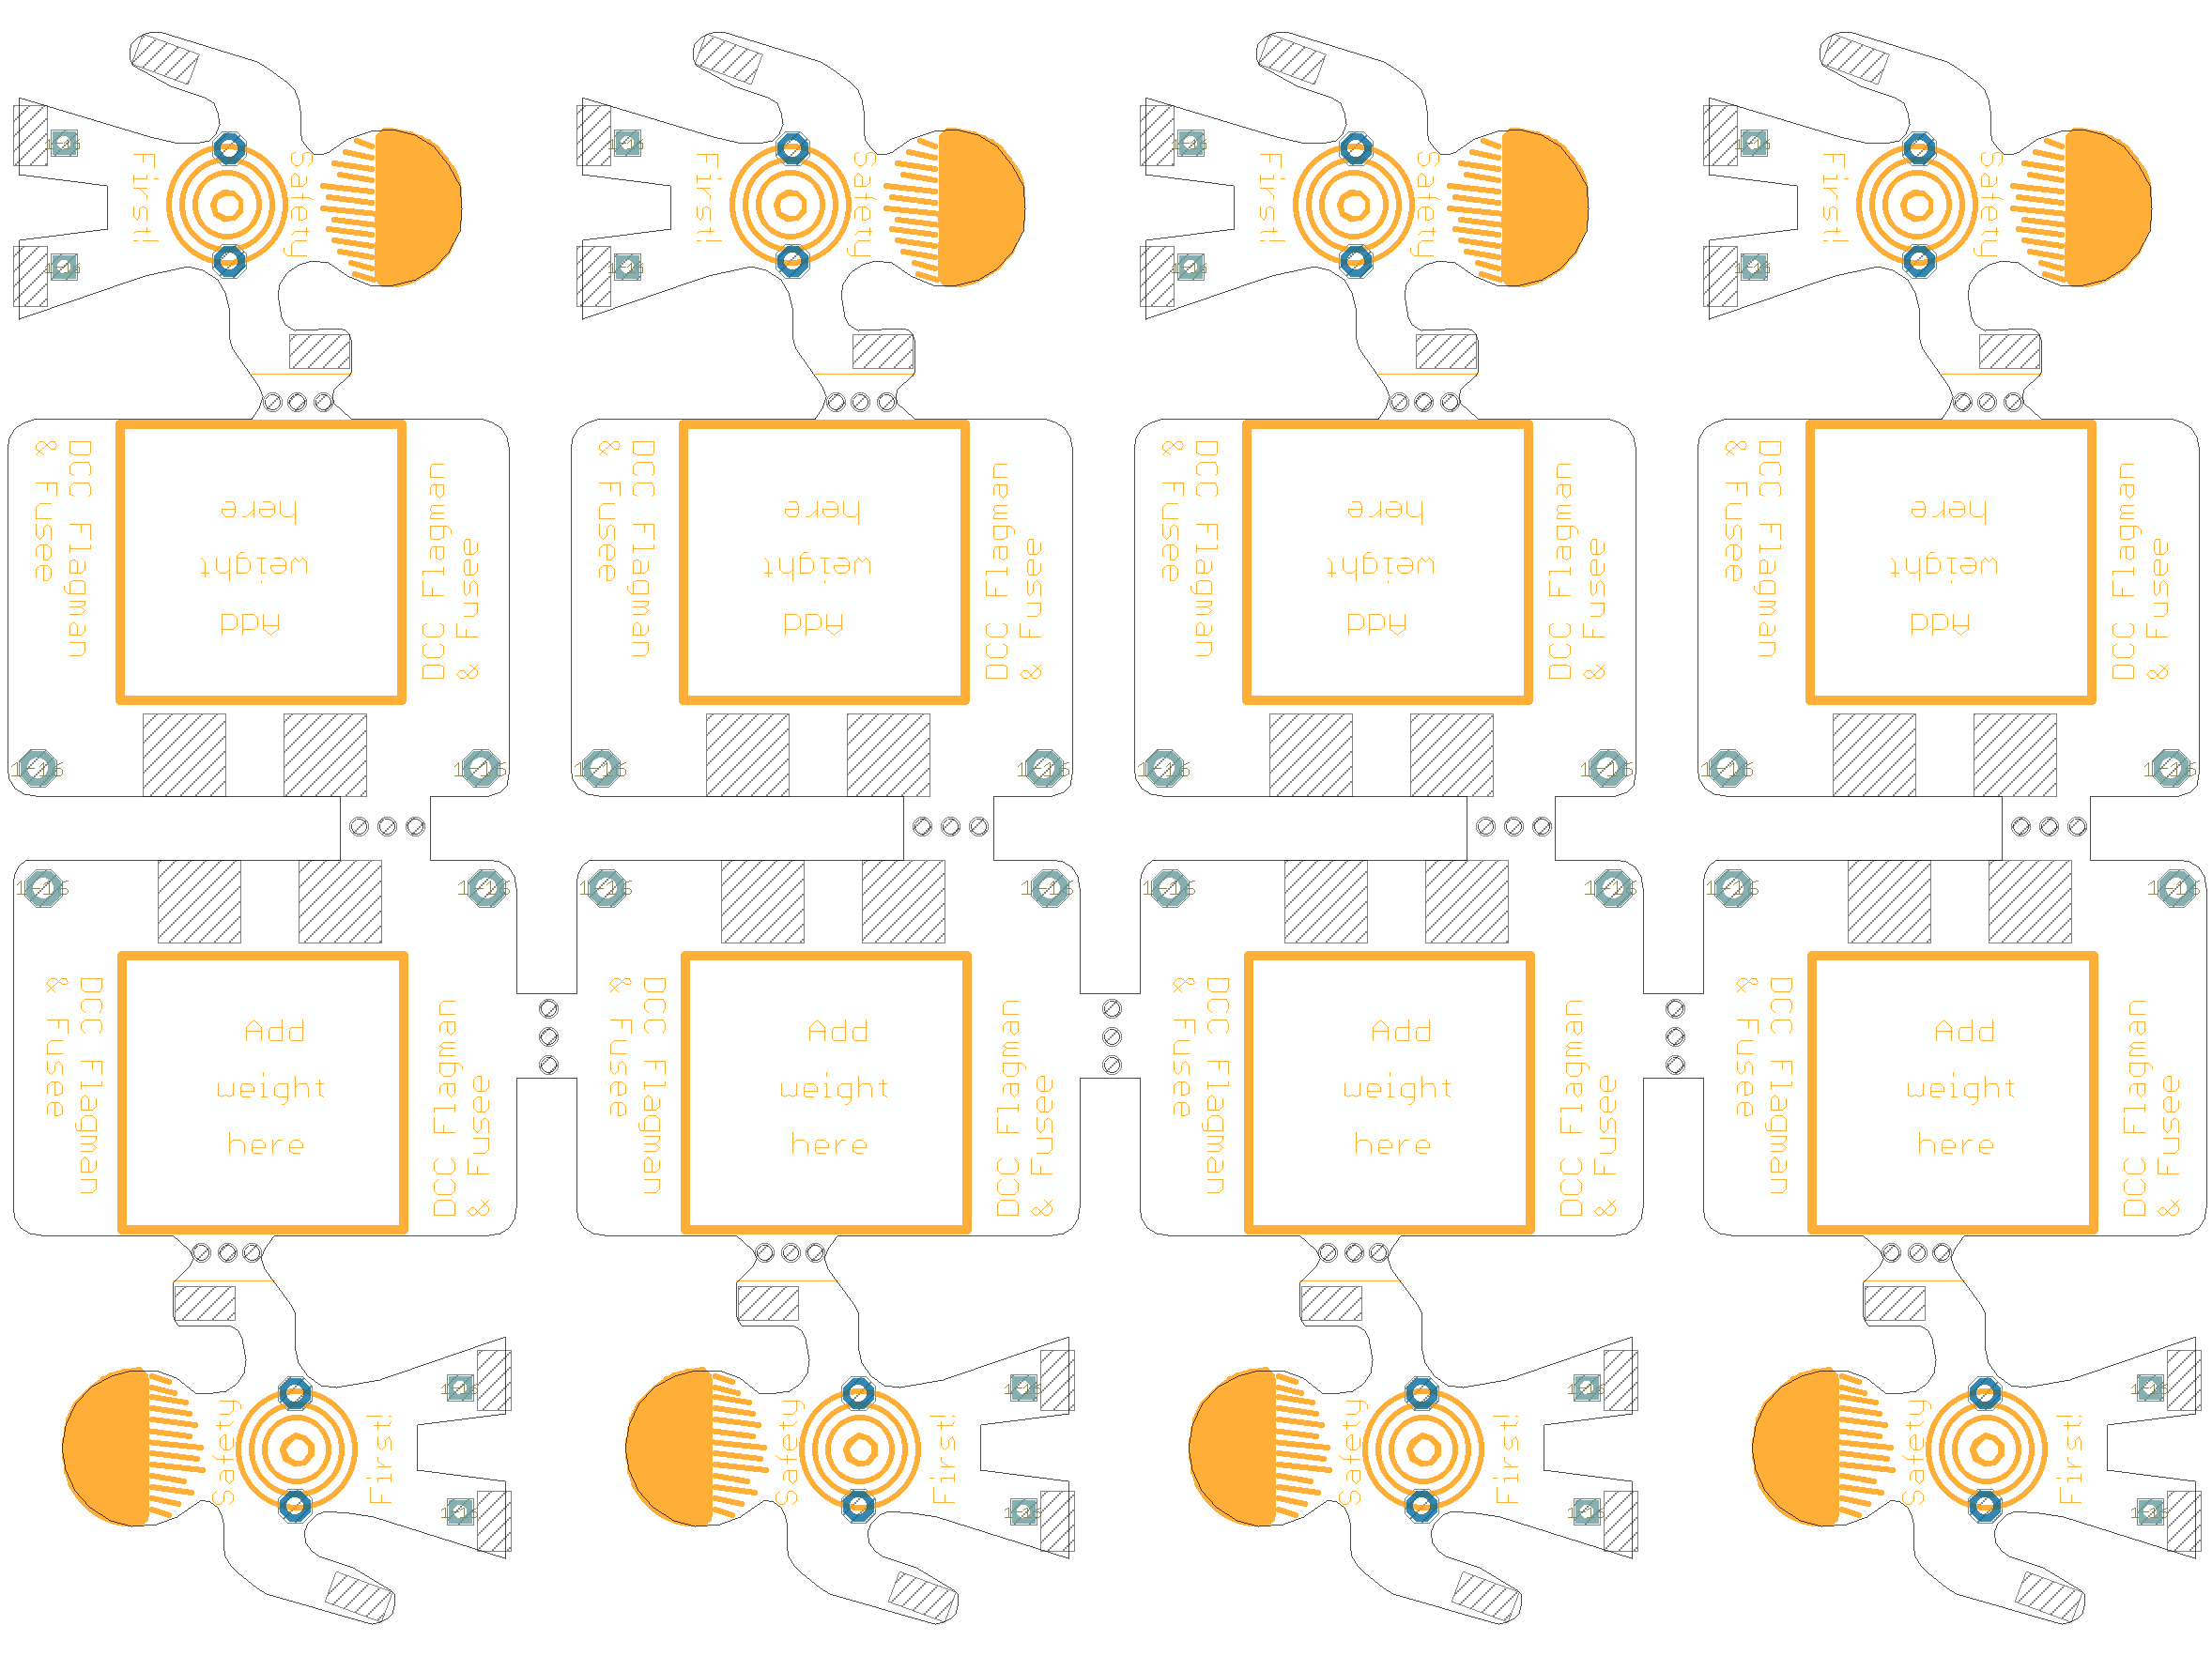
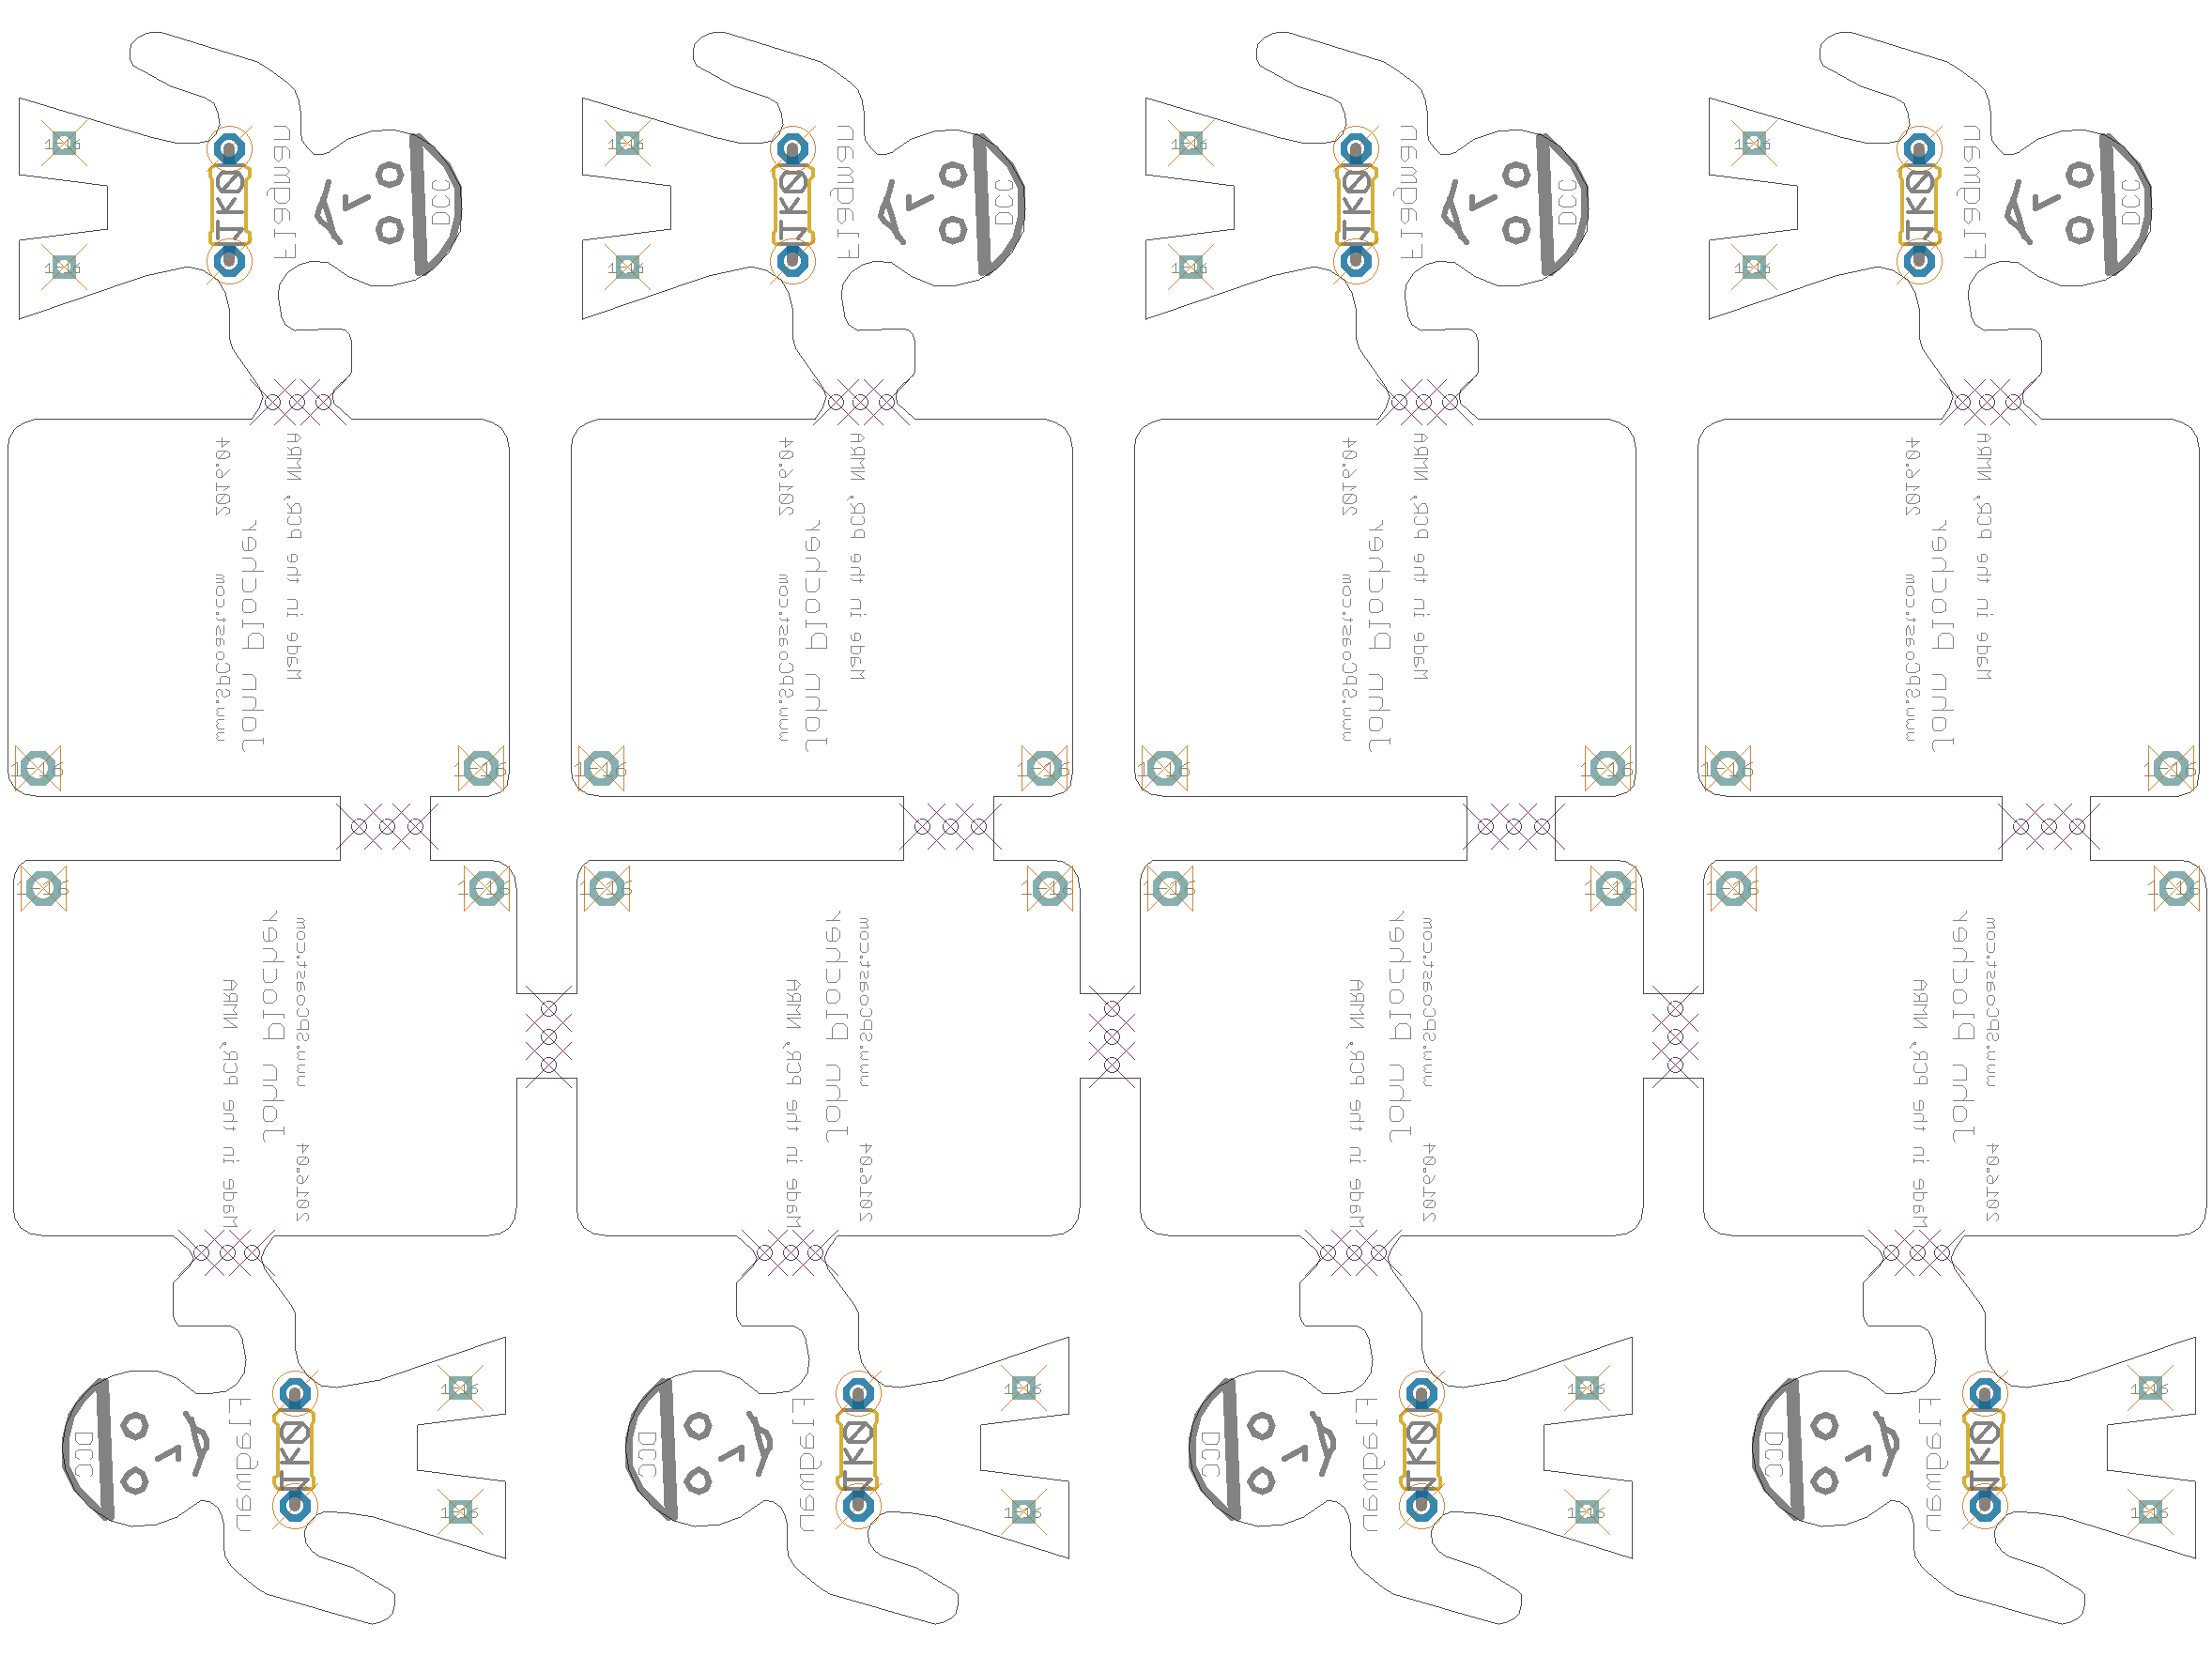
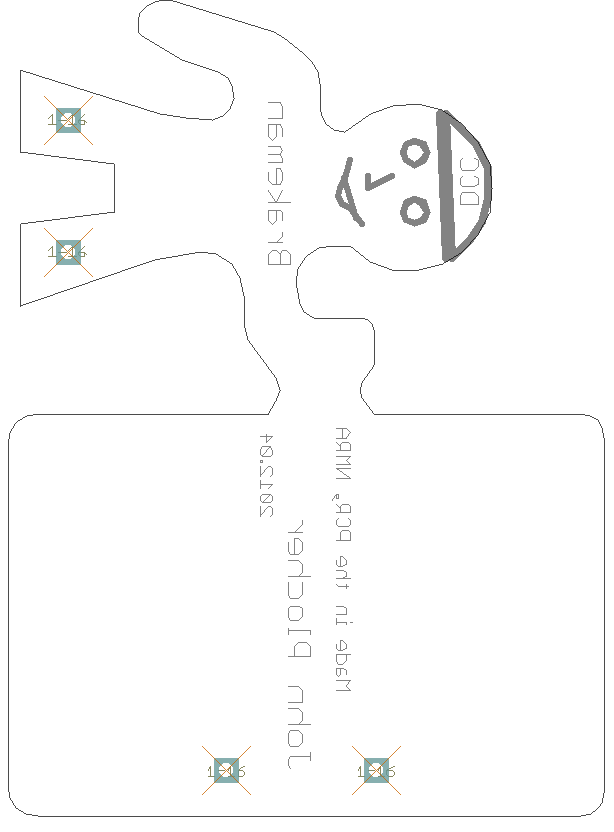
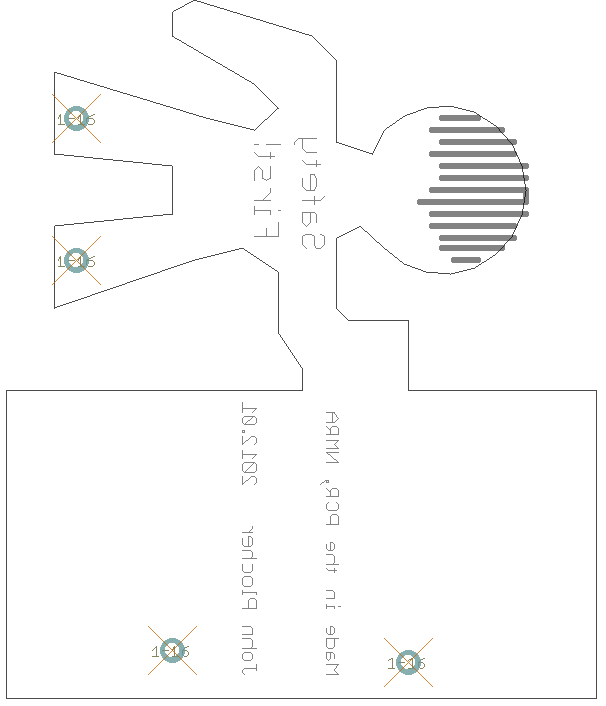
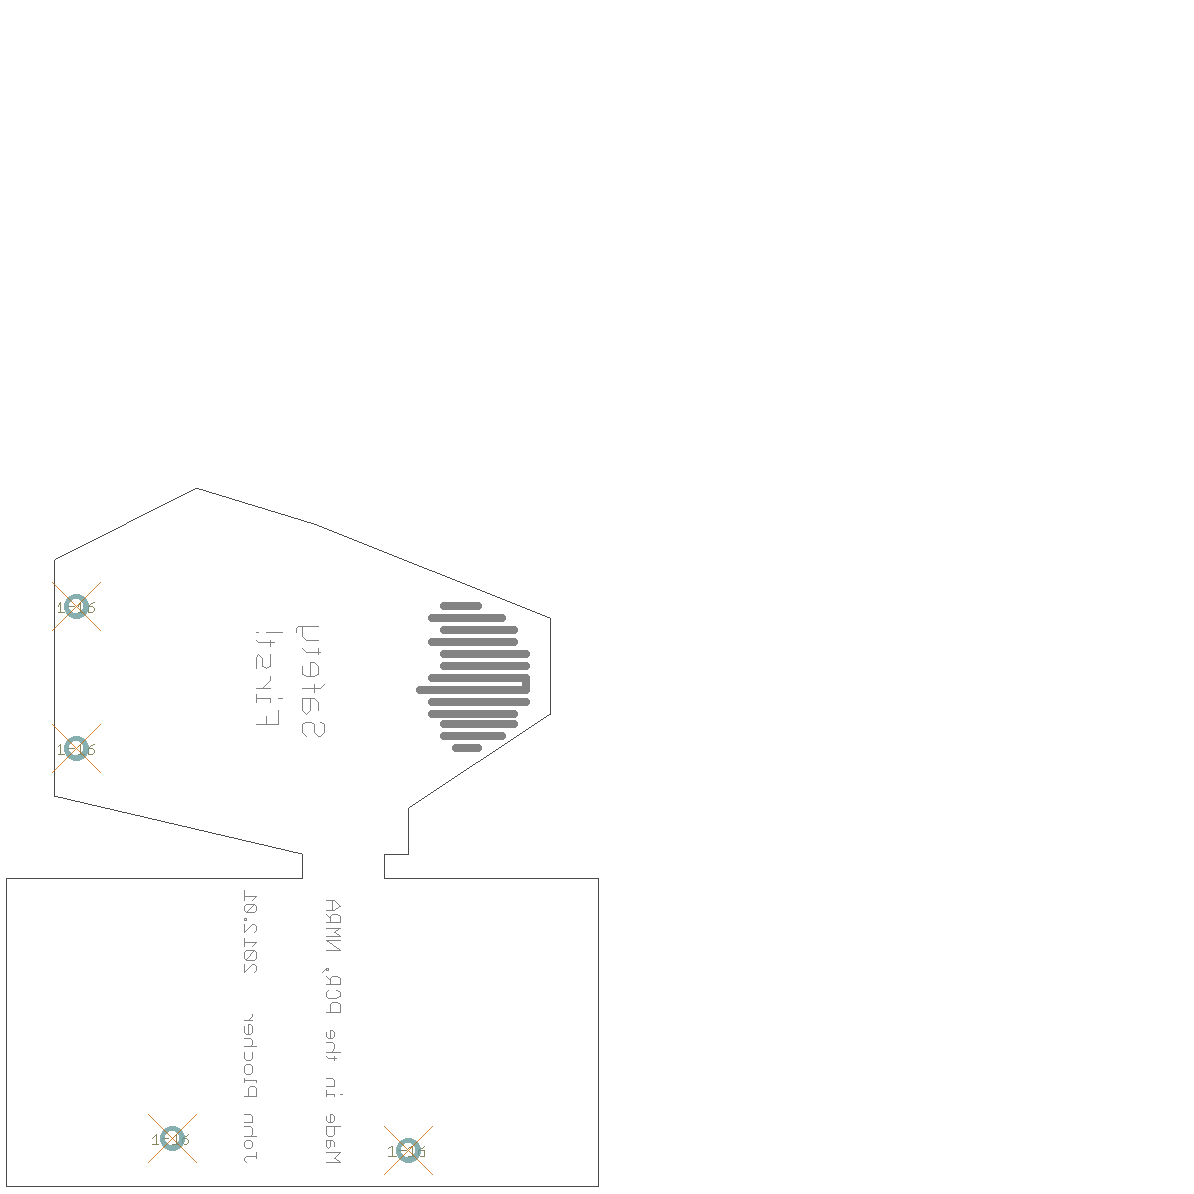
V2.0 is effectively the same as v1.3, but it has better documentation in the gerber files for panelization and adds a couple of traces between the base and the figure to allow full panel prebuilds and easy testing - the 2 traces are intended to be cut during the final assembly process. This version adds back the vias on the feet to allow for adding support wires to reinforce the solder joint that is prone to snapping off when Brakie is taken out of service and stuck in a pocket - and then sat upon… Finally, the figure is now wearing a belt :-)
|
|
|
|||
|
|
|


UNPUBLISHED
Brakeman Version 1.3
First built: 2016-04
Panelized

|
|
|
|||
|
|
|


UNPUBLISHED
Brakeman Version 1.2
First built: 2012-03
First volume production run

|
|
|

UNPUBLISHED
Brakeman Version 1.1
First built: 2012-01
Sizes and orientation

|
|
|

UNPUBLISHED
Brakeman Version 1.0
Not built
Playing with different outlines
|
|
|
UNPUBLISHED
Brakeman Version 0.0
Not built
Initial experimentation
|
|
|


UNPUBLISHED
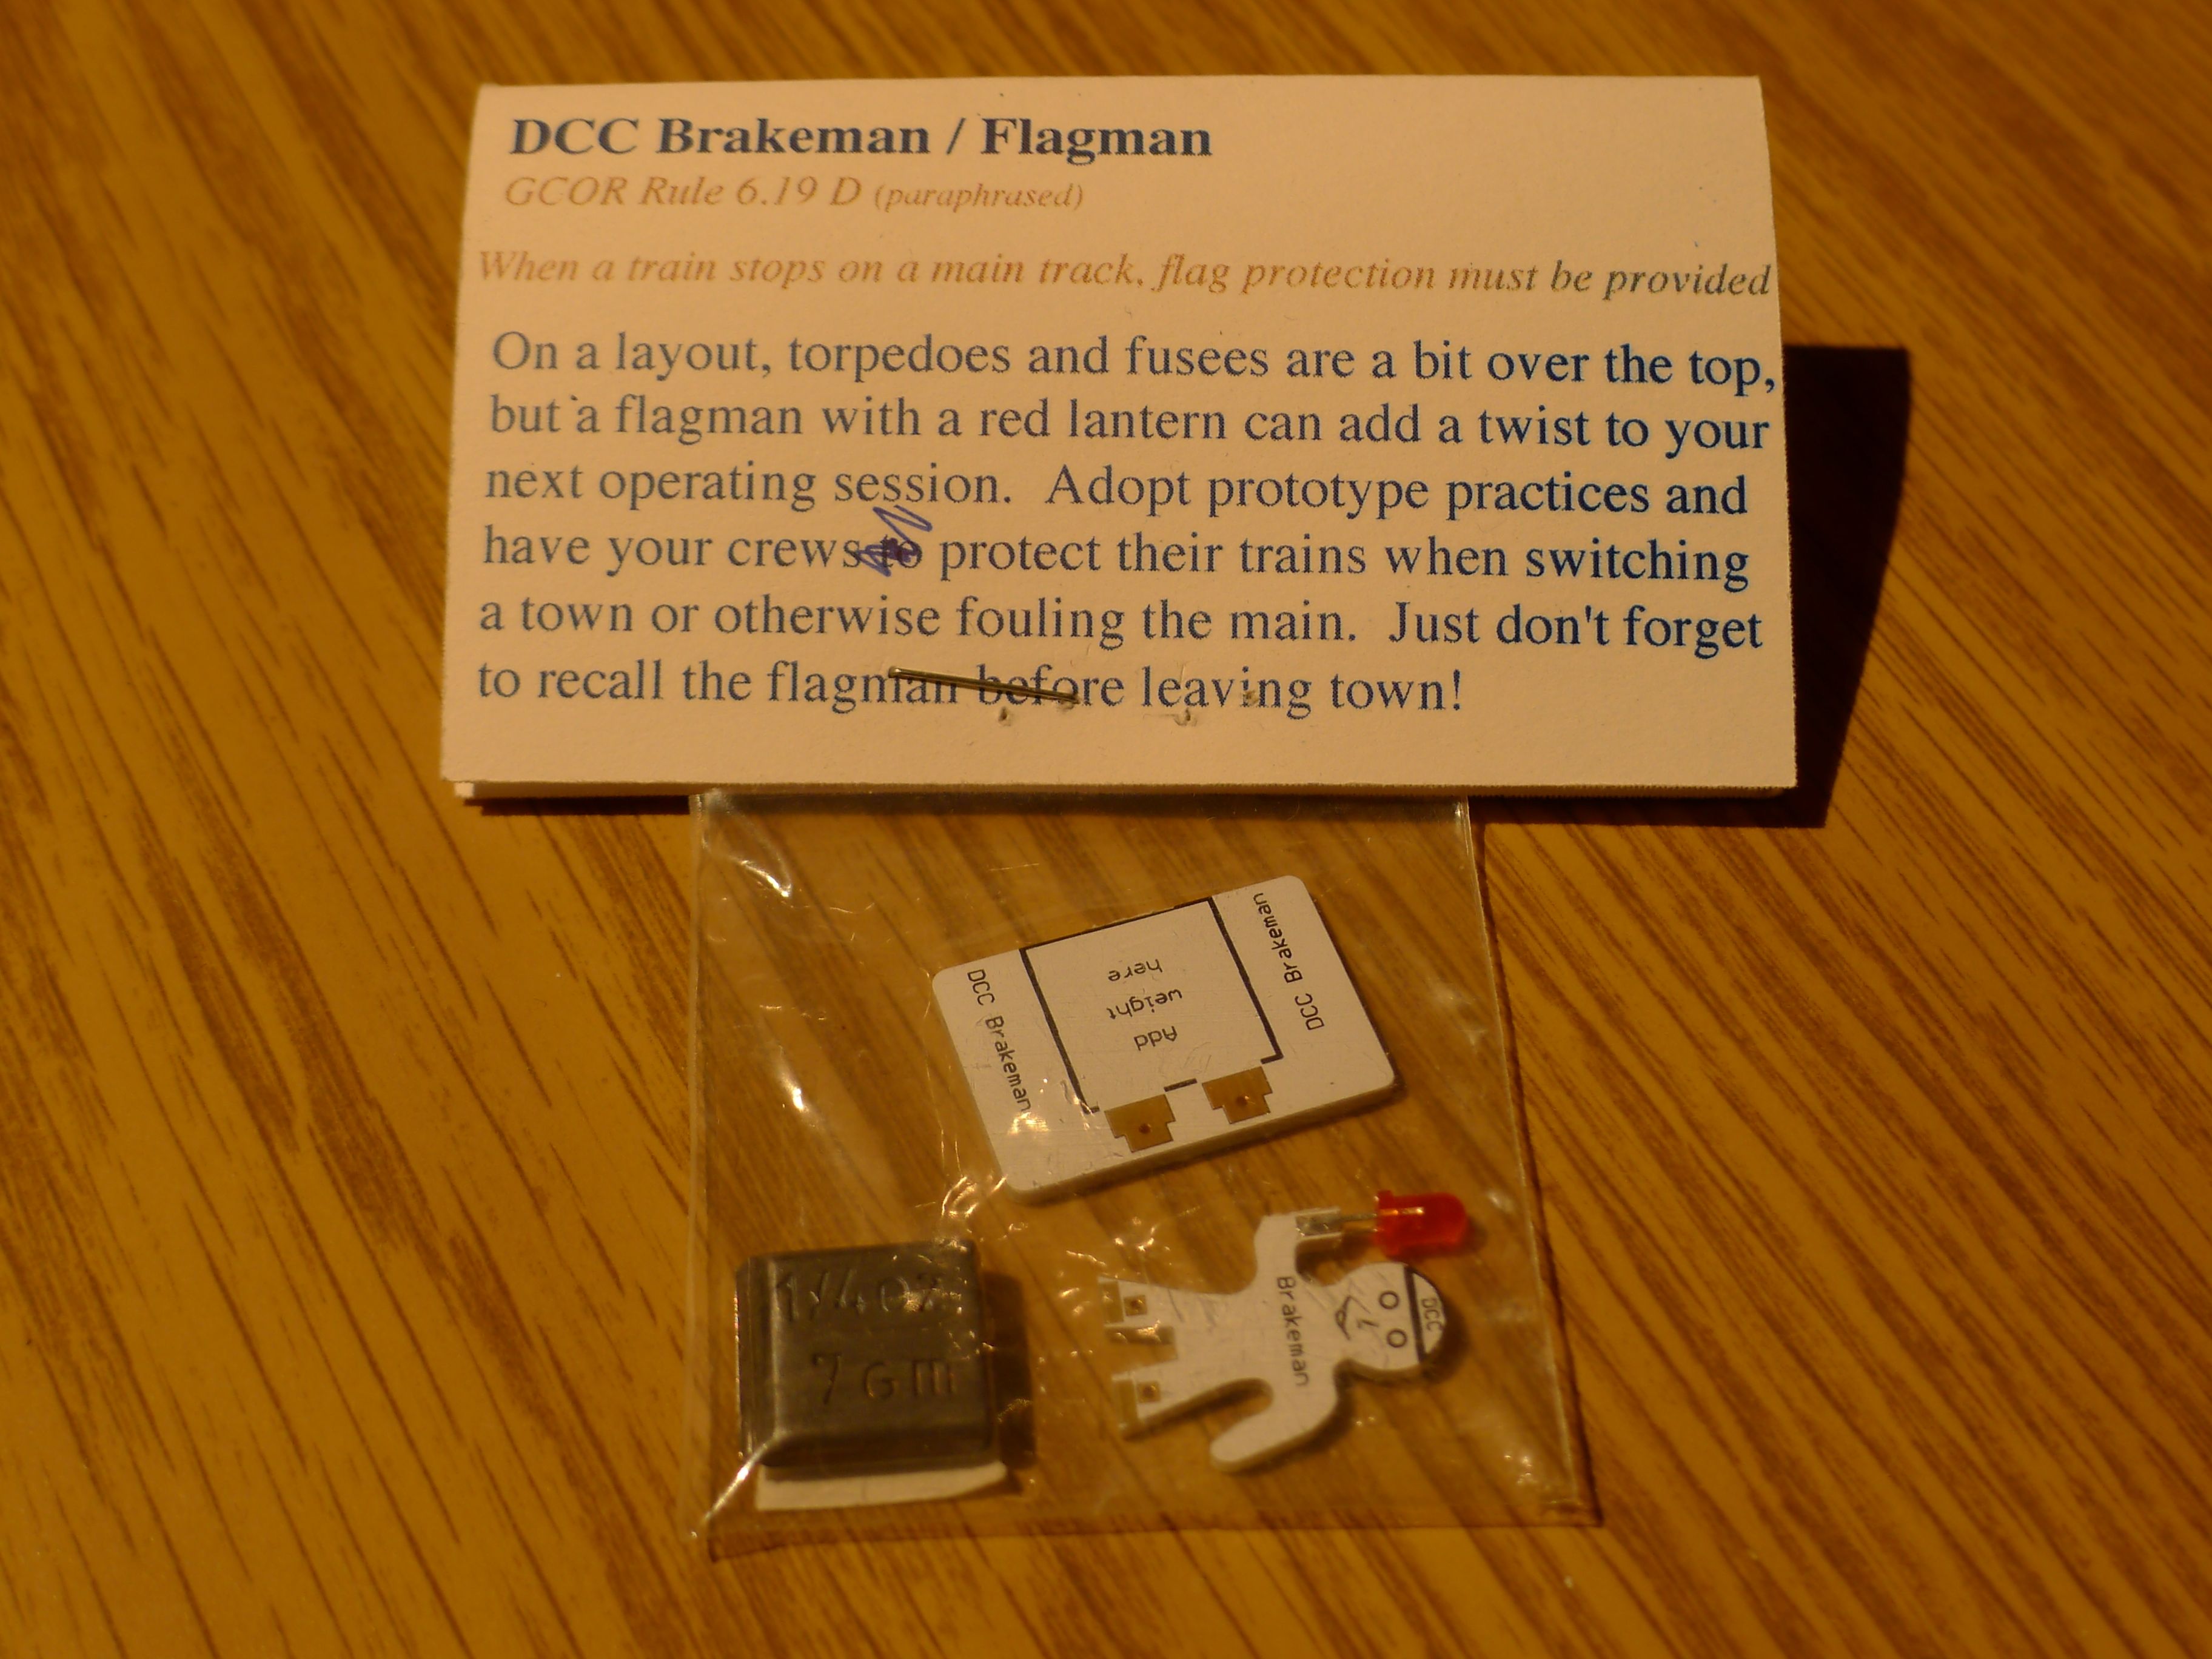
GCOR
GCOR Rule 6.19 D (paraphrased)
When a train stops on a main track, flag protection must be provided
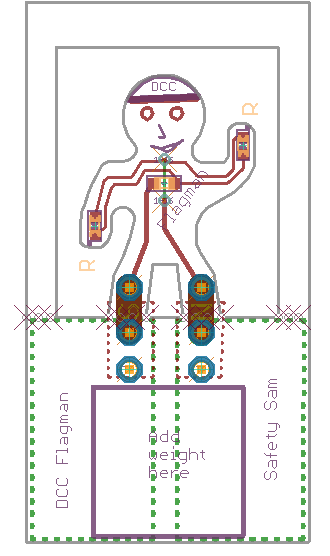
On a layout, torpedoes and fusees are a bit over the top, but a brakeman/flagman with a red lantern can add a twist to your next operating session. Adopt prototype practices and have your crews protect their trains when switching a town or otherwise fouling the main. Just don’t forget to recall the flagman before leaving town!
Designed in the NMRA/PCR for DCC layouts
Assembly required
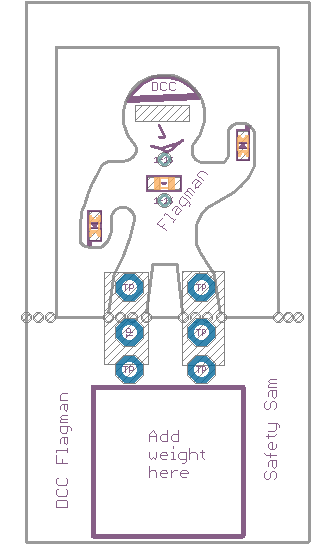
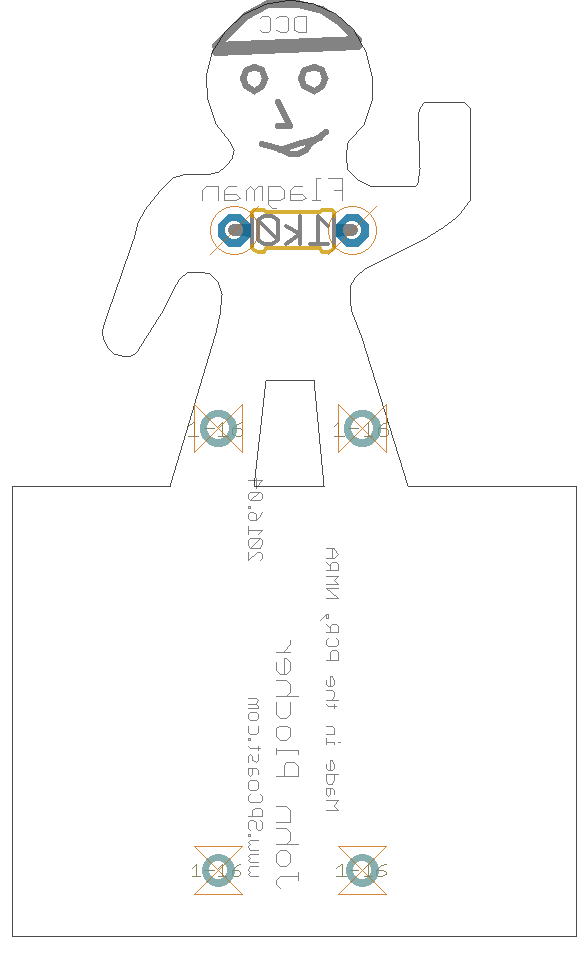
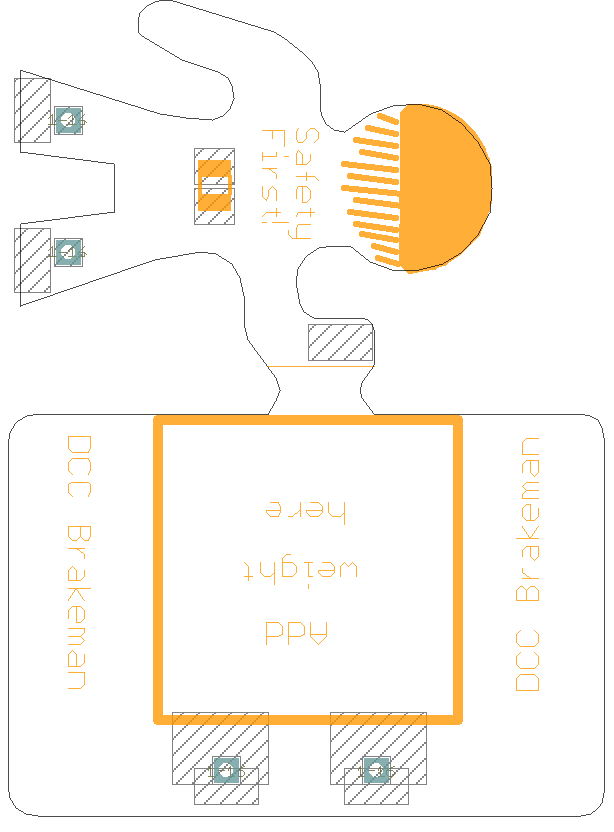
- V1.0-1.3: Use a track nipper to detach the base from the hand holding the LED.
- V2.x: Snap the base from the feet and remove any extra PCB frame from around the figure.
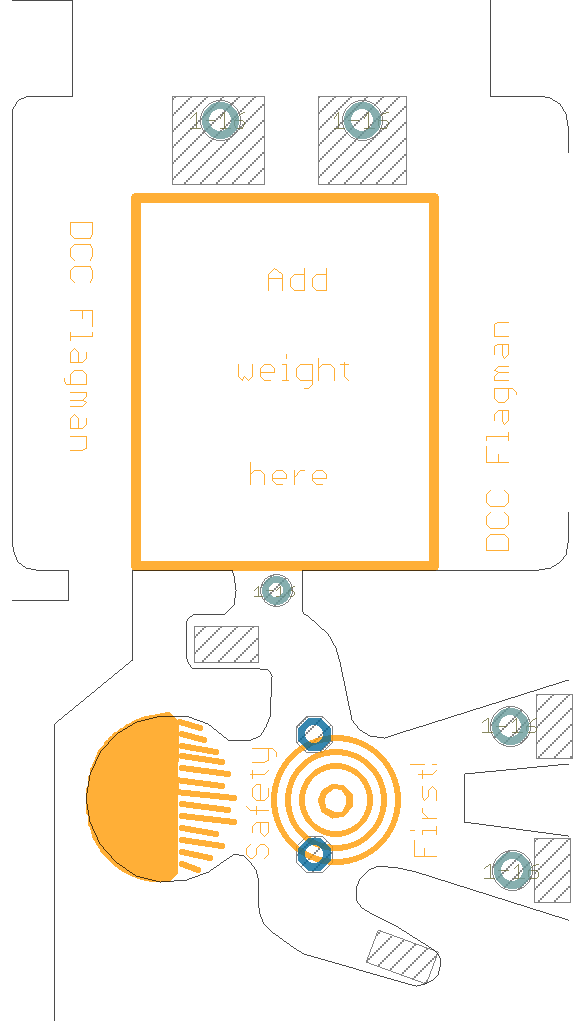
- Solder the two feet to the two small gold pads on the top of the base
- You can solder a wire (the clipped off resistor leads work well) to strengthen and align this connection
- Attach the weight to the top of the base next to (but not touching) his feet with double sided foam tape
- Place the large gold pads across the rails to light the red lantern.
Variation:
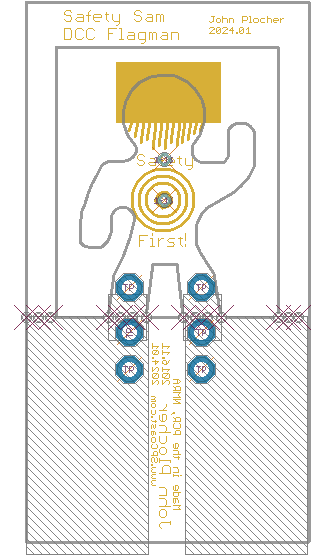
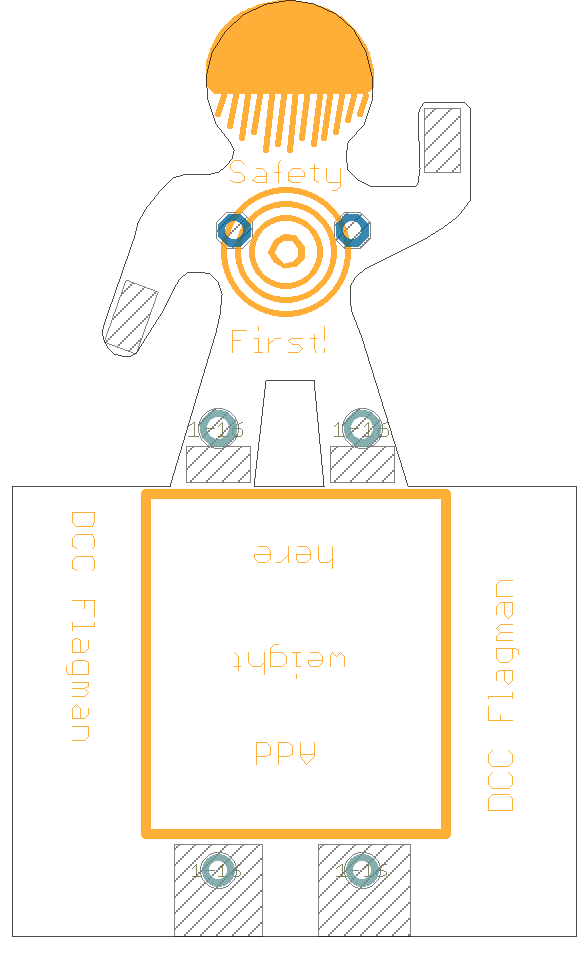
- Make a “Safety Sam” to indicate track or rolling stock that must not be used/moved. Use 2 BLUE LEDs instead of one RED one - solder them “back to back, opposite” so that one LED’s long lead is soldered to the “front” on the raised hand, while the other’s long lead is soldered to the figure’s “back” on the lowered hand. Using 2x Blue LEDS is necessary because the Blue LED’s have a reverse breakdown voltage close to 5v, while the common Red ones seem to be able to handle 20v+. (DCC track voltage is ~15v…)
Clean track works best. Use violates UP Safety Rule 81.2.1, Step Over Rail
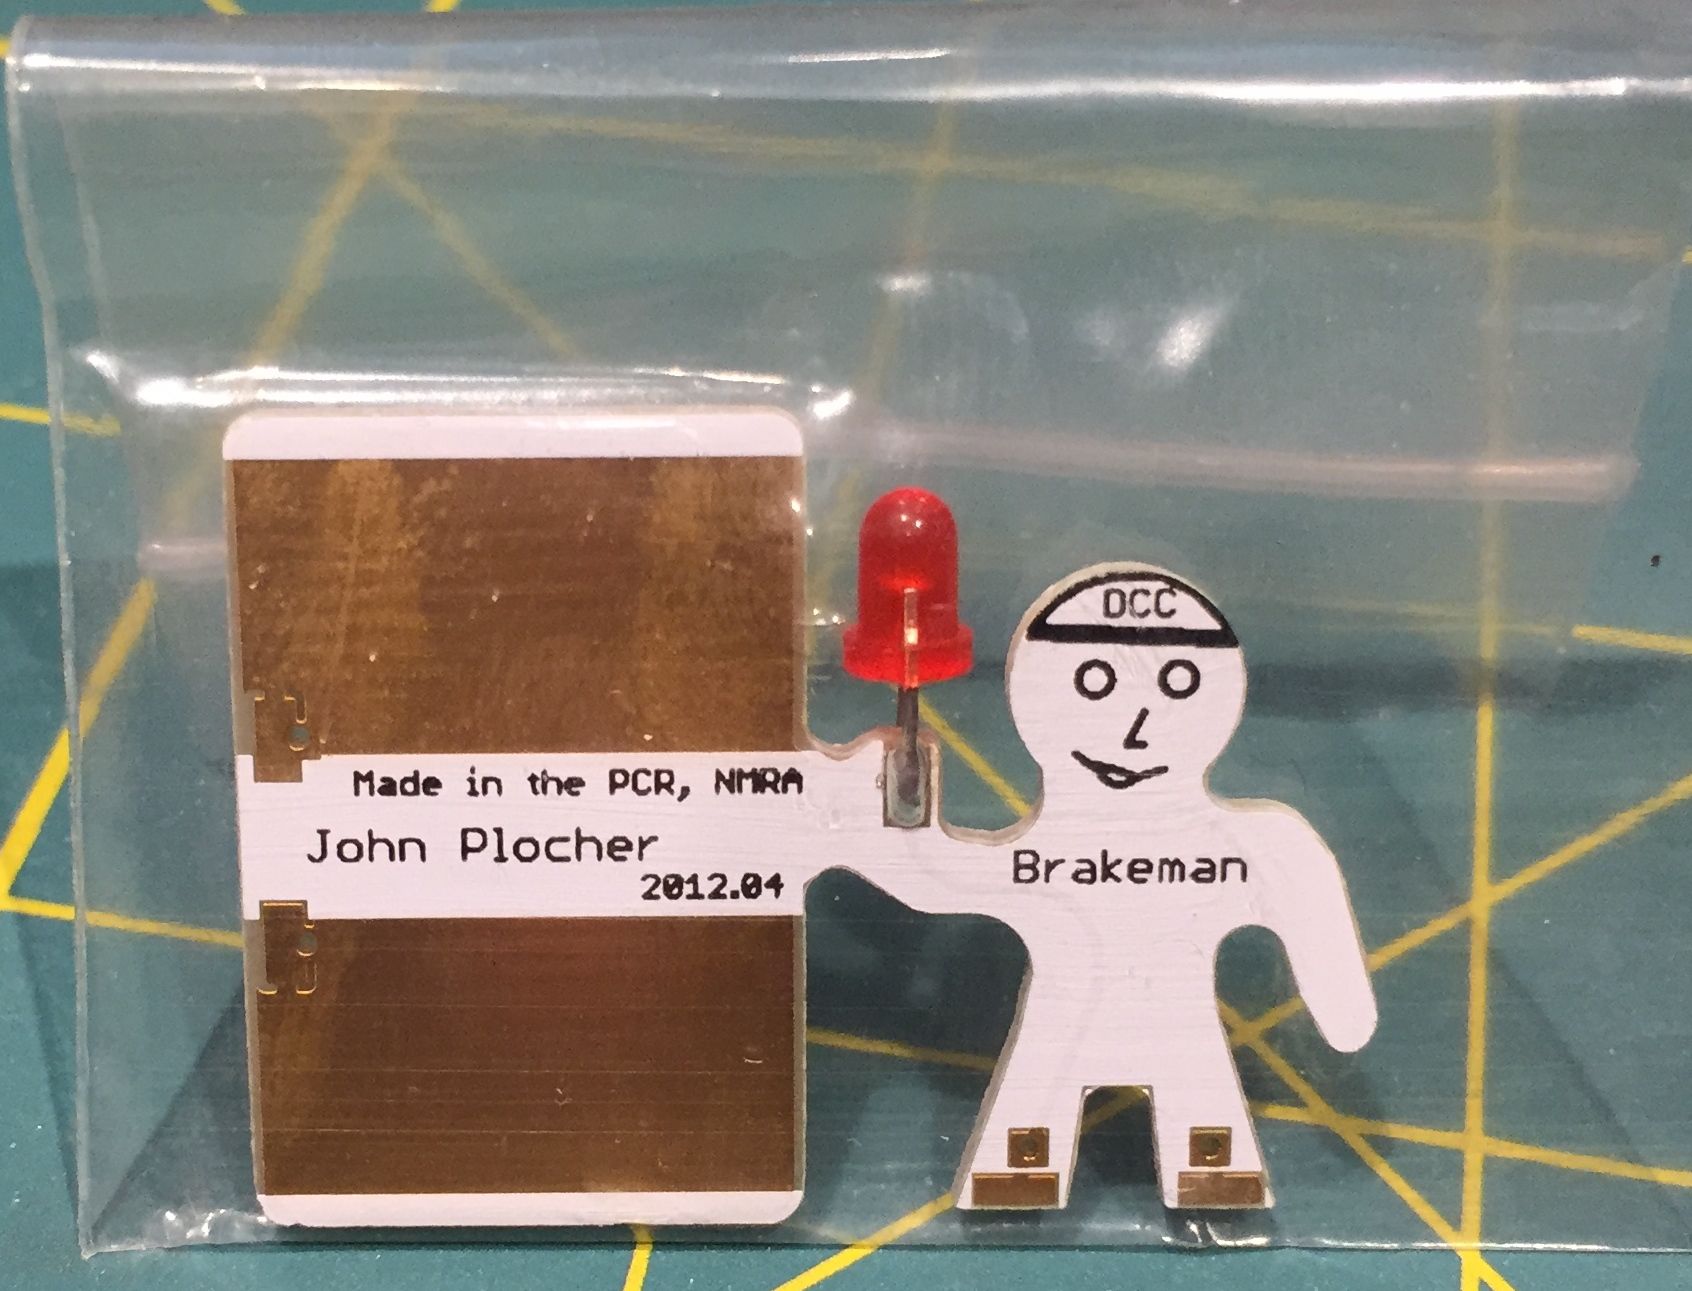
John Plocher, SPCoast.com
WARNING: This product may contain chemicals known to the State of California to cause cancer and birth defects or other reproductive harm.
TestPlan
Brakeman Testplan and Assembly:
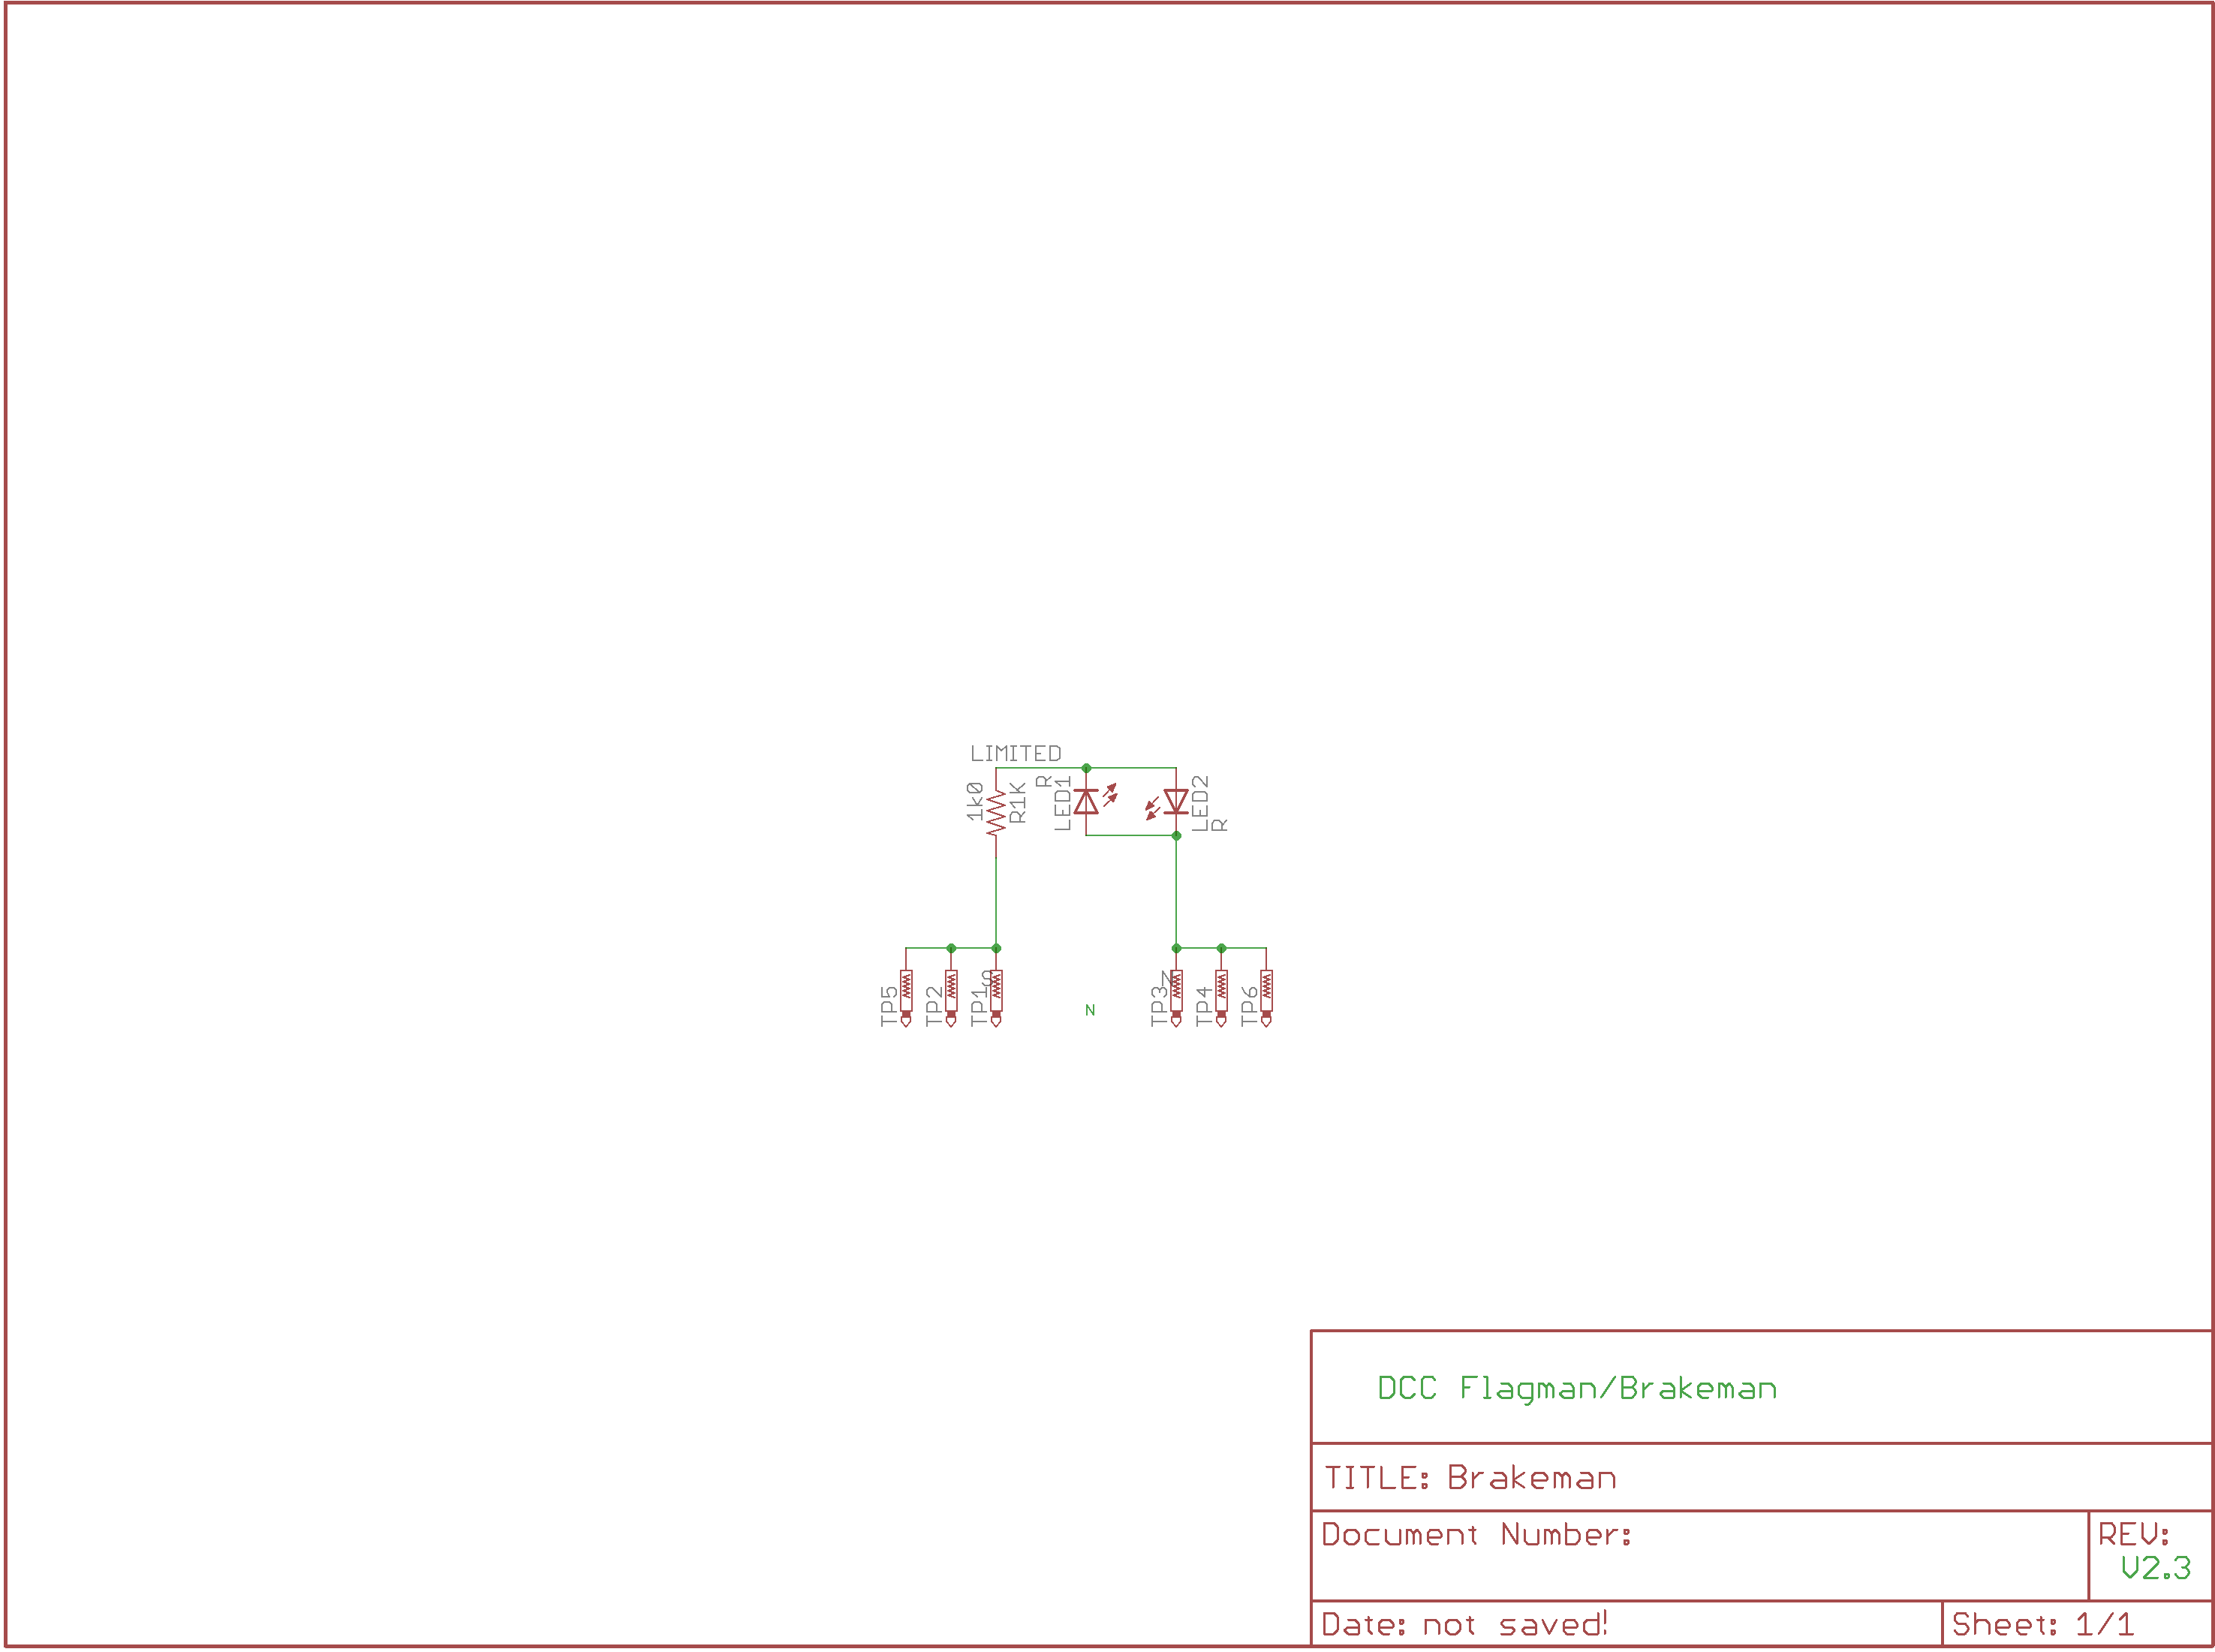
- SMT 1K0 0805 or PTH resistor on body top surface
- Cut the LED leads to between 3mm and 4mm long
- Edge mount the Red LED to the raised arm, polarity does not matter
- Colors other than red: must use 2x LEDS, one on each arm, with opposite polarity
Testing:
- Red LED:
- Touch 9-12vAC to one "foot" and Gnd to the other,
- observe RED LED on hand light up.
- Other Colors:
- Touch 9-12vDC to one foot and GND the other,
- Observe ONE LED light up
- Reverse the foot connections
- Observe the OTHER LED light up
The end user will snap apart the base and body, solder the feet to the base and attach a lead weight to the base, making a figure with a LED lantern in its hand that lights up when placed on a HO model railroad track.
This technical documentation is licensed under the CERN Open Hardware Licence v1.2